How does the Infodeck Platform Work?

Sohaib
Last Update 2 years ago
Step 1: Add a Location
Infodeck > Left Navigation Bar > Location > Create Location
1. Follow the workflow mentioned above to land on the location creation screen.
2. Follow the on-screen instructions to record the details.
3. Once recorded, click the Create button. To read about this in detail, please visit the How to Add a Location? article.

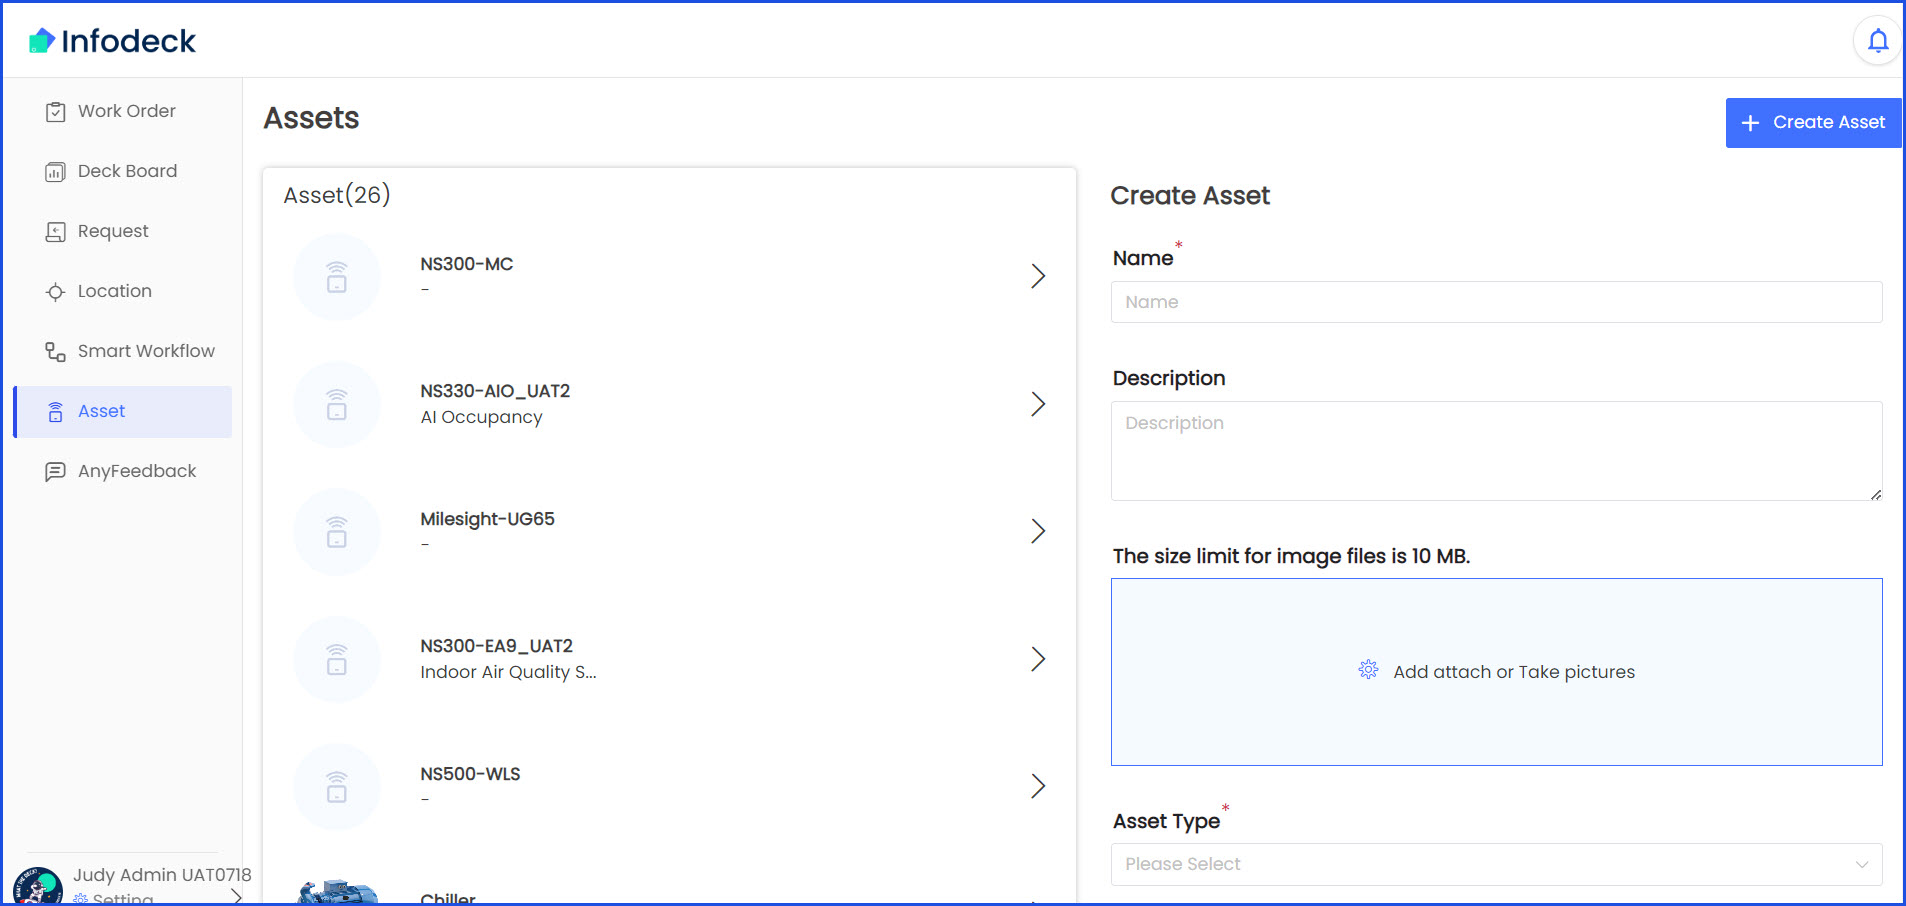
Step 2: Add an Asset
Infodeck > Left Navigation Bar > Asset > Create Asset
1. Follow the above-mentioned workflow to land on the Asset Creation screen.
2. Follow the on-screen instructions as explained in detail in the How to Add an Asset? article.
3. Once the details are recorded, click the Create button.
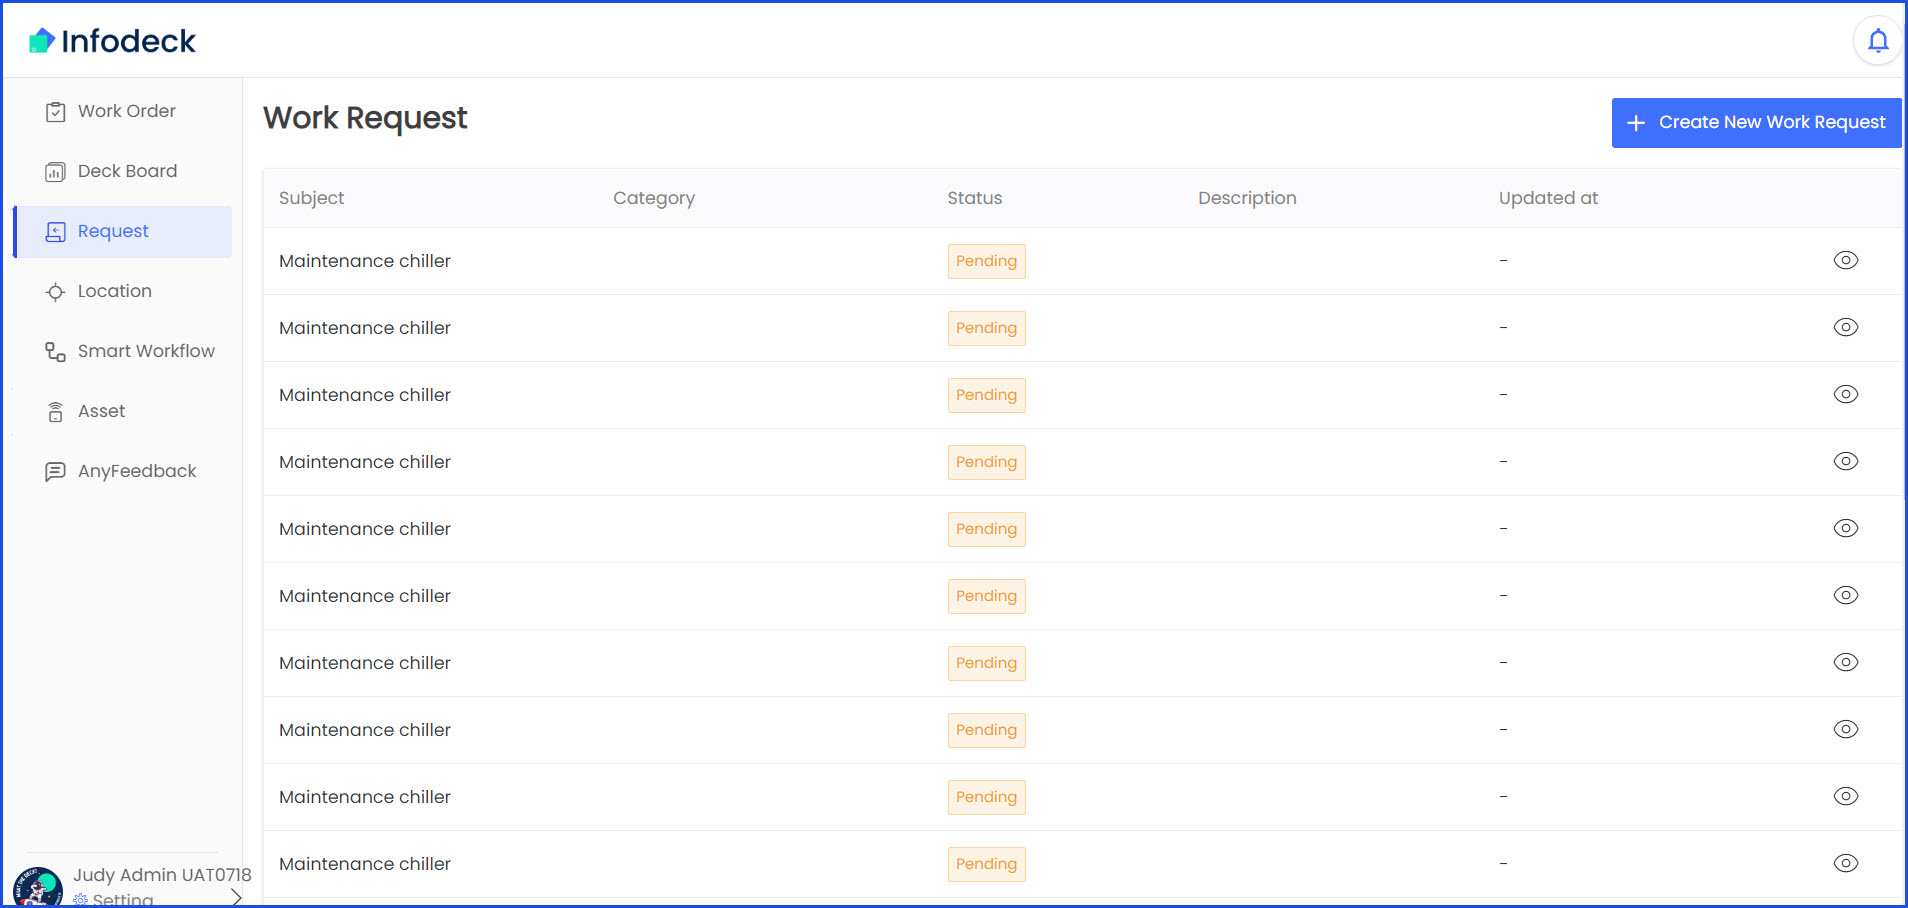
Step 3: Monitor Work Request
Infodeck > Left Navigation Bar > Request
1. Follow the above-mentioned workflow to land on the Request screen.
2. Here, all the work requests are listed with their current status. You can create work requests as explained in the How to Create a Work Request? article.
Step 4: Approve Work Request
1. The process for approving a work request has been explained in detail in the How to Approve a Work Request? article.

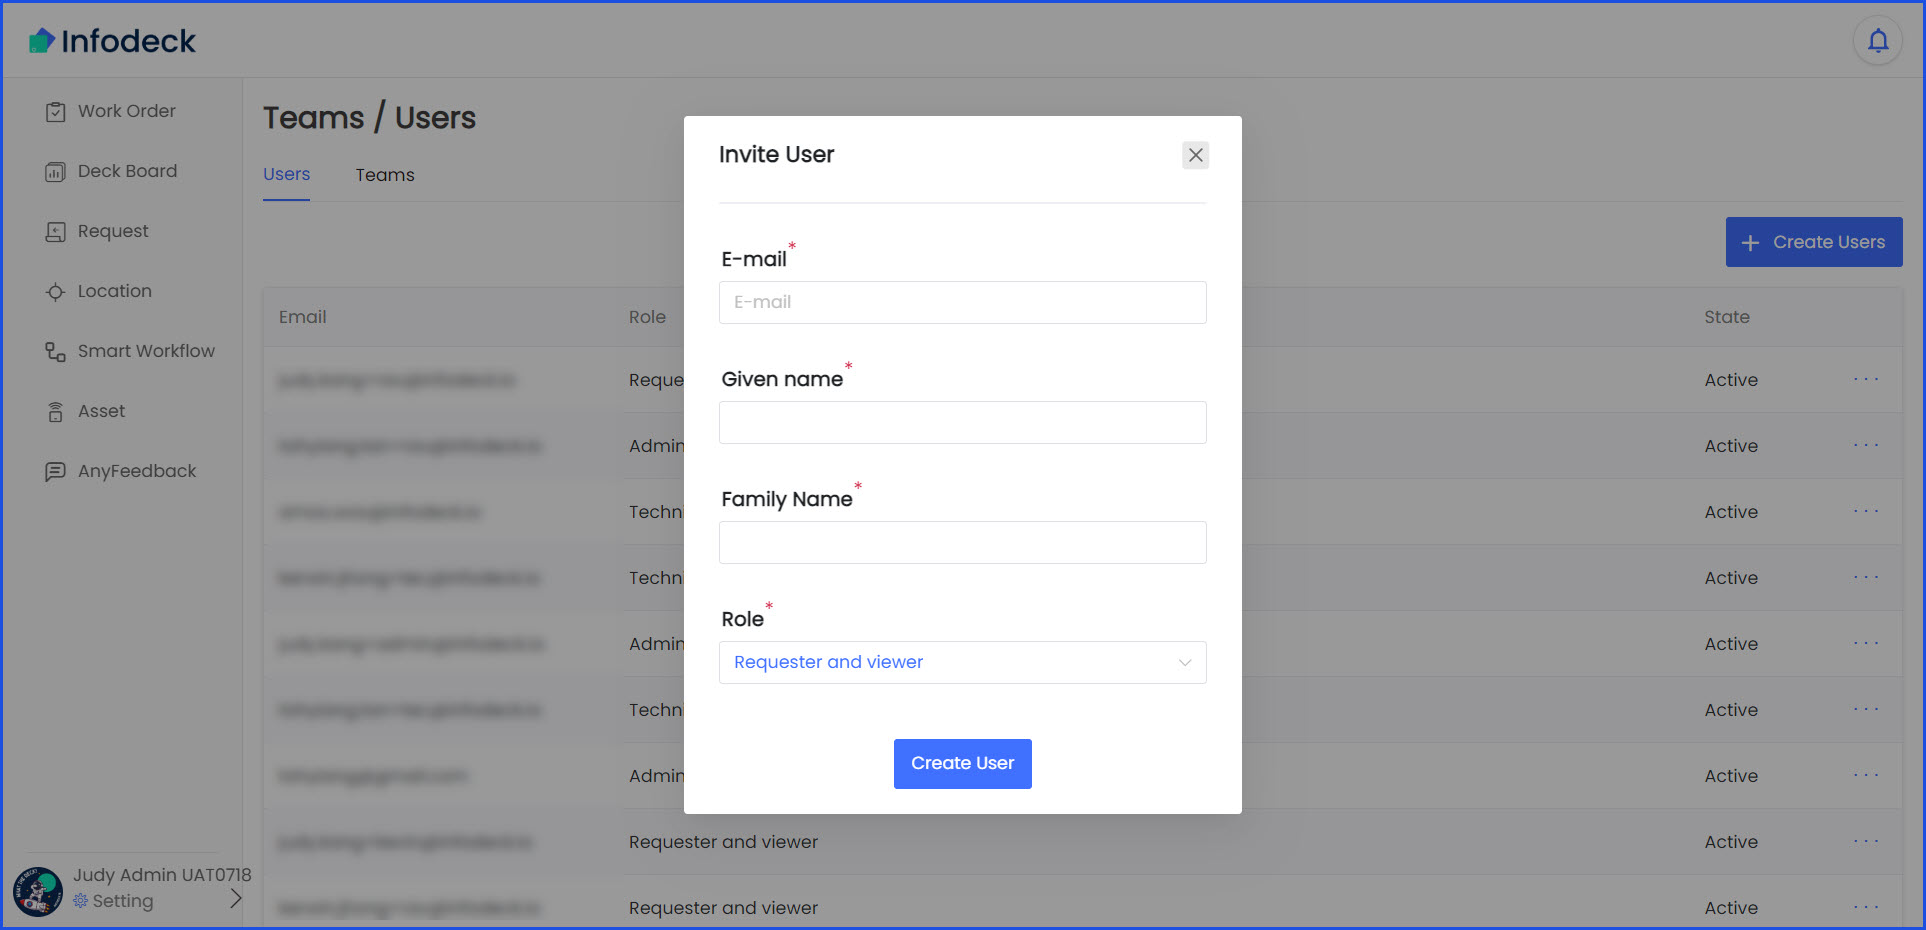
Step 5: Create a Team Member
Infodeck > Left Navigation Bar > Settings > Teams/Members > Create User
1. Follow the above-mentioned workflow to land on the Invite User screen.
2. Follow the on-screen instructions as explained in detail in the How to Invite a User? article.
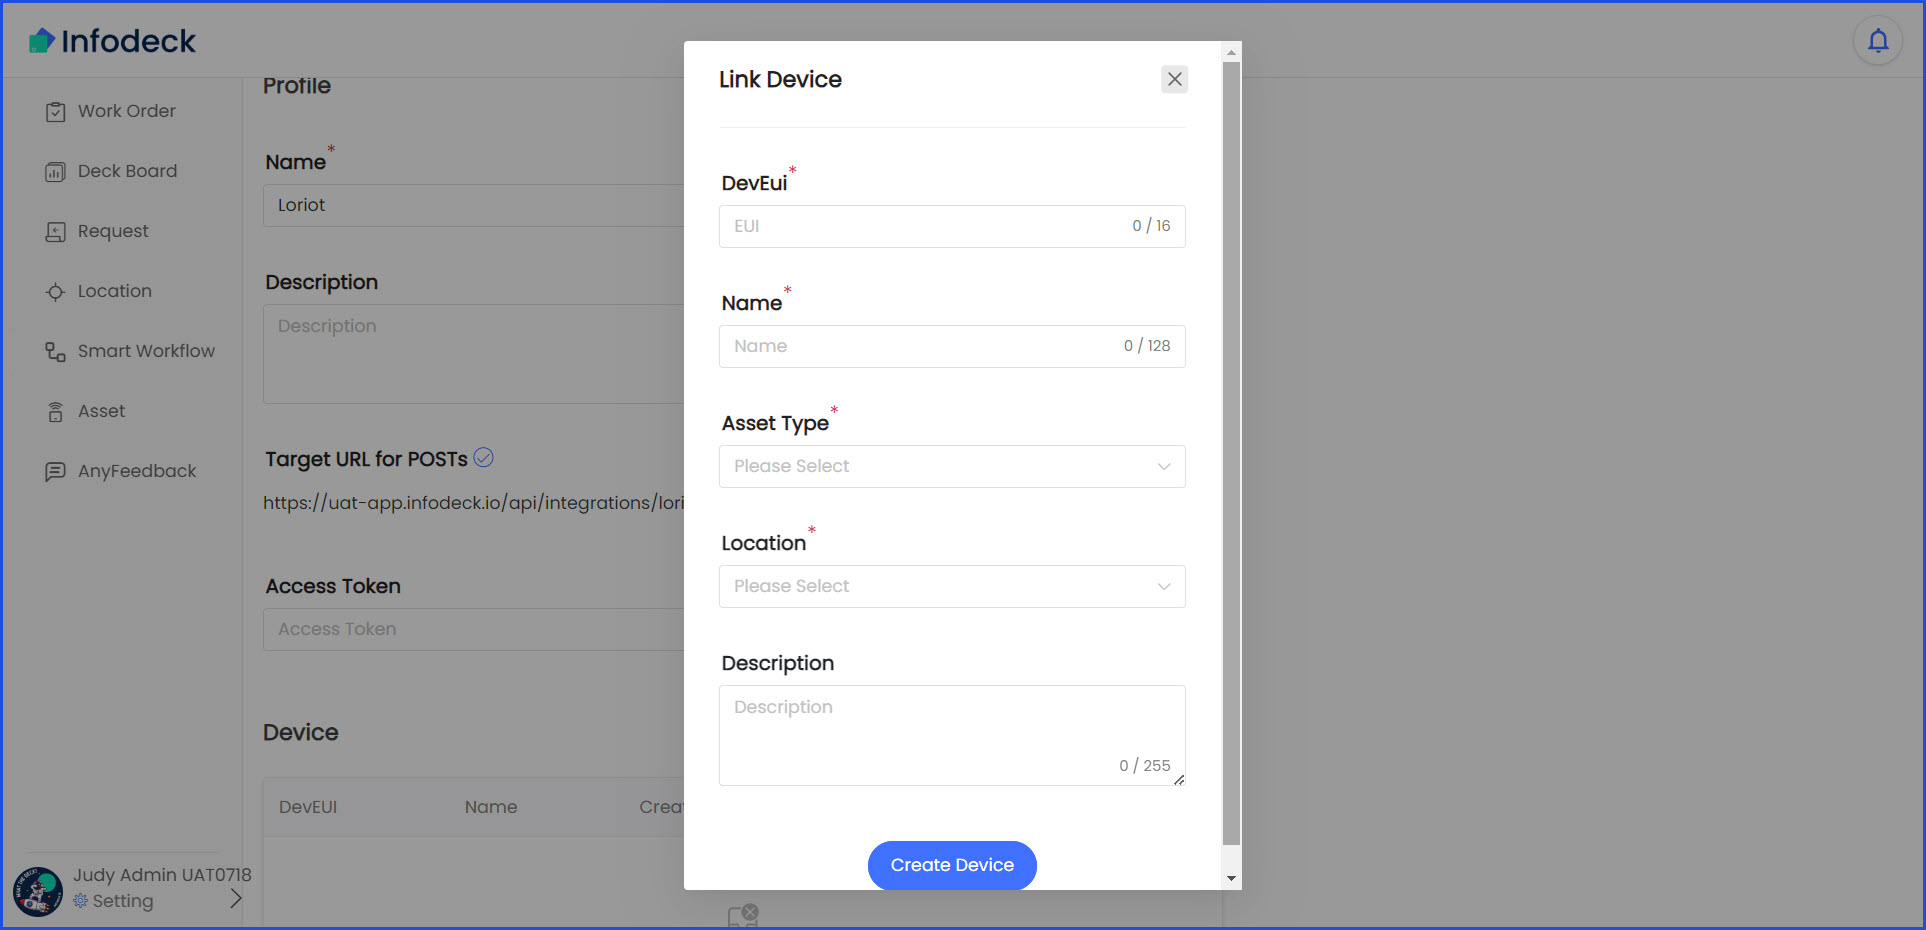
Step 6: Create an IoT Device
Infodeck > Setting > Integration > Select Service > Details > Link Device
1. Follow the above-mentioned workflow to land on the Link Device popup.
2. Fill in the details as explained in detail in the How to Create an IoT Device? article.
3. Once filled, click the Create Device button.
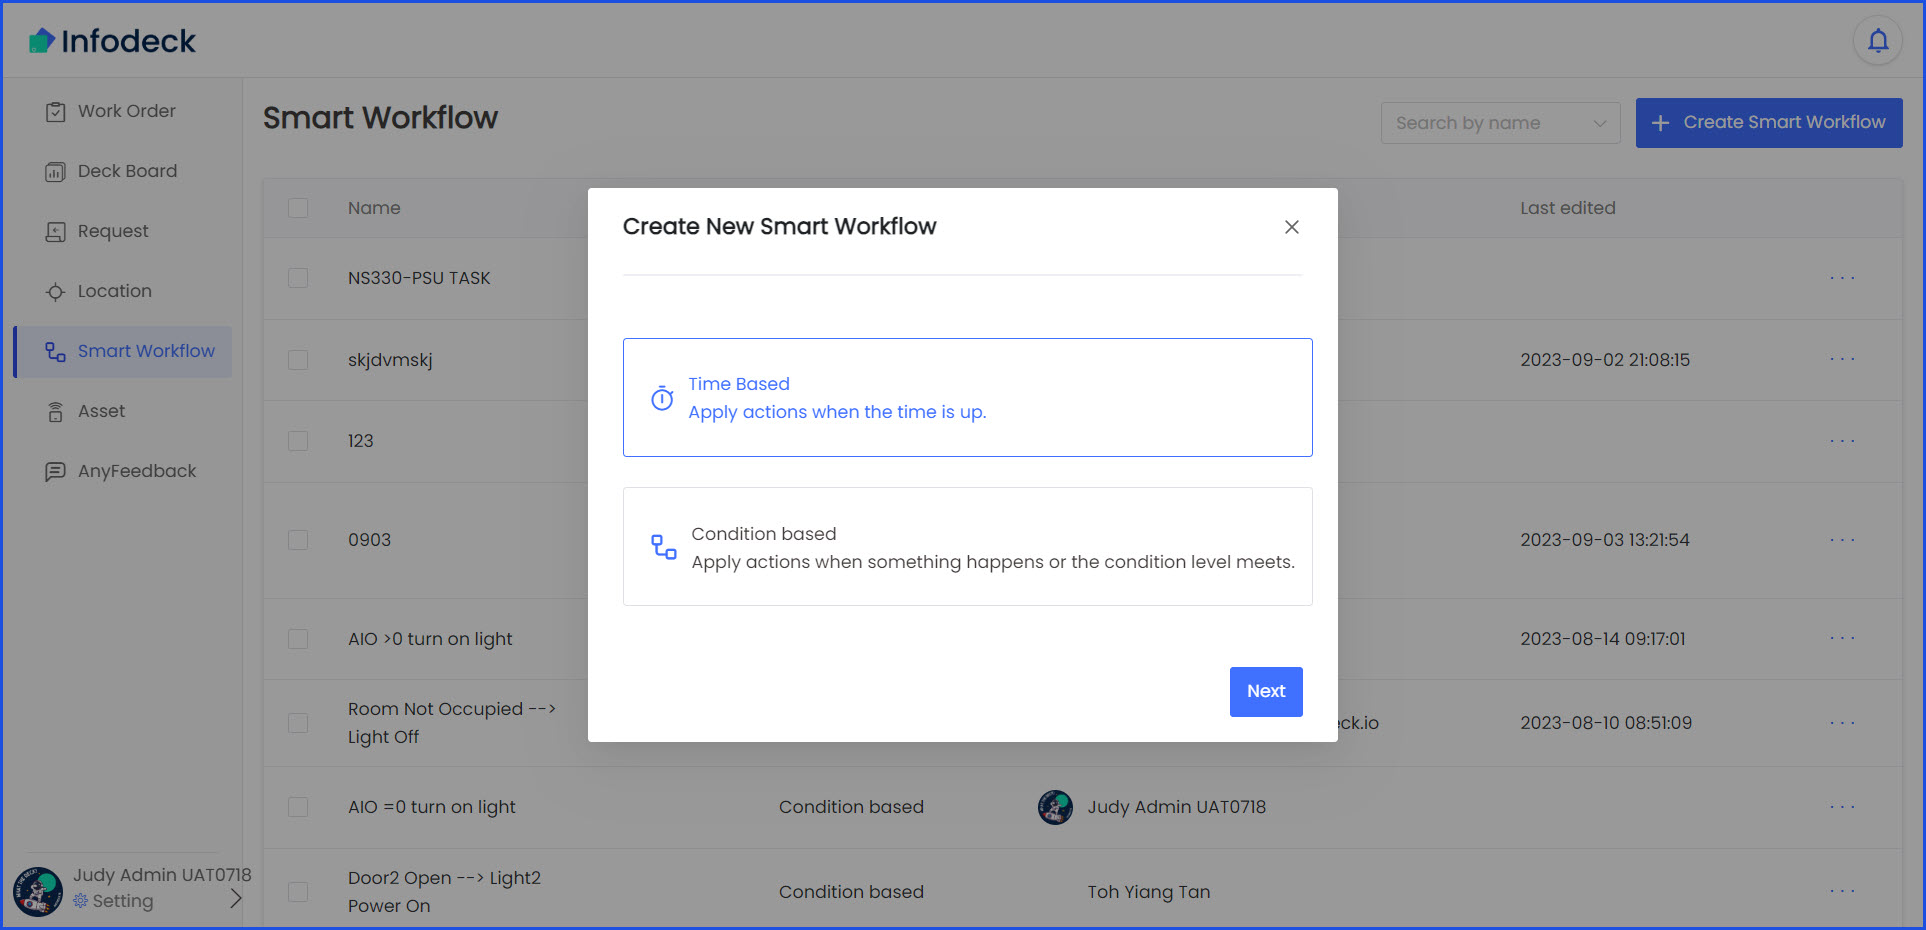
Step 7: Create a Smart Workflow
Infodeck > Left Navigation Bar > Smart Workflow > Create Smart Workflow
1. Follow the workflow mentioned above to land on the Create New Smart Workflow popup.
2. Follow the on-screen instructions as explained in detail in the How to Create a Condition-based Smart Workflow? and How to Create a Time-based Smart Workflow? articles.
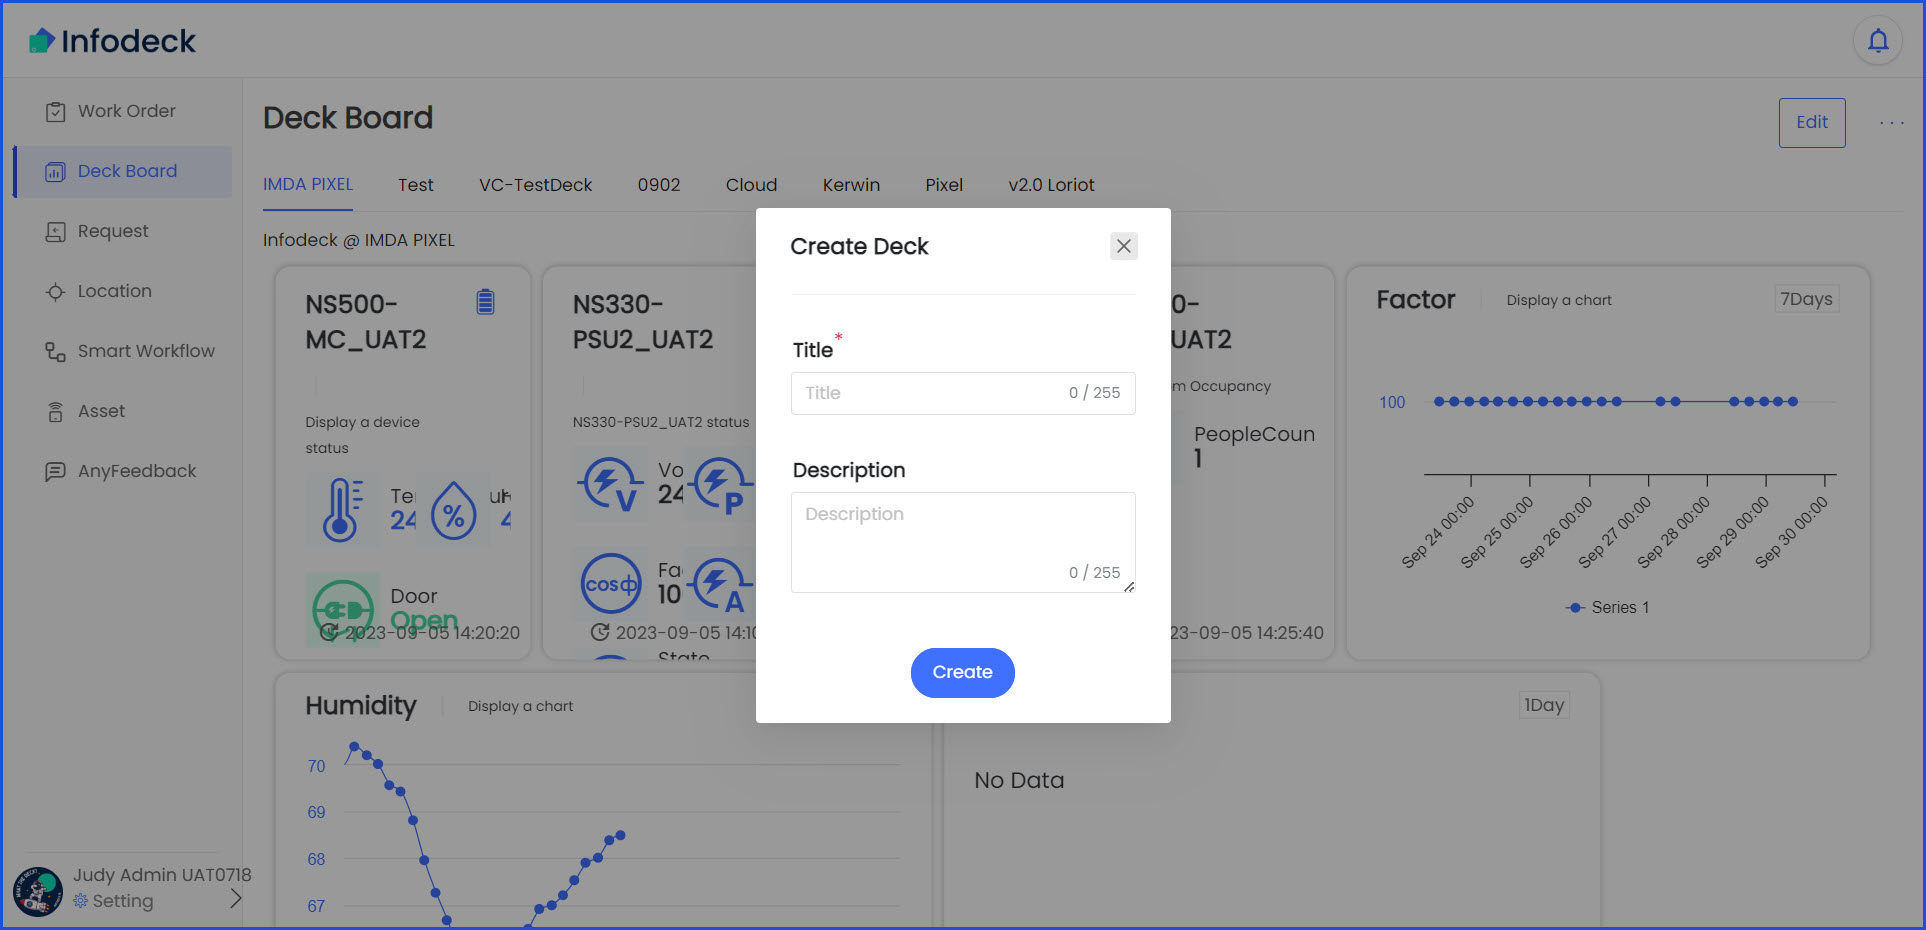
Step 8: Create a Dashboard aka the Deckboard
Infodeck > Left Navigation Bar > Deckboard > Three-dot Icon > New Deck
1. Follow the above-mentioned workflow to land on the Create Deck popup.
2. Fill in the required details and click the Create button. The whole process has been explained in detail in the How to Create a New Deck? article.
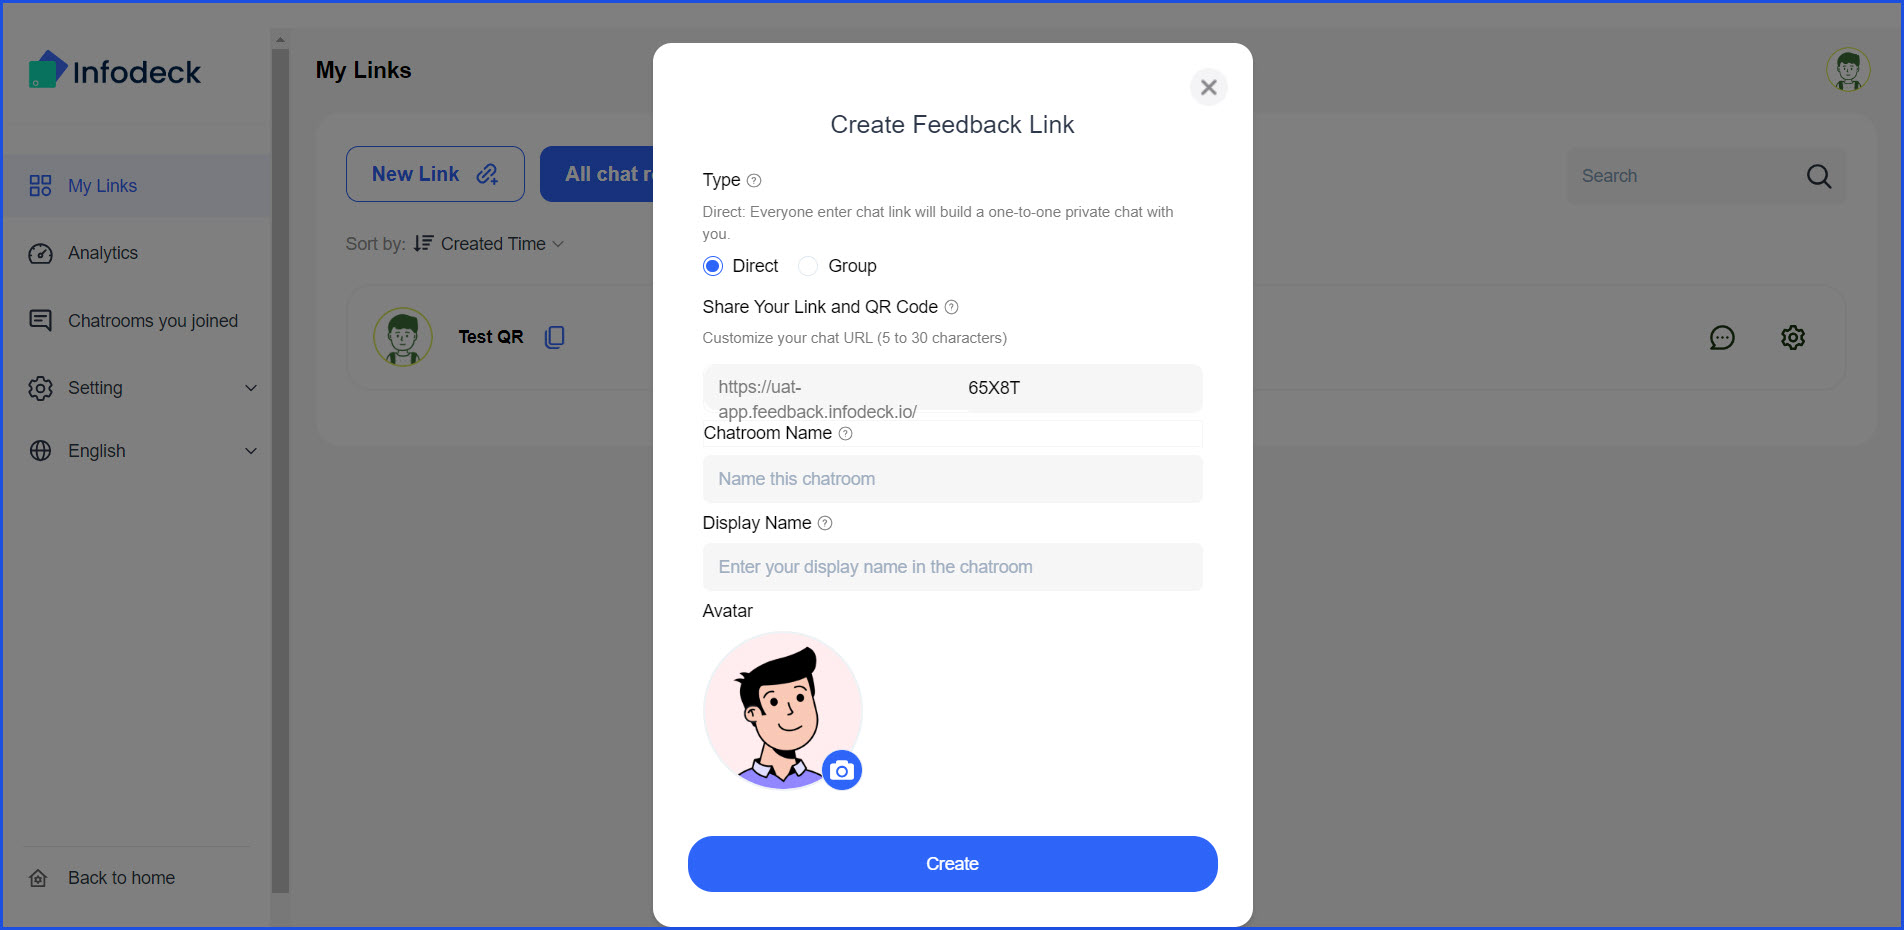
Step 9: Create a Feedback QR Code
Infodeck > Left Navigation Bar > AnyFeedback > New Link
1. Follow the workflow mentioned above to land on the Create Feedback Link window.
2. Fill in the required details and click the Create button. This process has been explained in detail in the How to Create a Feedback Link? article.