How to Add an IoT Device from Loriot LoRaWAN™?

Sohaib
Last Update 4 months ago
Infodeck > Setting > Integration
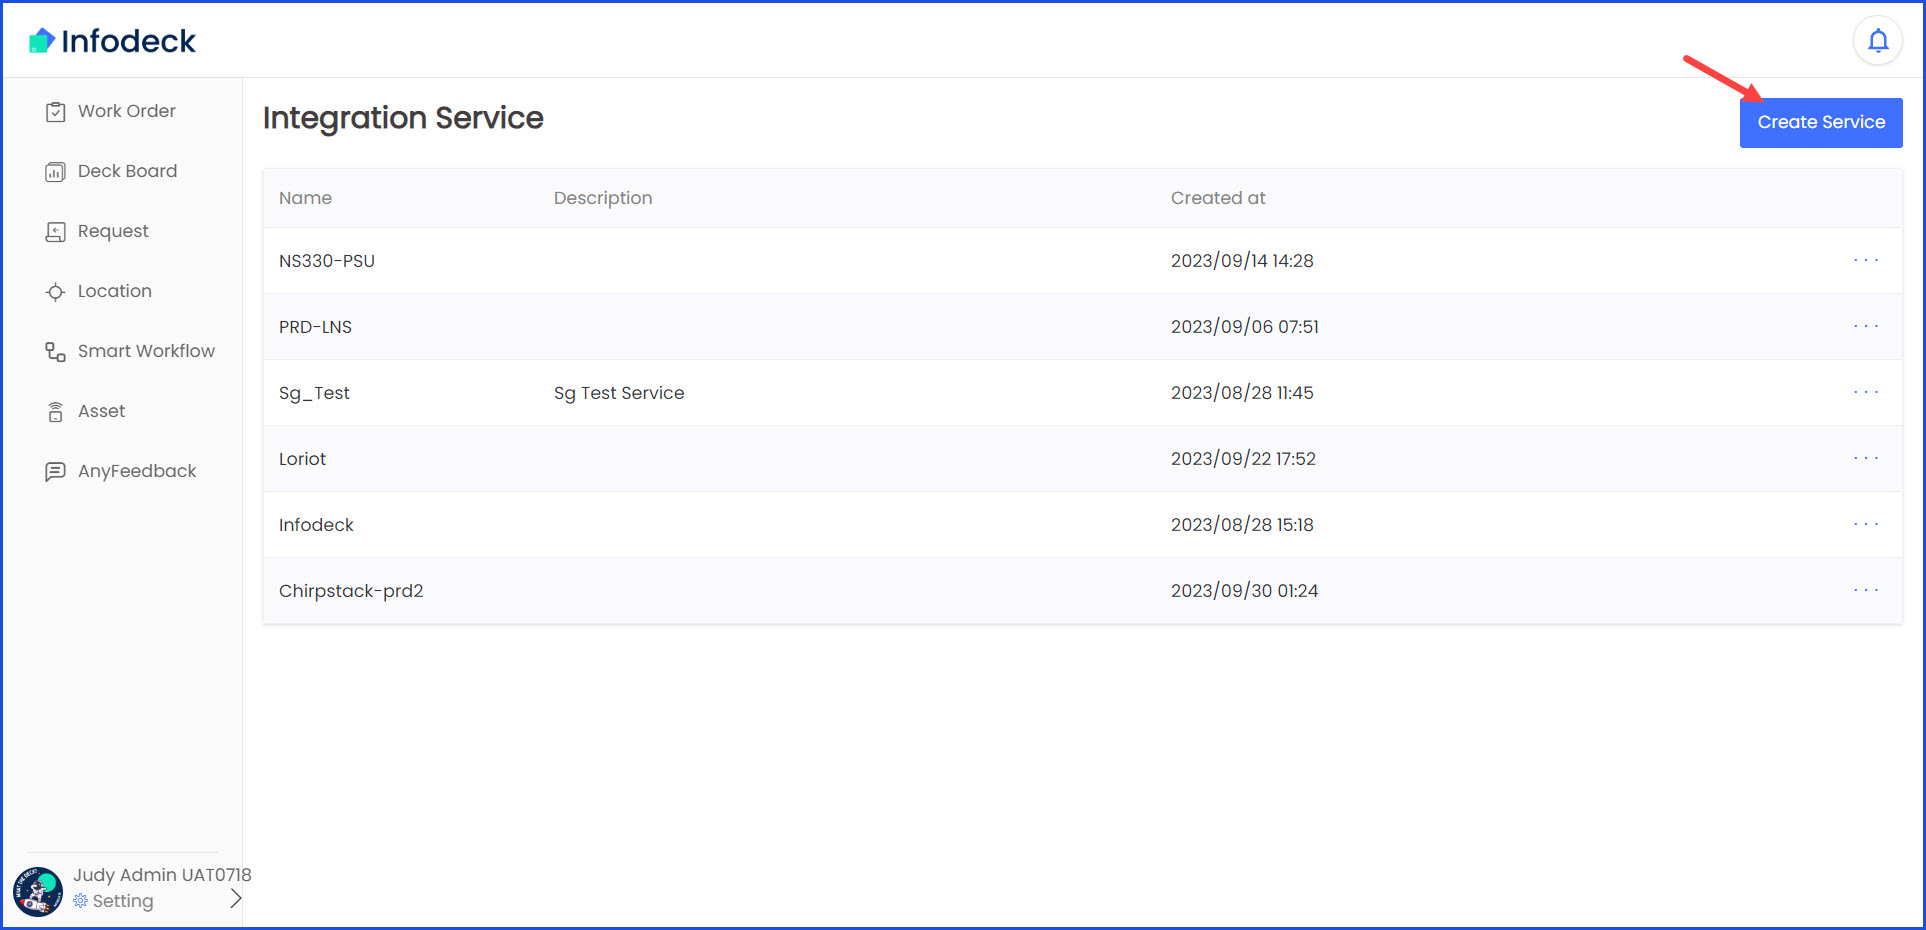
1. Follow the above-mentioned workflow to land on the Integration Service screen.
2. Click the Create Service button. Doing so opens the Create New Service window.
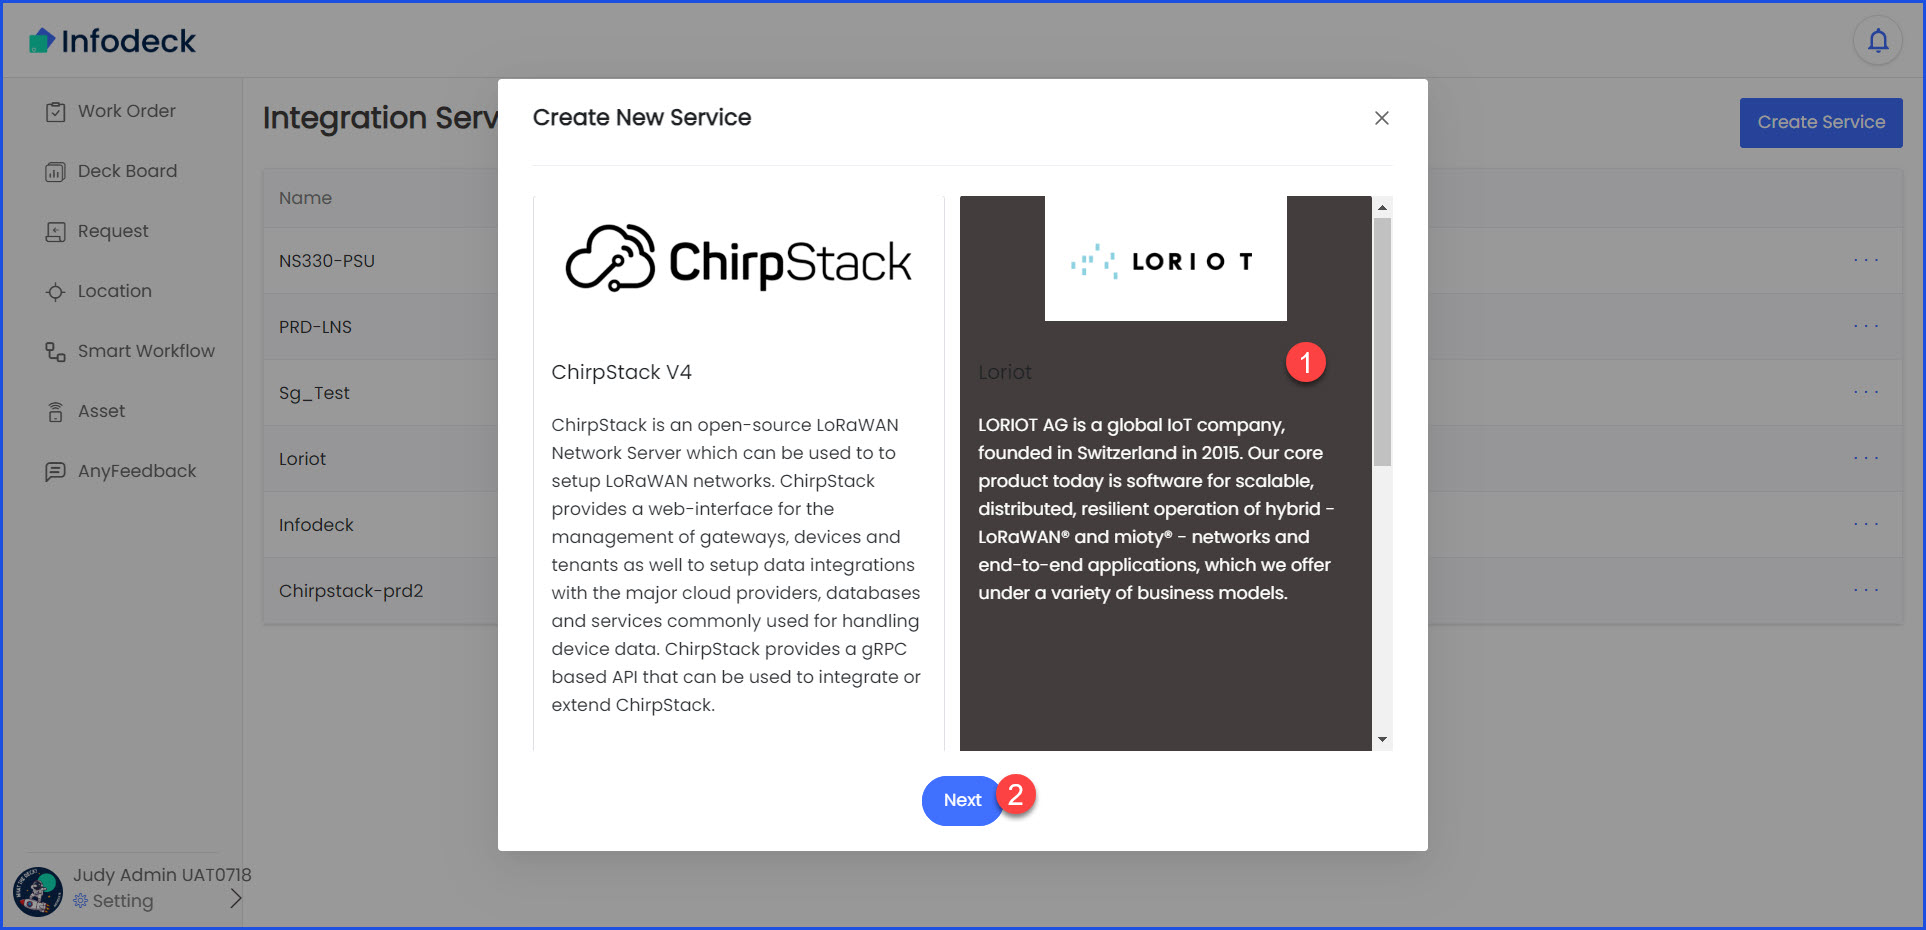
3. Select LORIOT and click the Next button.
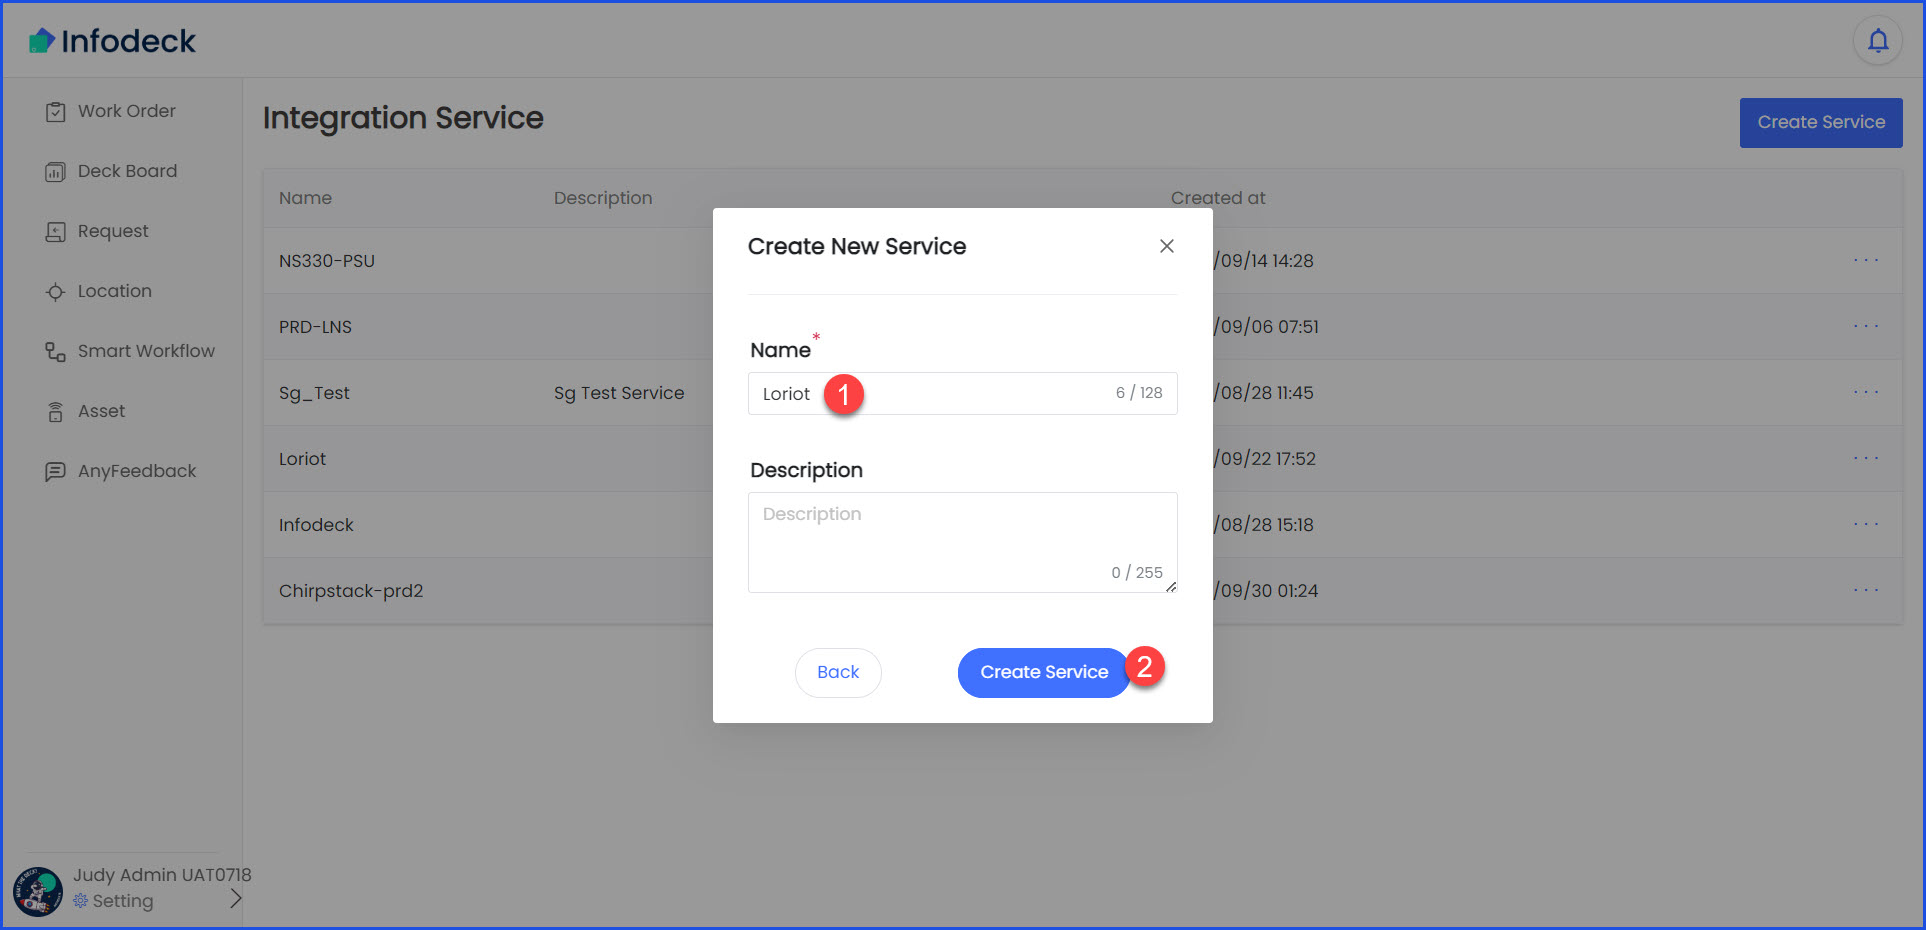
4. Enter the name of the service in the Name field and click the Create Service button.
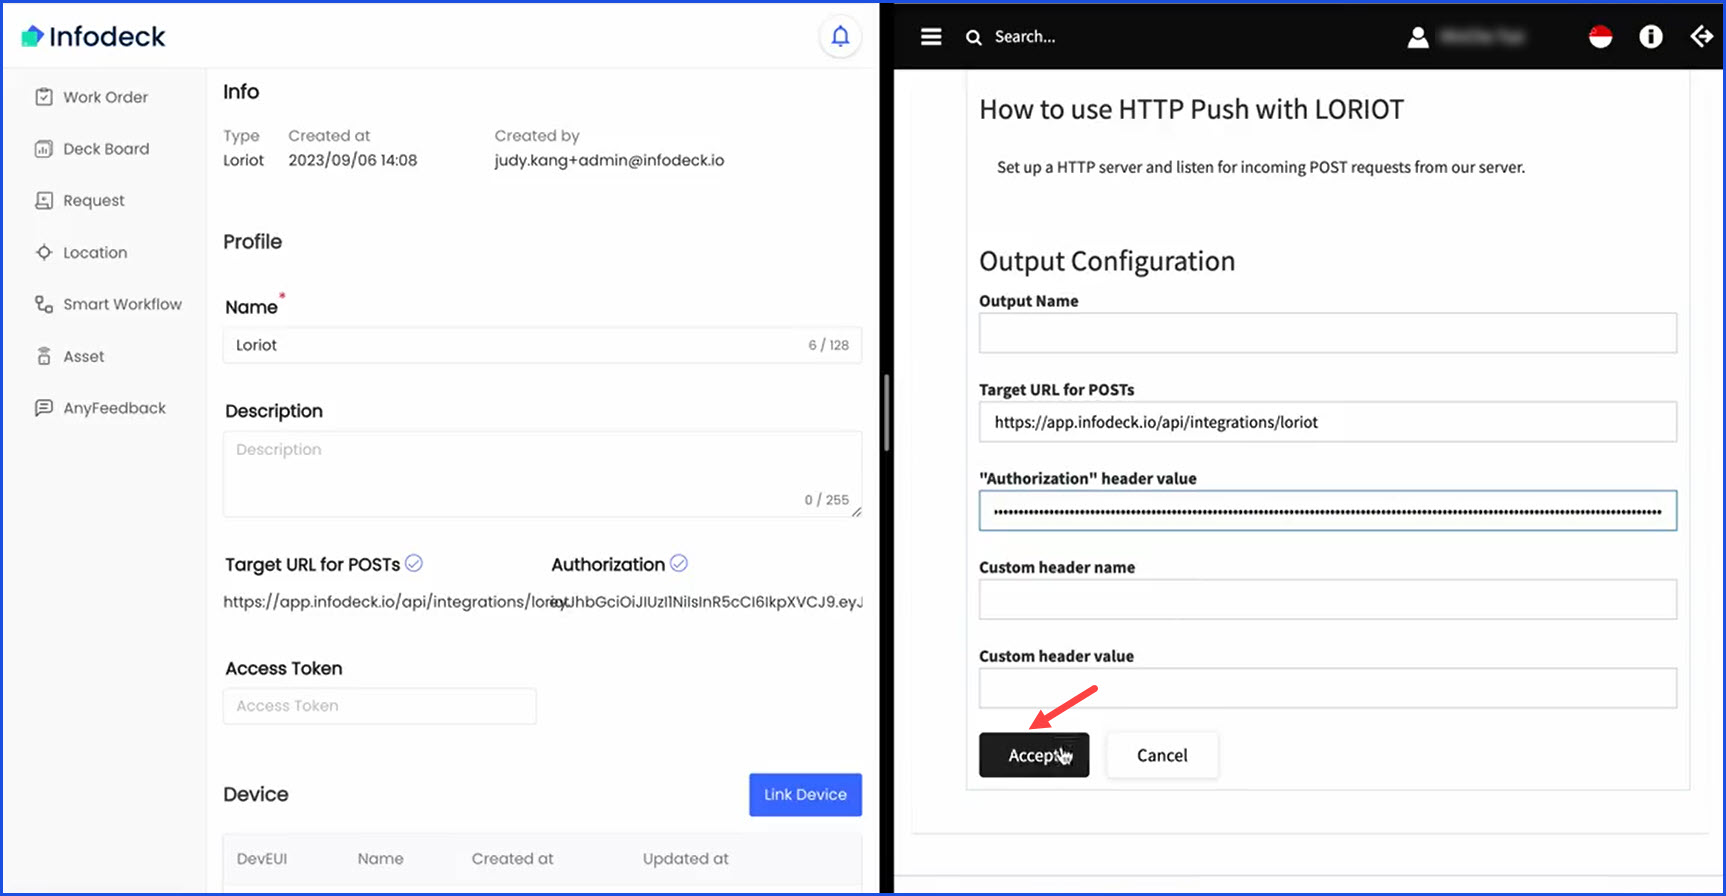
5. Now, open the Loriot portal, copy the Target URL for Posts from Integration Service screen and paste it in the same field in the Loriot portal.
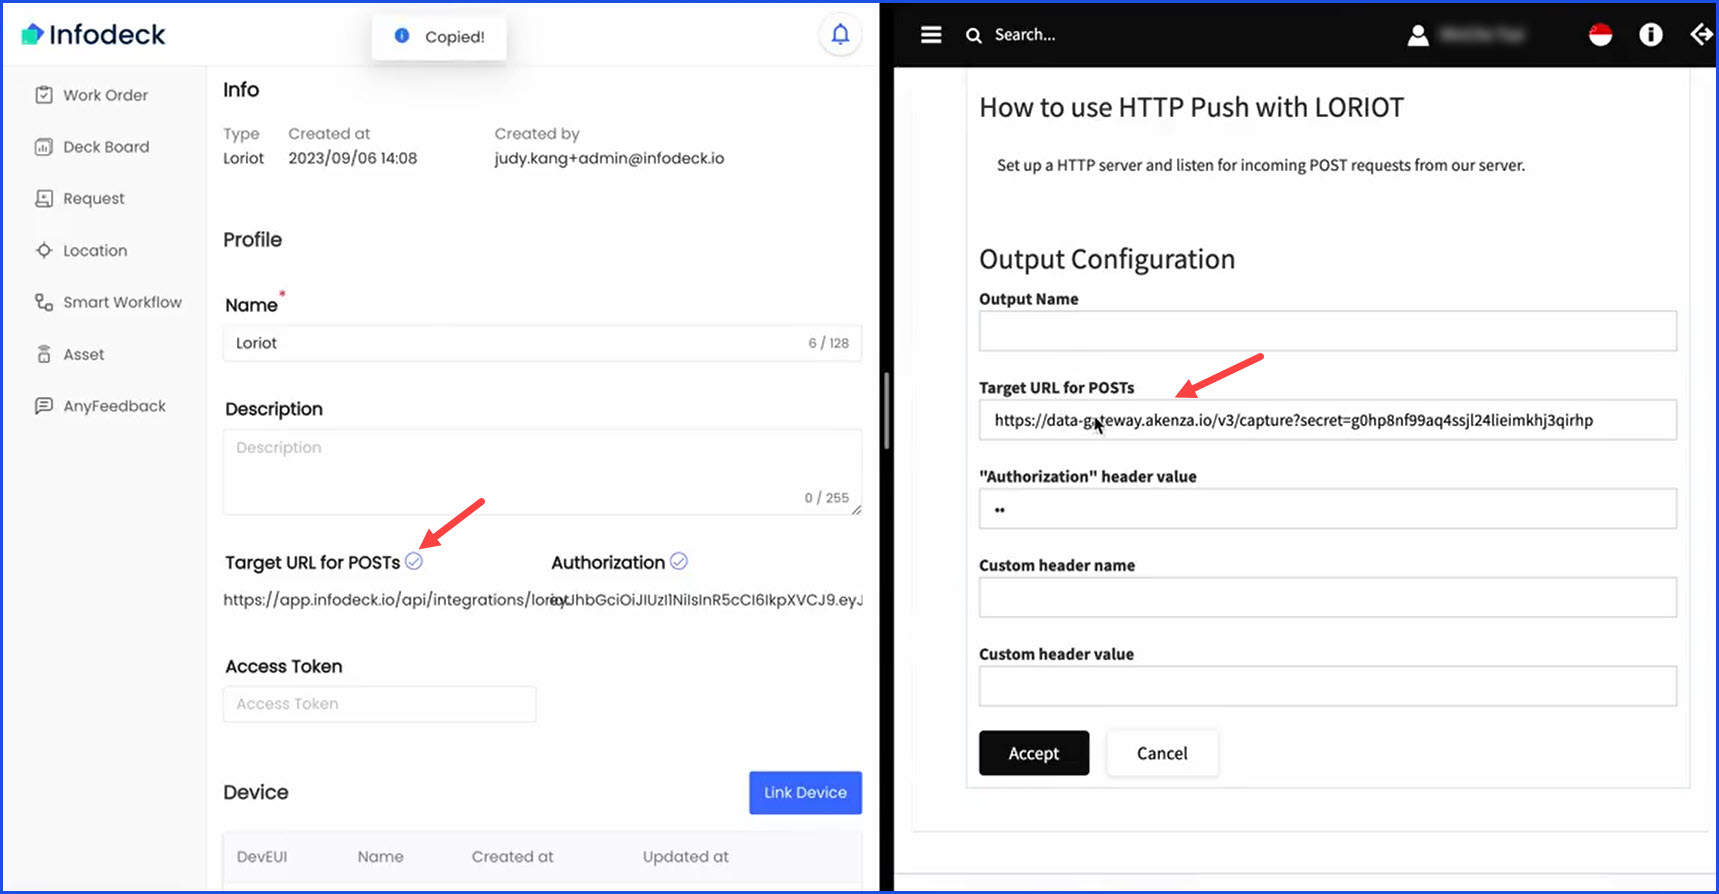
6. Similarly, copy the Authorization URL and paste it in the Authorization header state field.

7. Once done, click the Accept button.
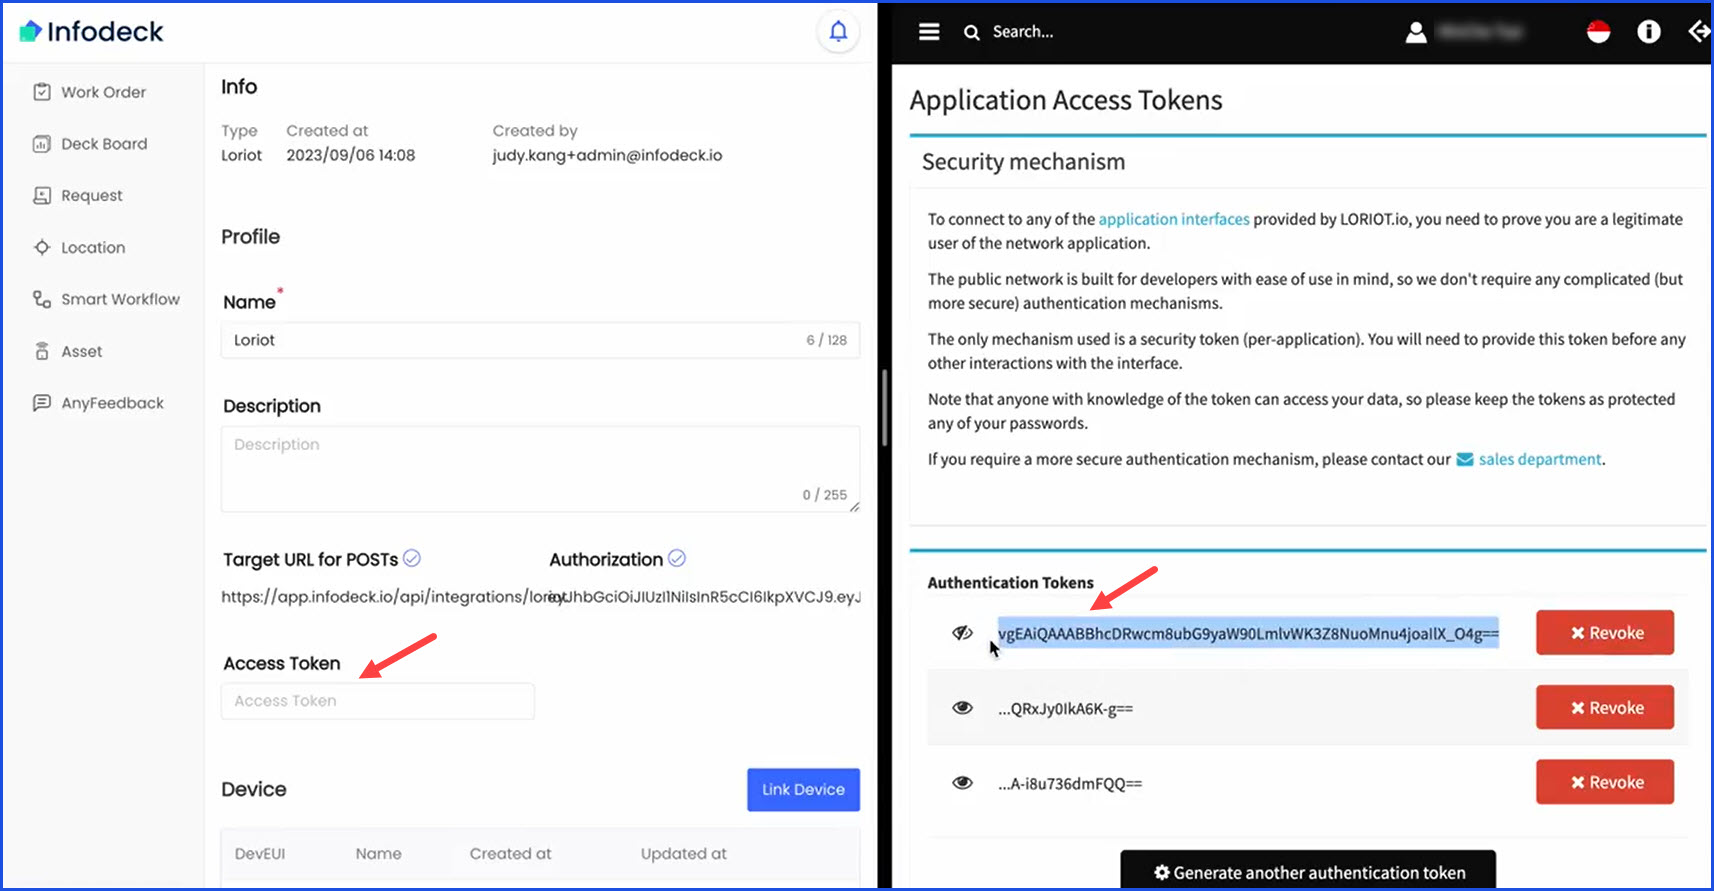
8. Now, open the Access Tokens module from the Loriot portal.

9. Copy the Authentication token from Loriot and paste it in the Access Token field on the Integration Service screen.
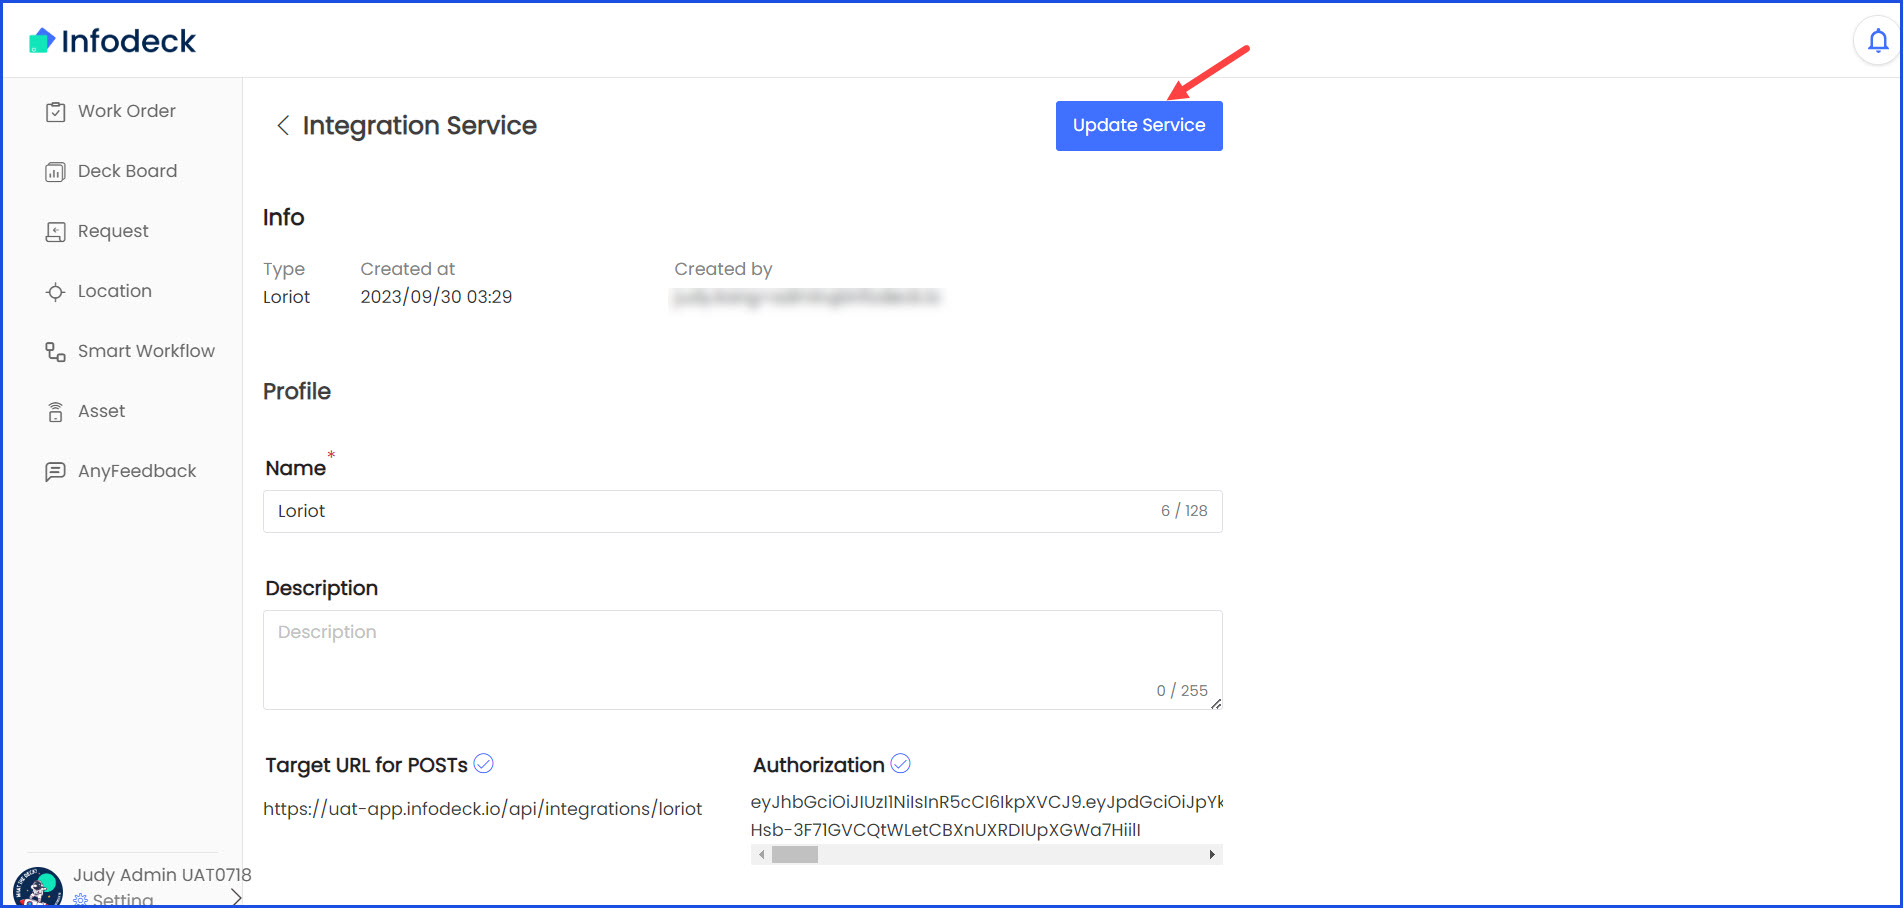
10. Once pasted, click the Update Service button.
Or visit https://www.infodeck.io/lorawan for more details.