How to Create a New Work Request?

Sohaib
Last Update 3 years ago
Infodeck > Left Navigation Bar > Request
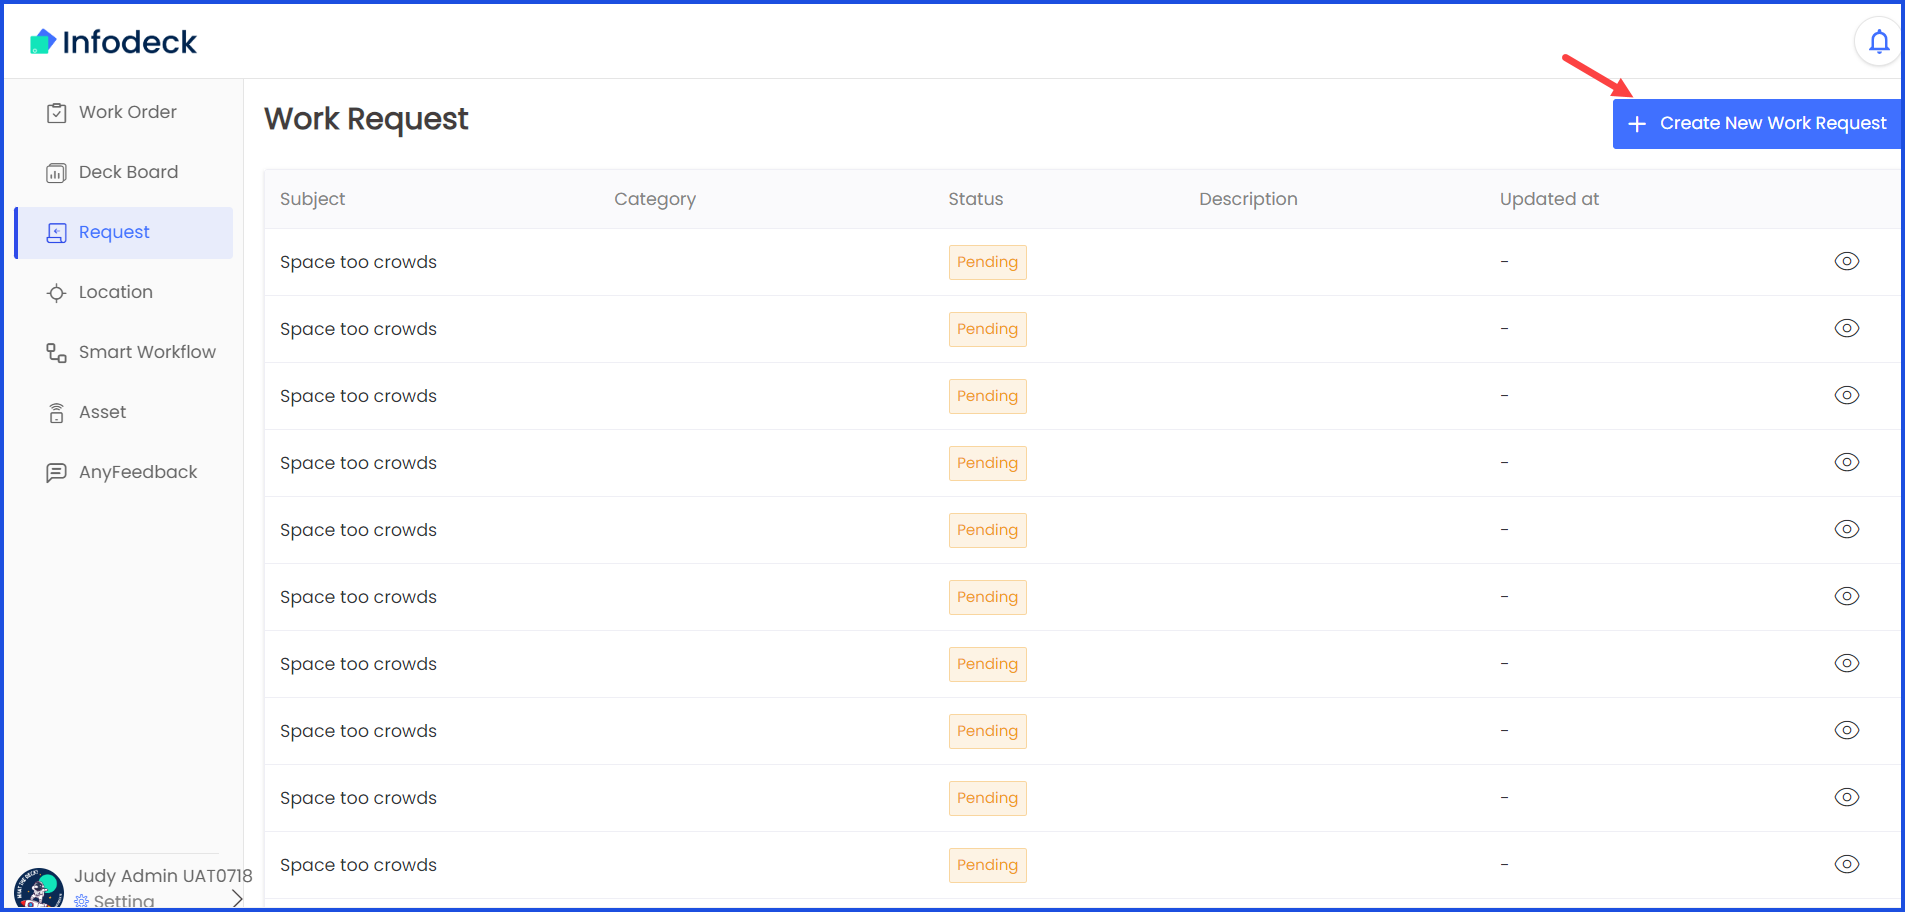
1. Follow the above-mentioned workflow to land on the Request screen.
2. Click the + Create New Work Request button located at the top-right corner. Doing so opens the Create New Work Request window.
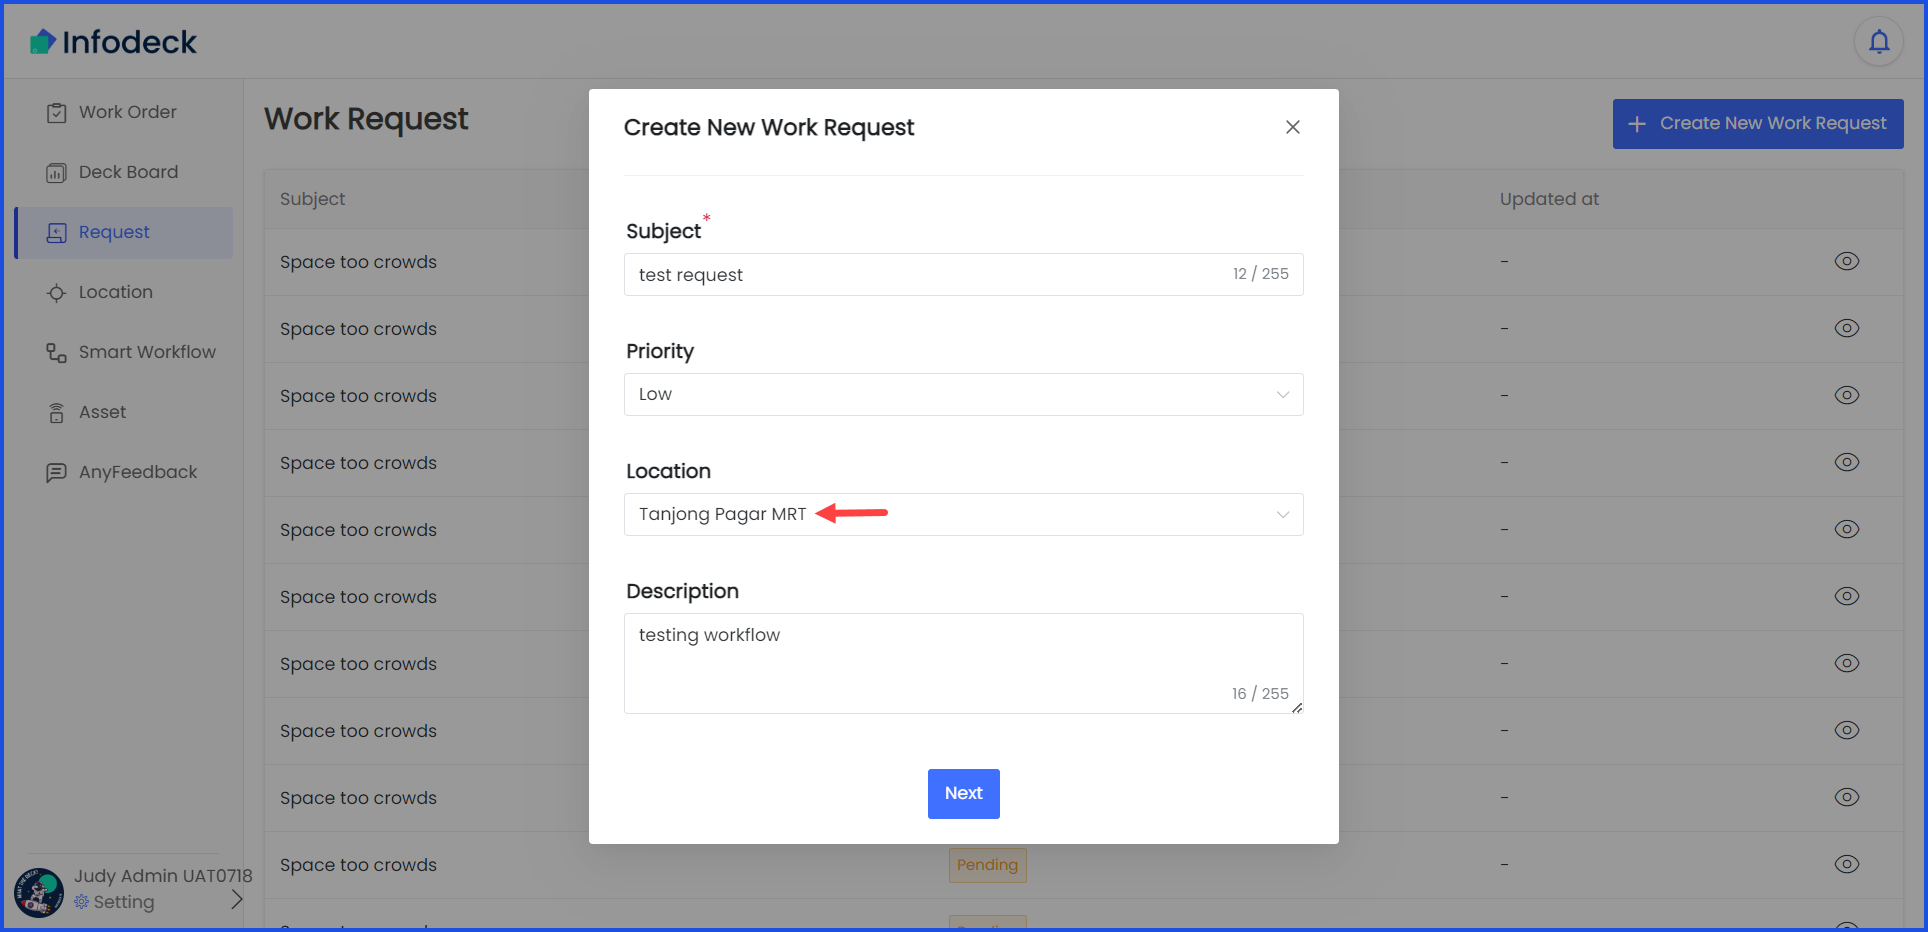
3. Here, enter the subject of the work request in the Subject field.
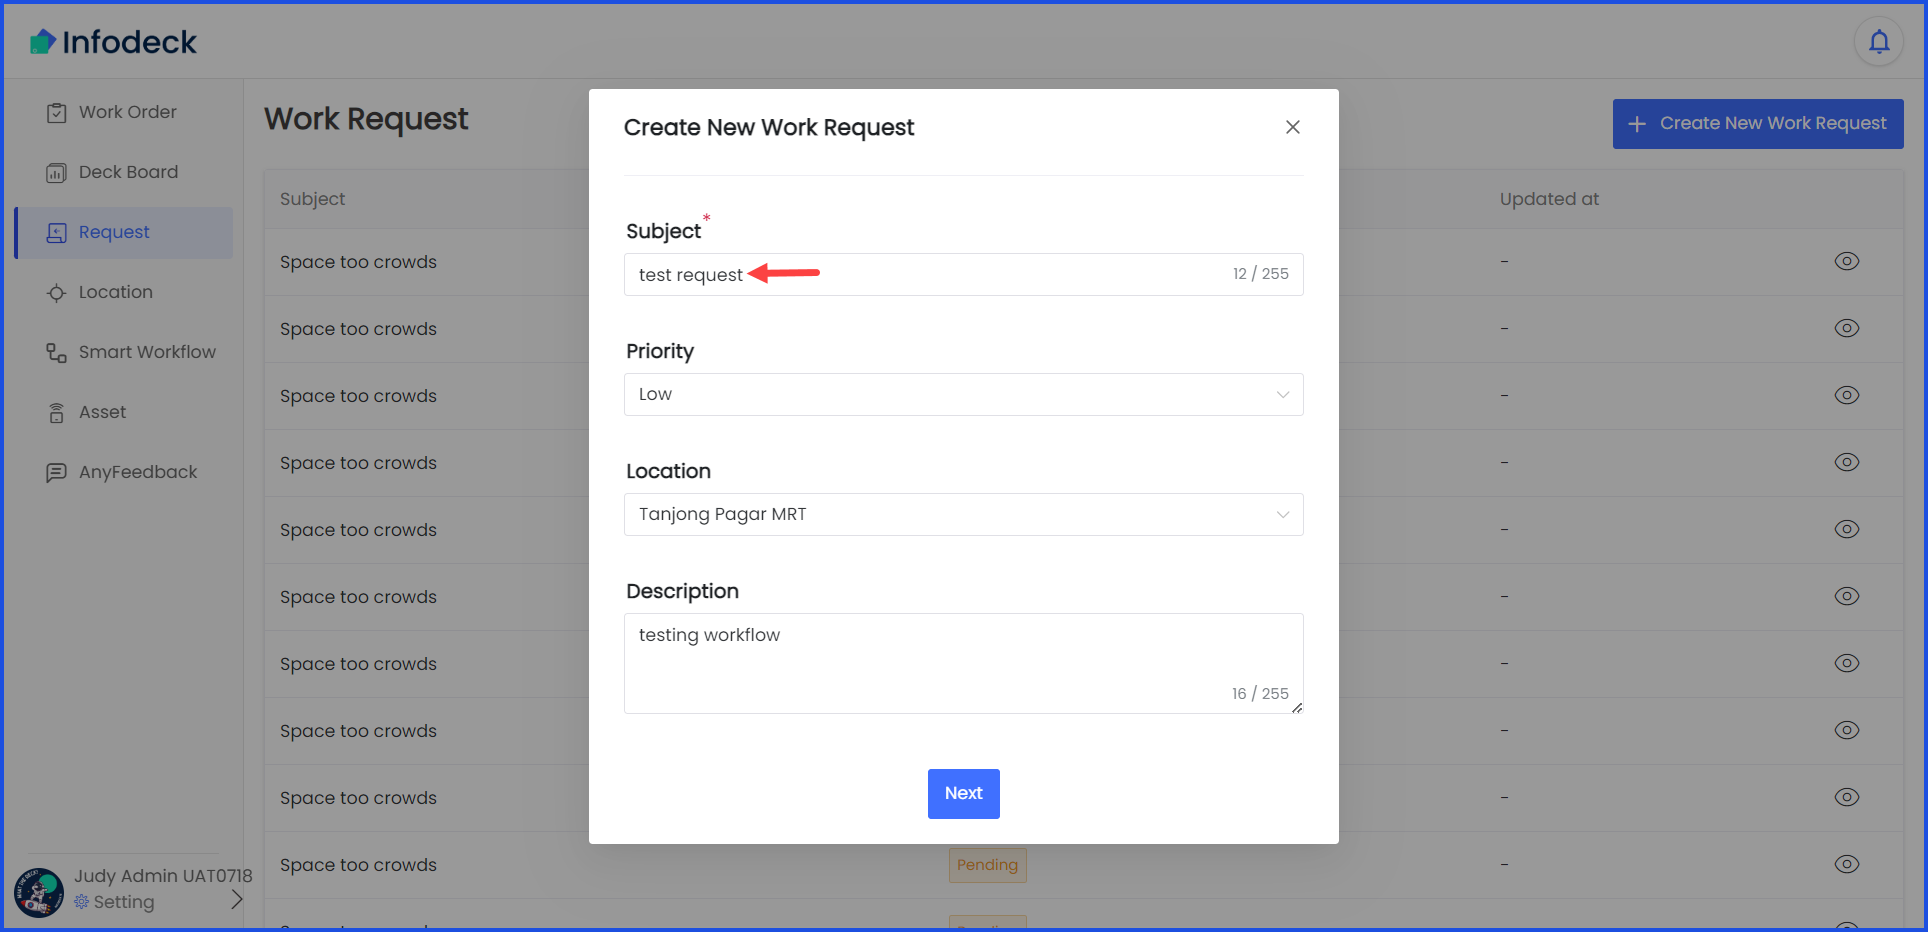
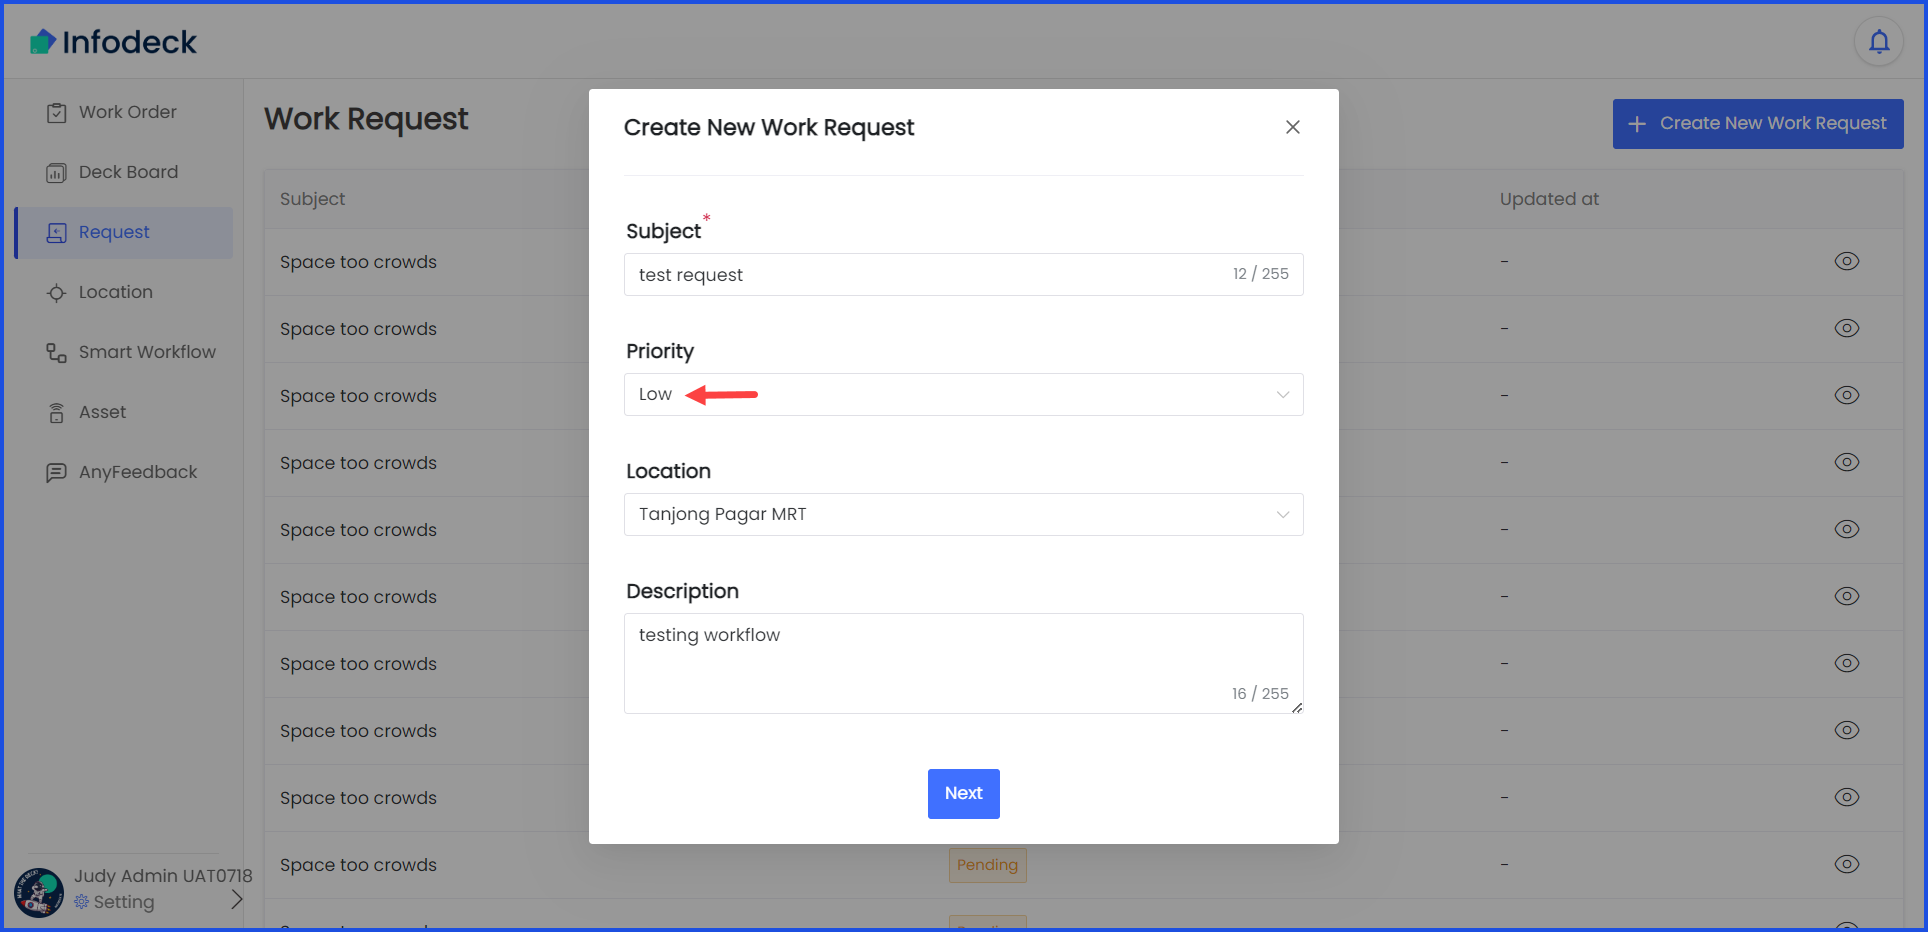
4. Select the priority of the work request using the Priority dropdown.
5. Use the Location dropdown to select the location for which the request is being created.
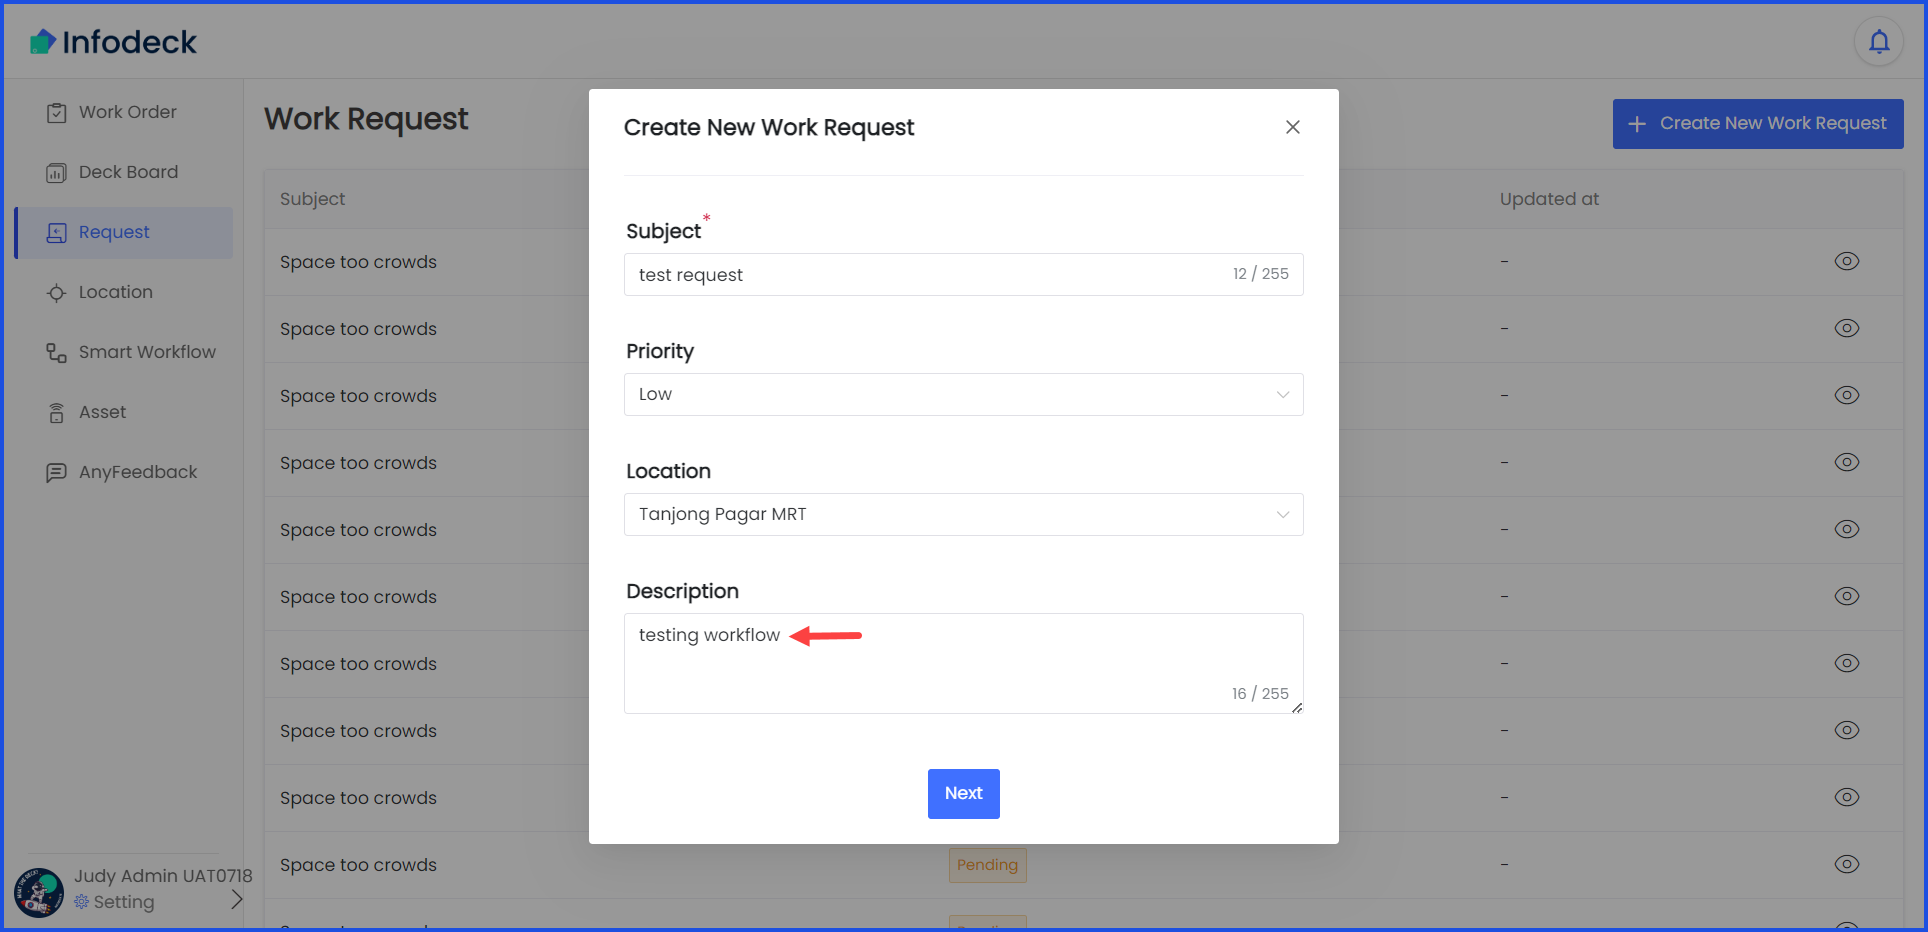
5. Enter a description of the work request in the Description textbox.
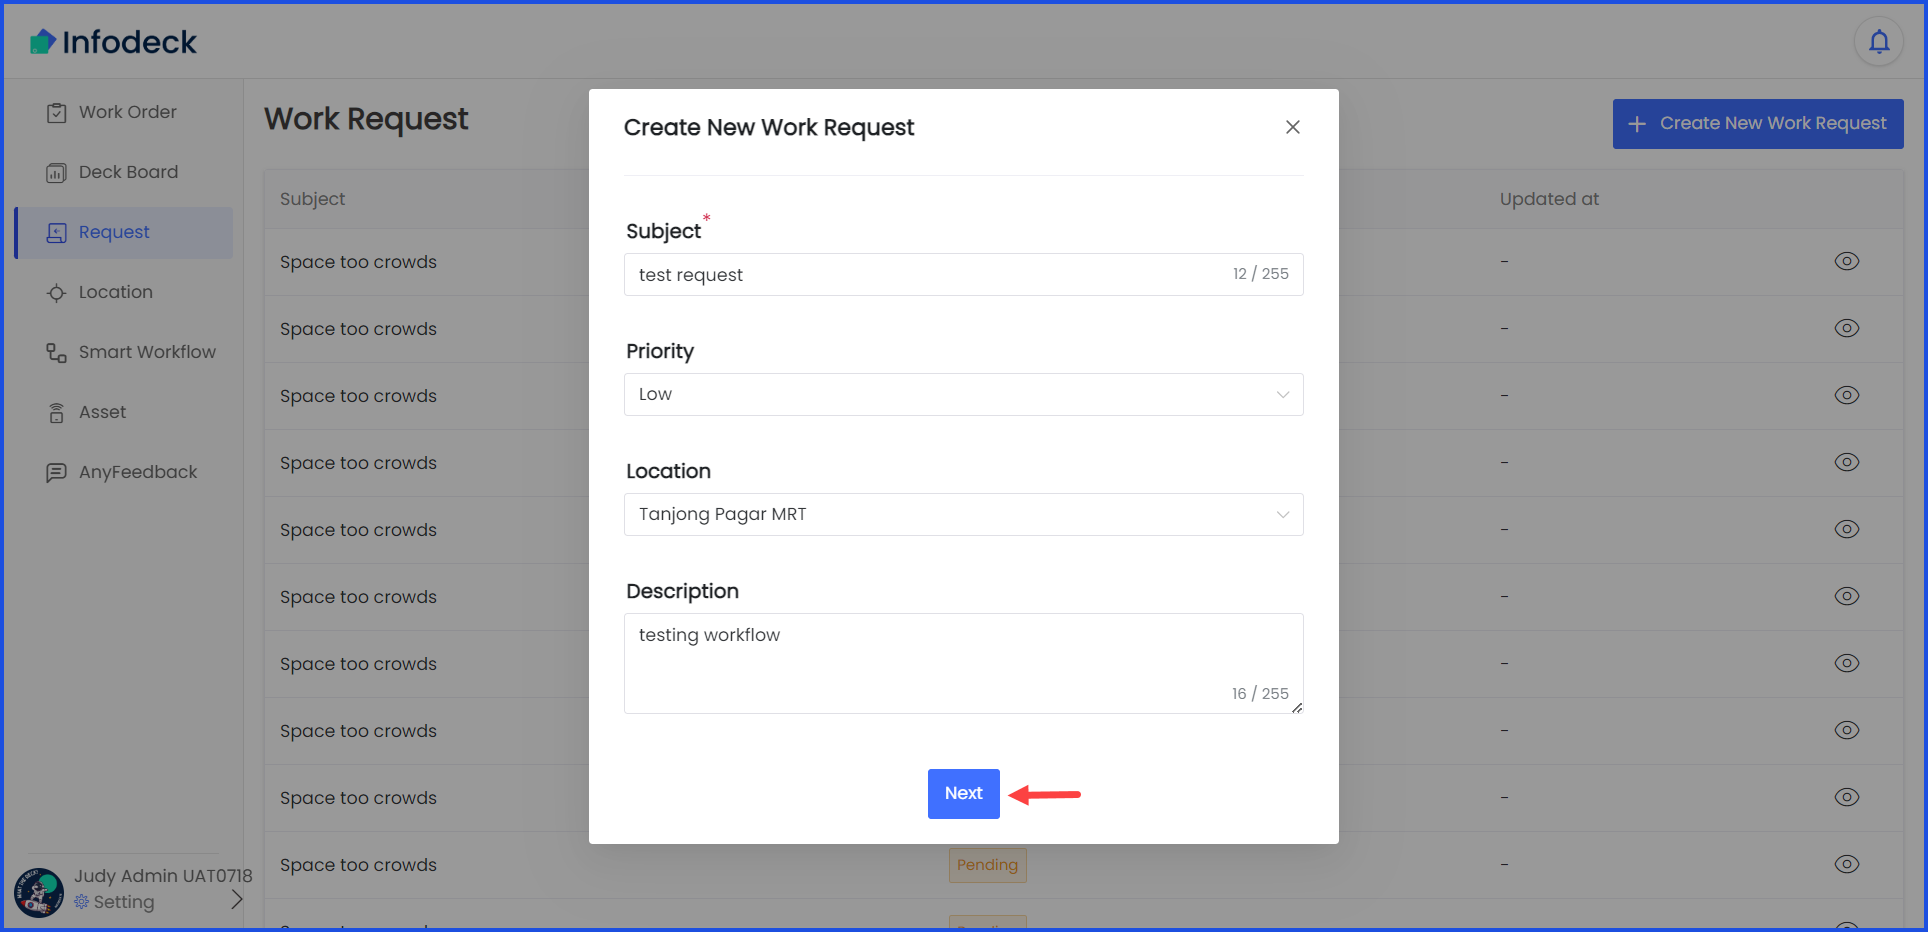
6. Once the details are recorded, click the Next button.
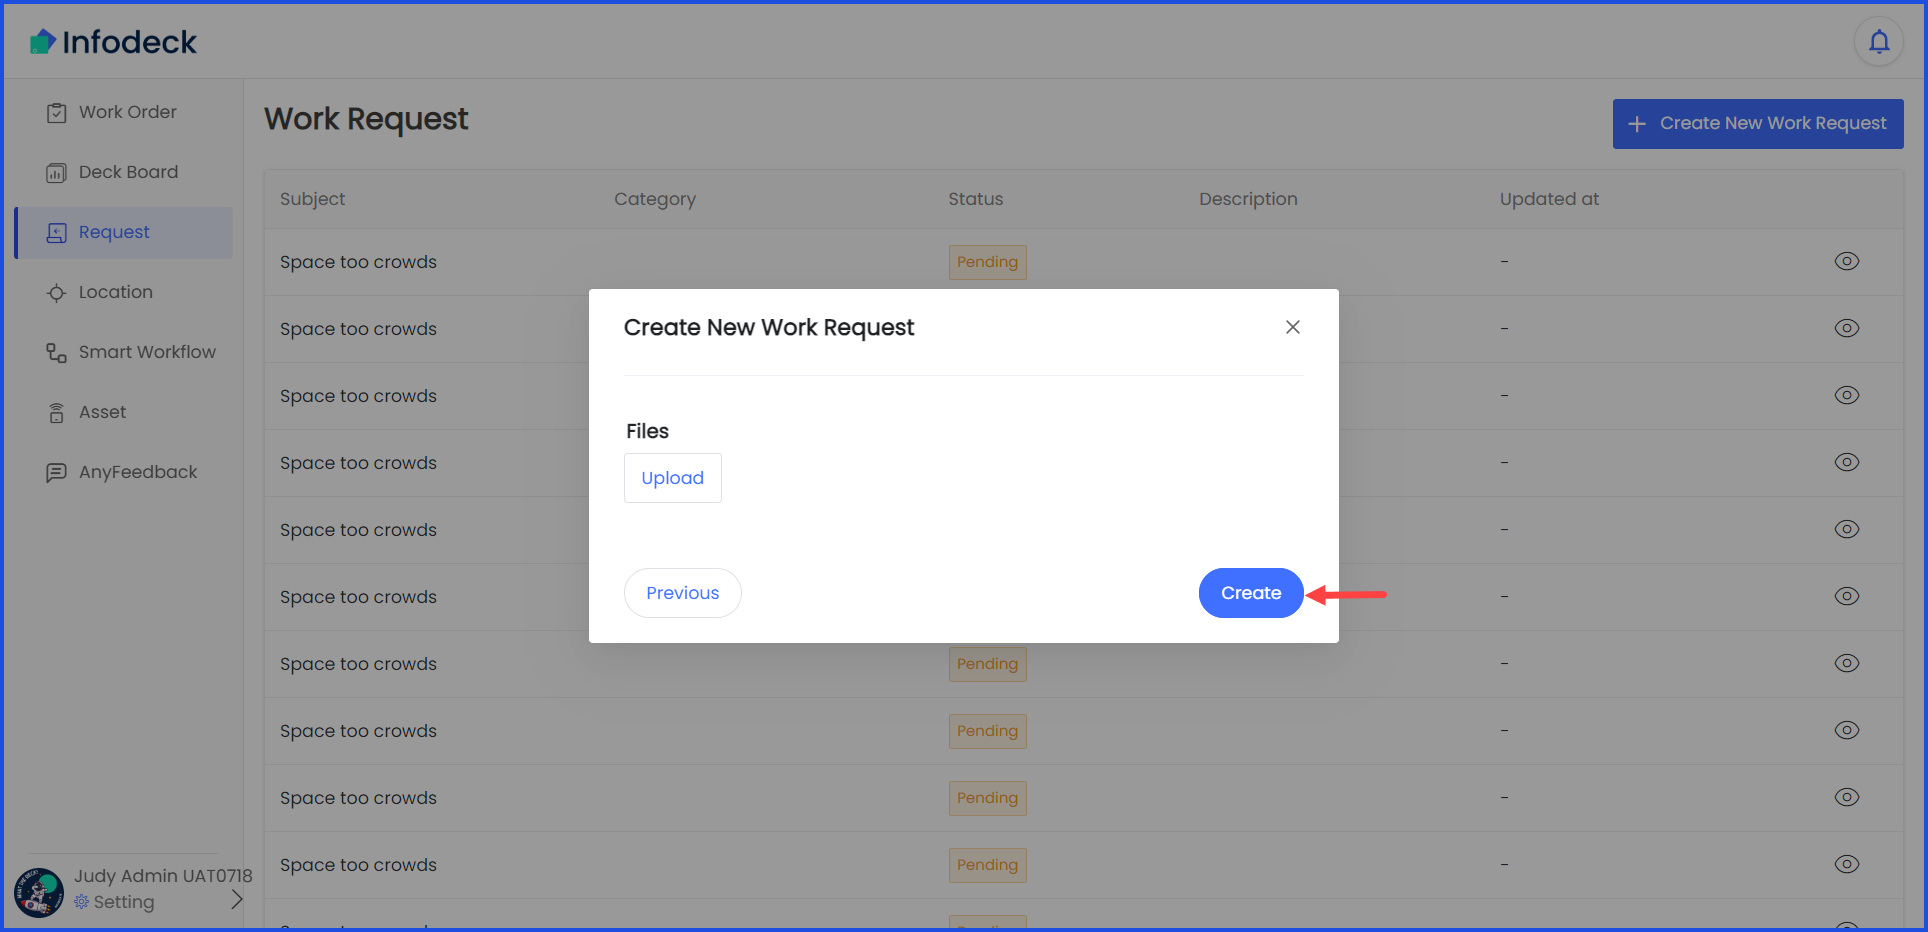
7. As a result, the window transforms into a popup. Here, click the Upload button under Files heading to upload any attachments related to the work request. Clicking this button opens your system storage to choose a file from.

8. Once the selected file(s) are uploaded, click the Create button.