How to Create a New Work Order?
Learn how you can create a new work order

Sohaib
Last Update 3 years ago
Infodeck > Left Navigation Bar > Work Order
1. Follow the above-mentioned workflow to land on the Work Order screen.
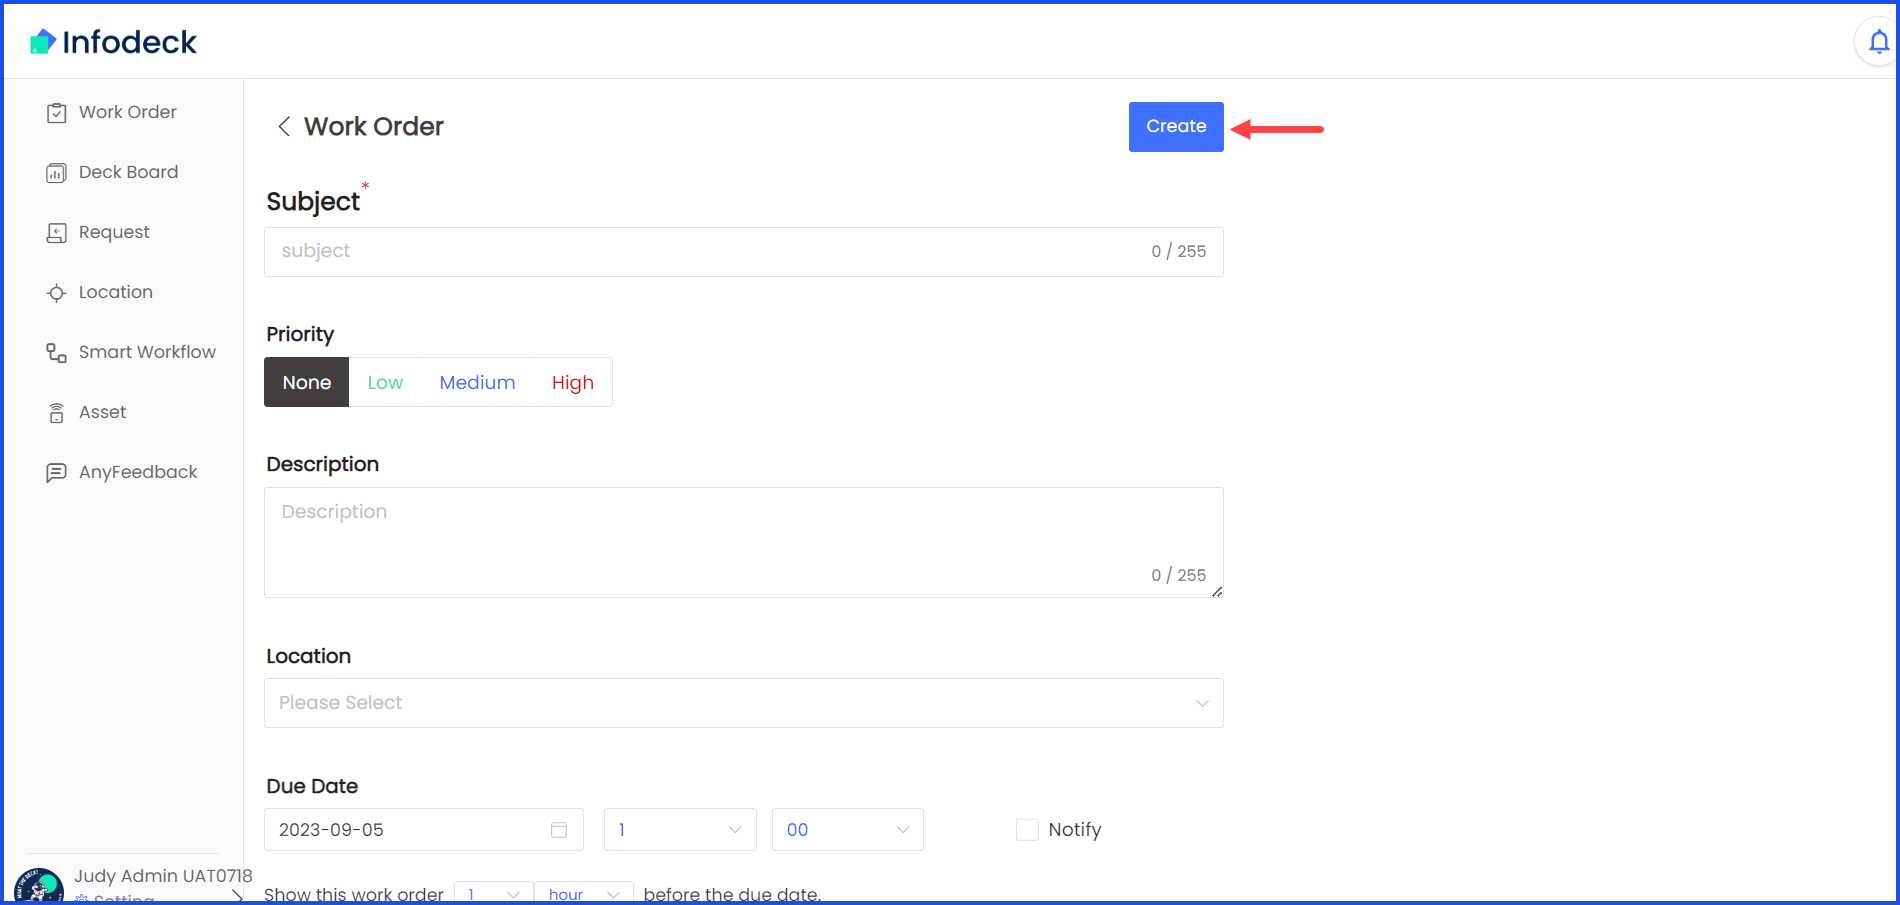
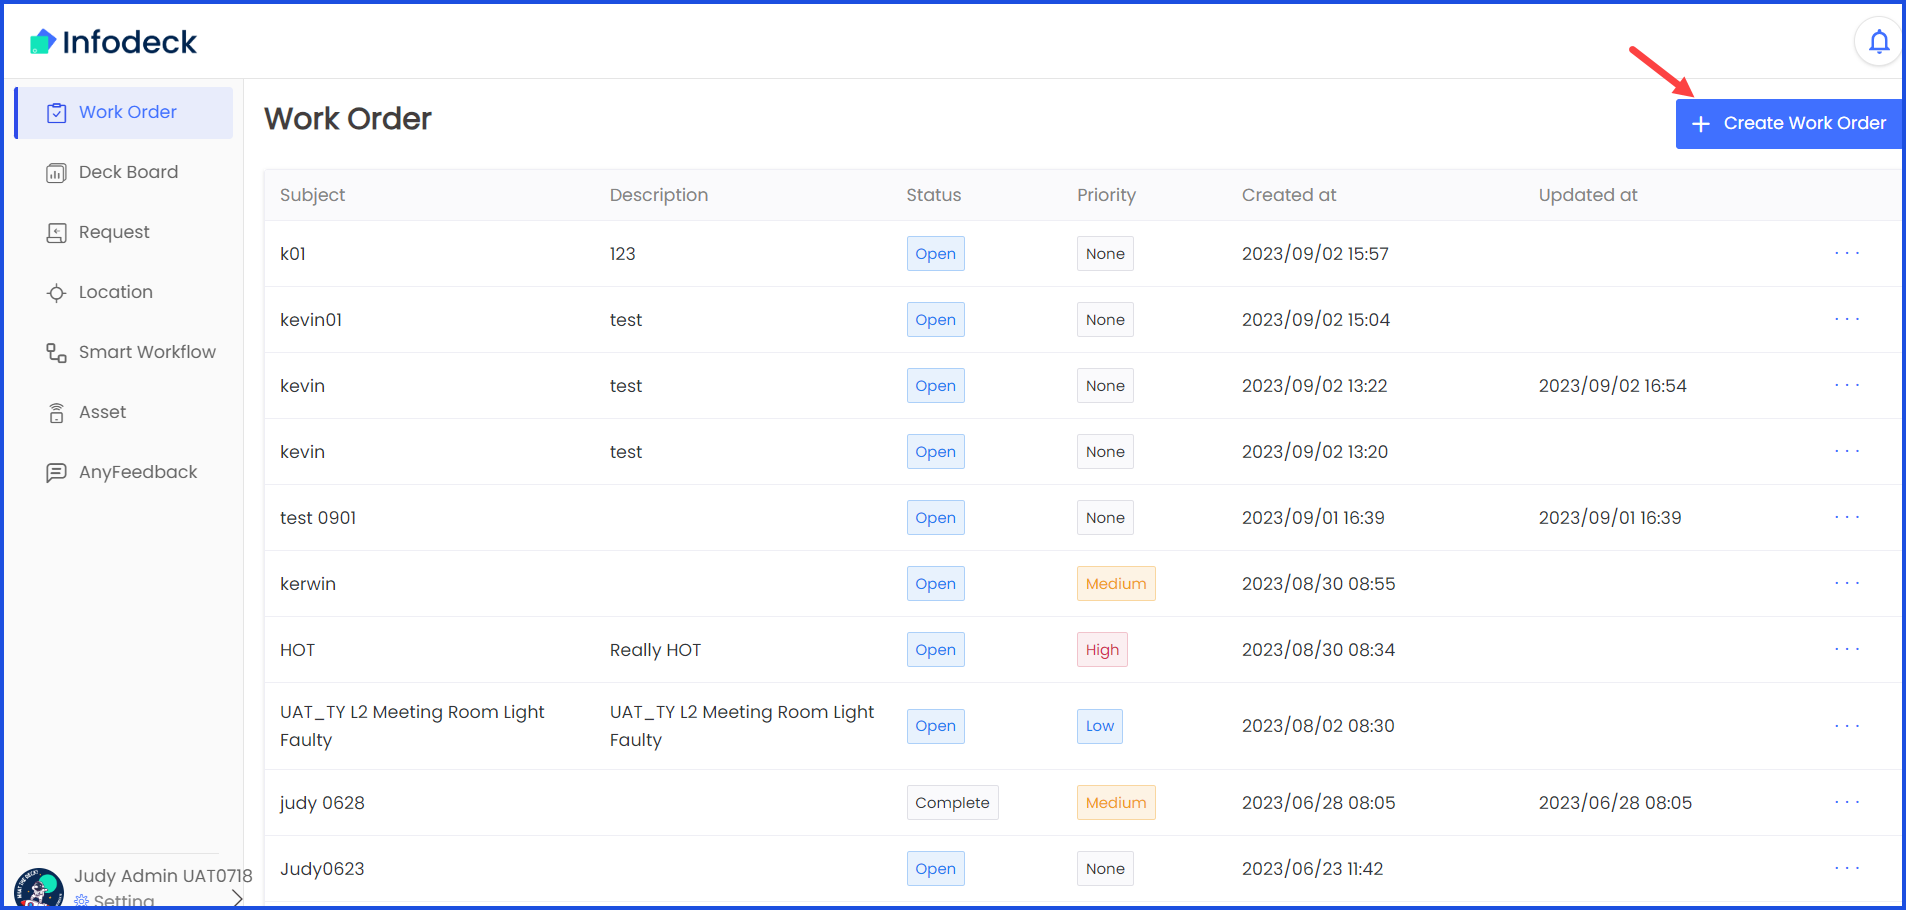
2. To create a new work order, click the + Create Work Order button located at the top-right corner of the screen. This takes you to the work order creation screen.
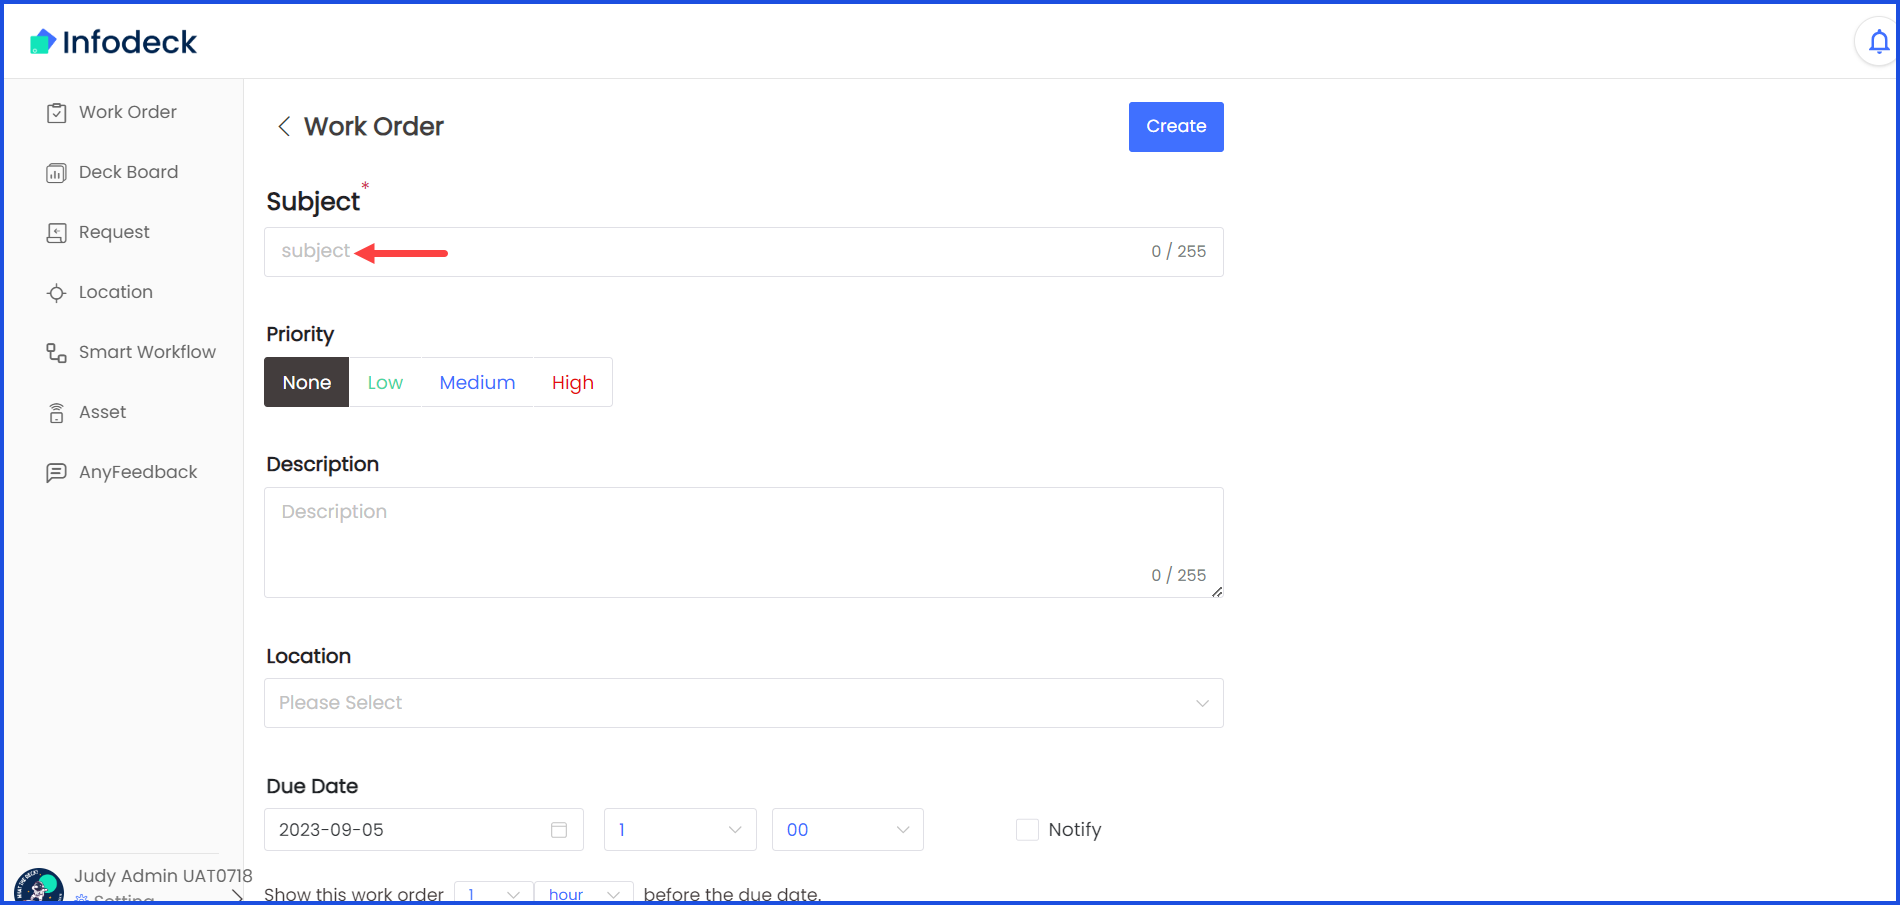
3. Here, use the Subject field to enter the subject of the work order.
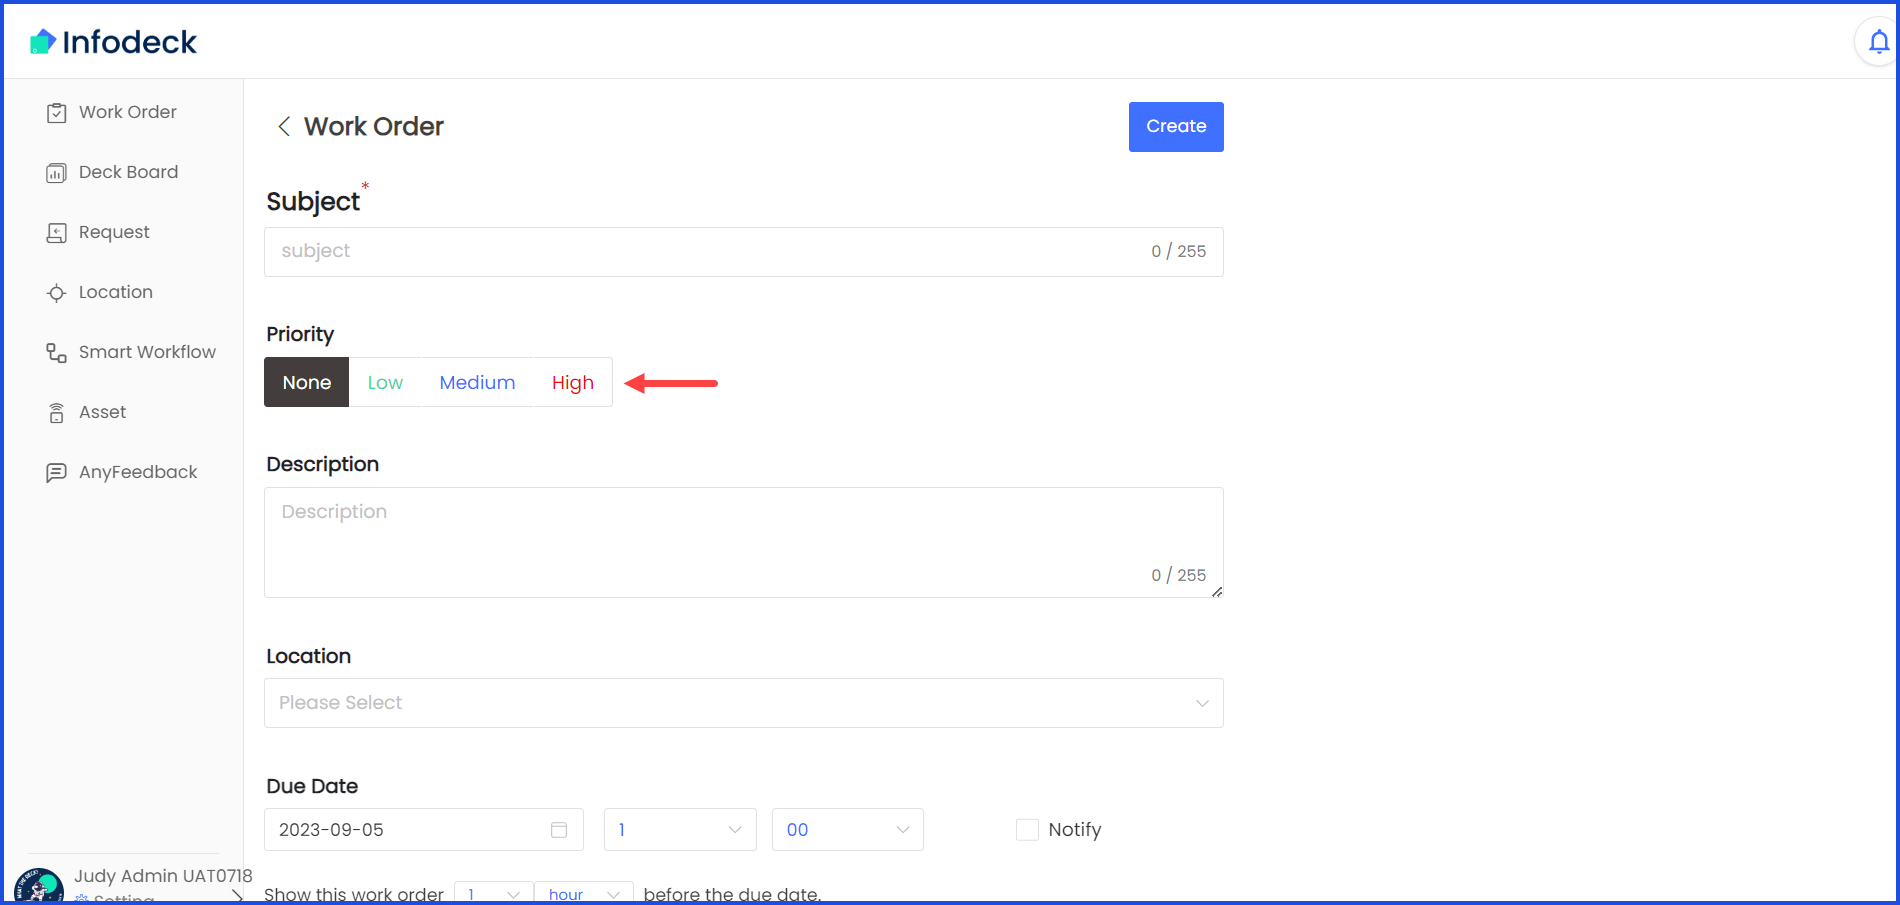
4. Select the priority you want to assign to this work order from the options available under the Priority heading.
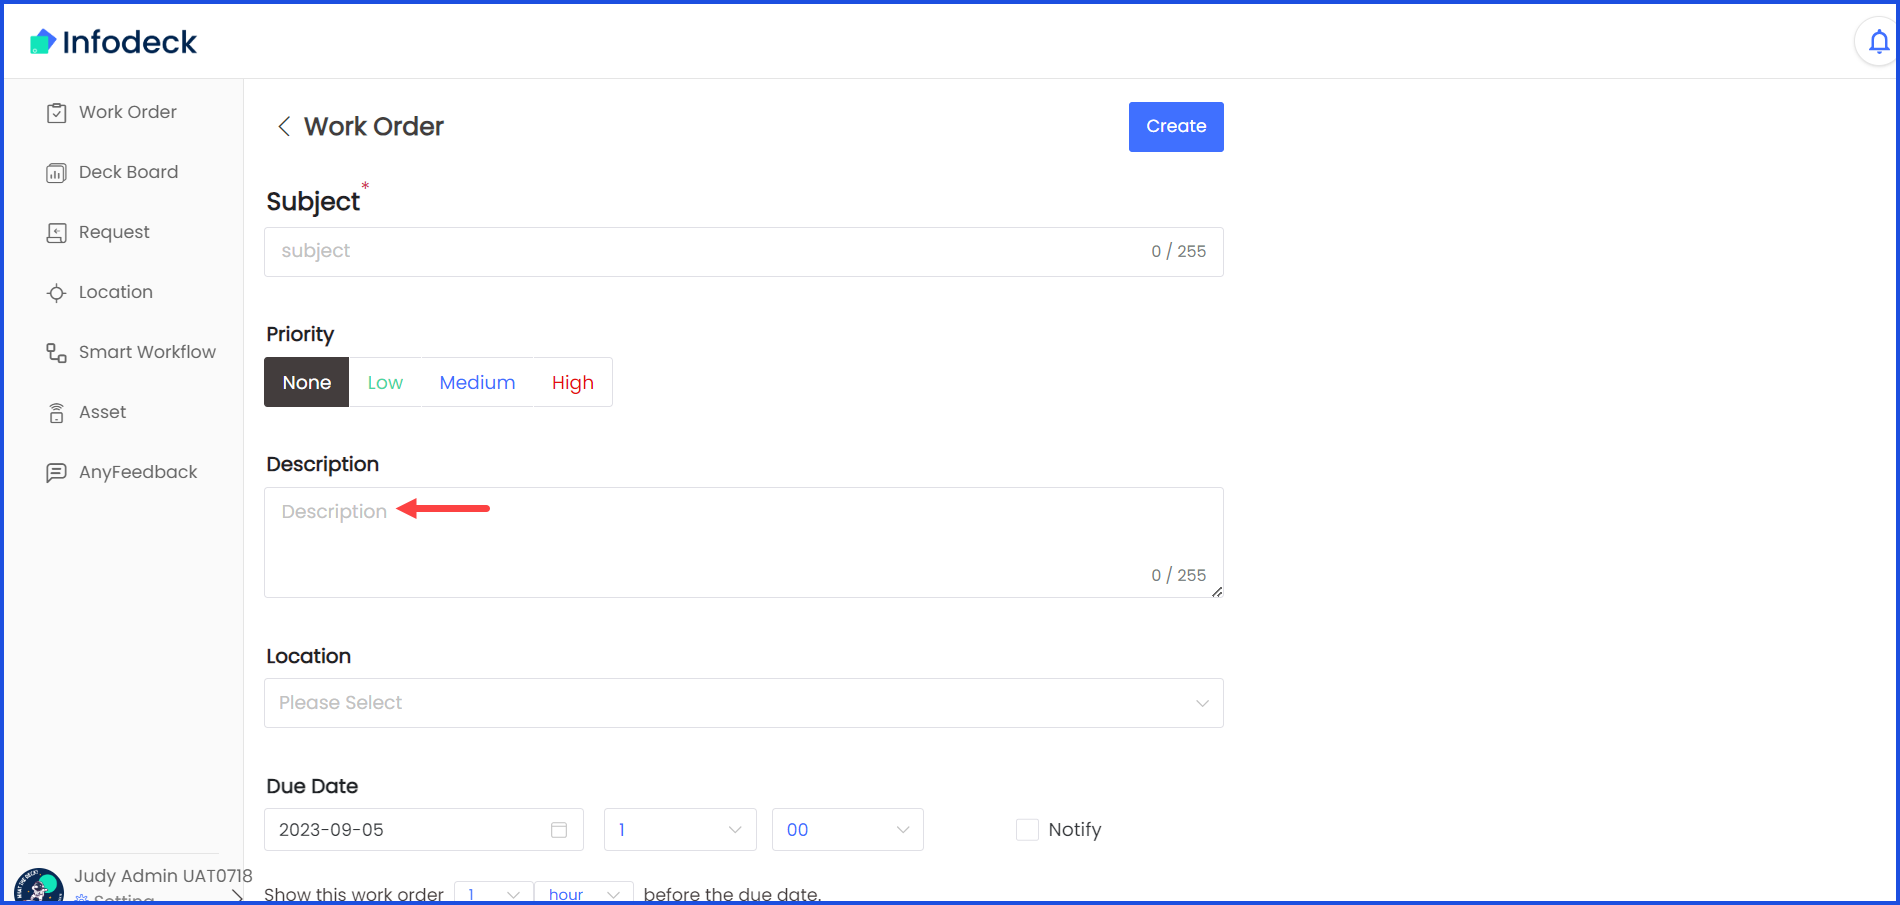
5. Use the Description textbox to enter a description for the work order.
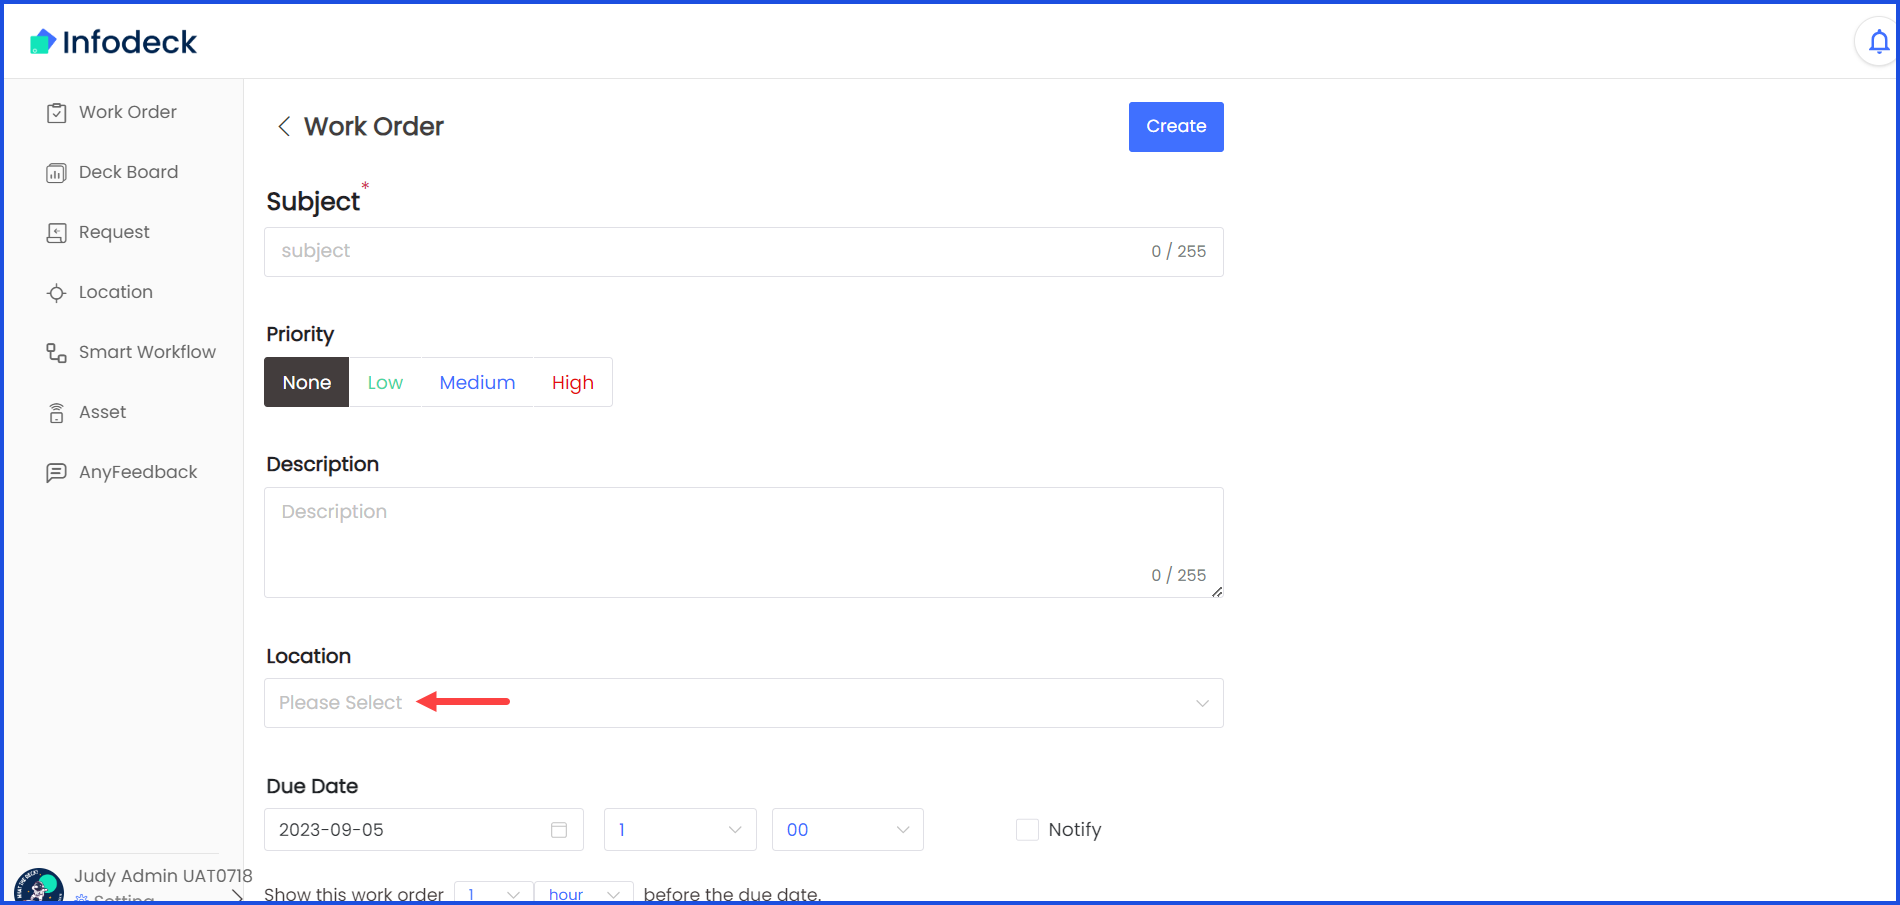
6. Select the location for which the work order is being created using the Location dropdown.
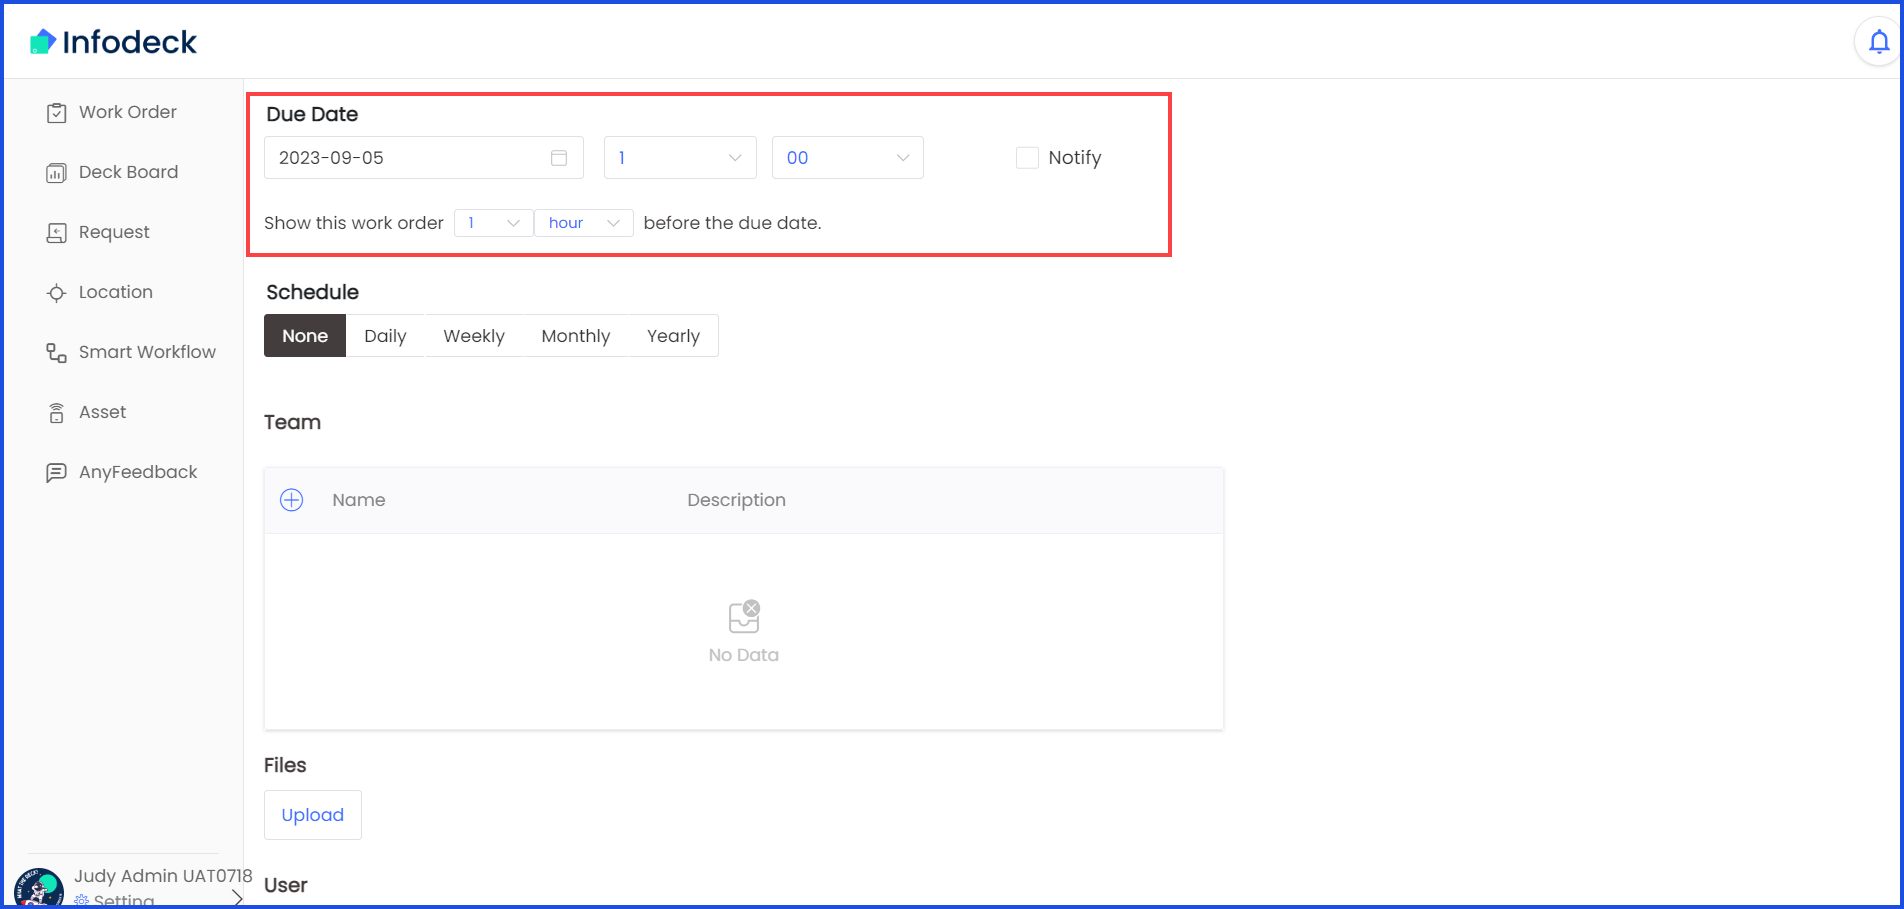
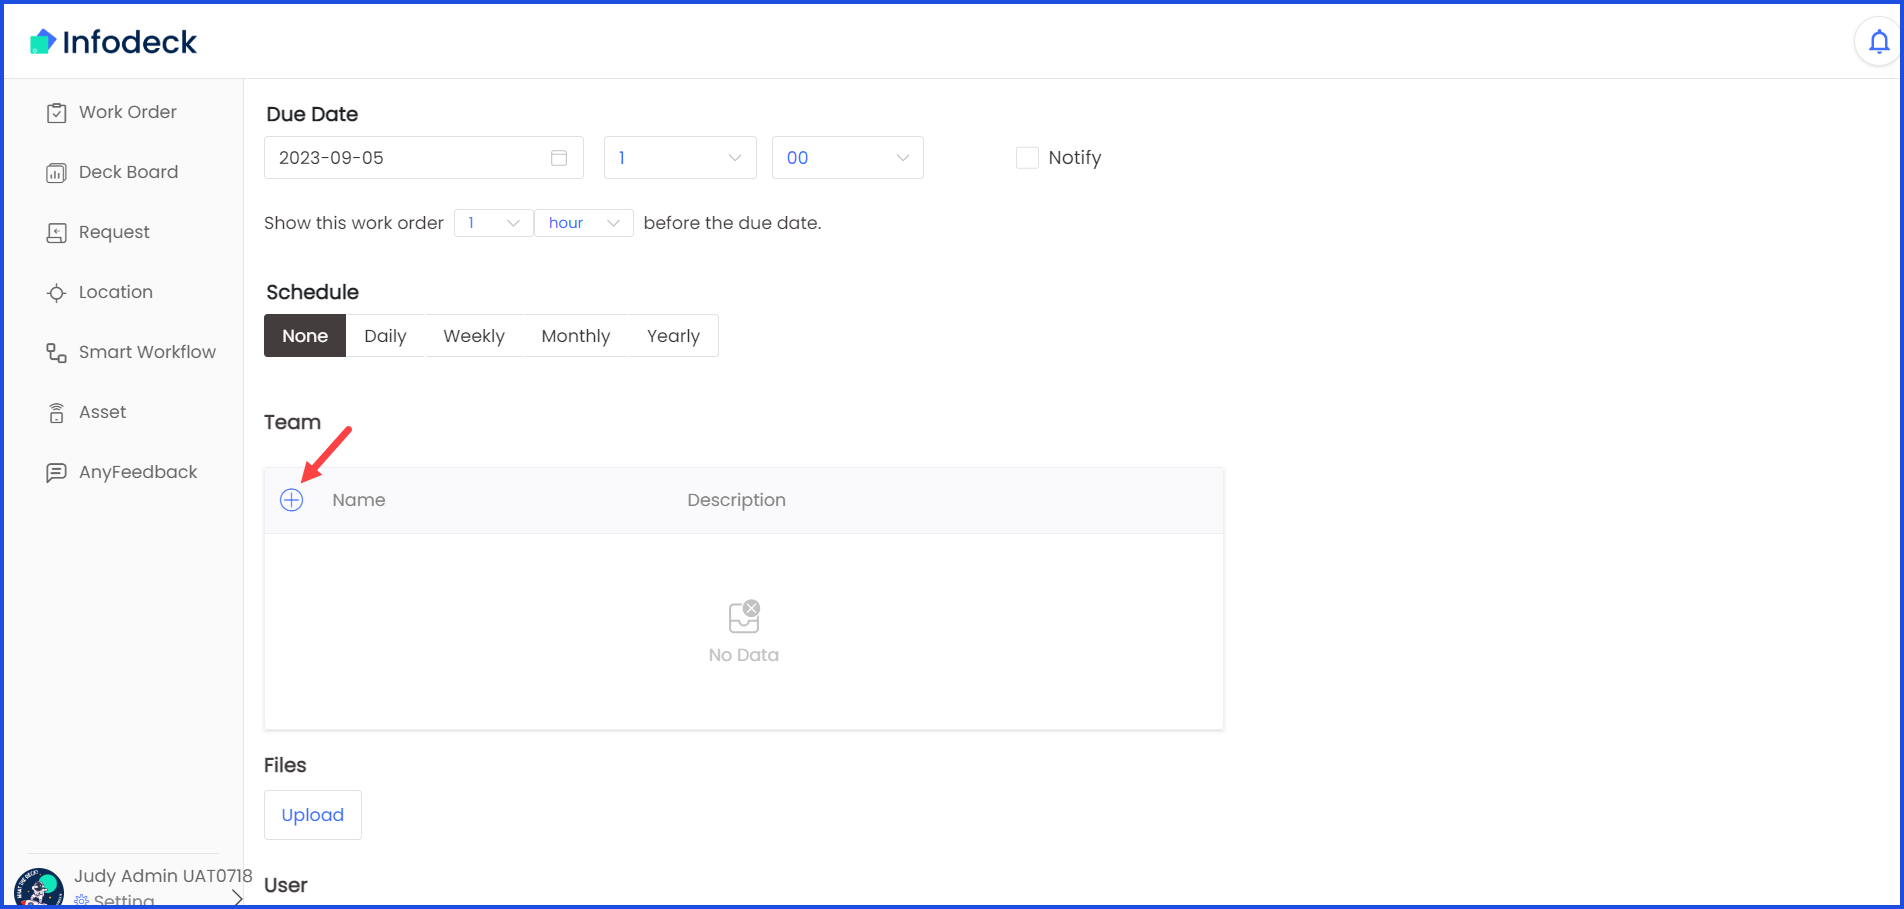
7. Use the date selectors under Due Date to select the due date for the work order.
8. Set the time frame from the dropdowns below the date selectors to define how early before the due date the work order is displayed.
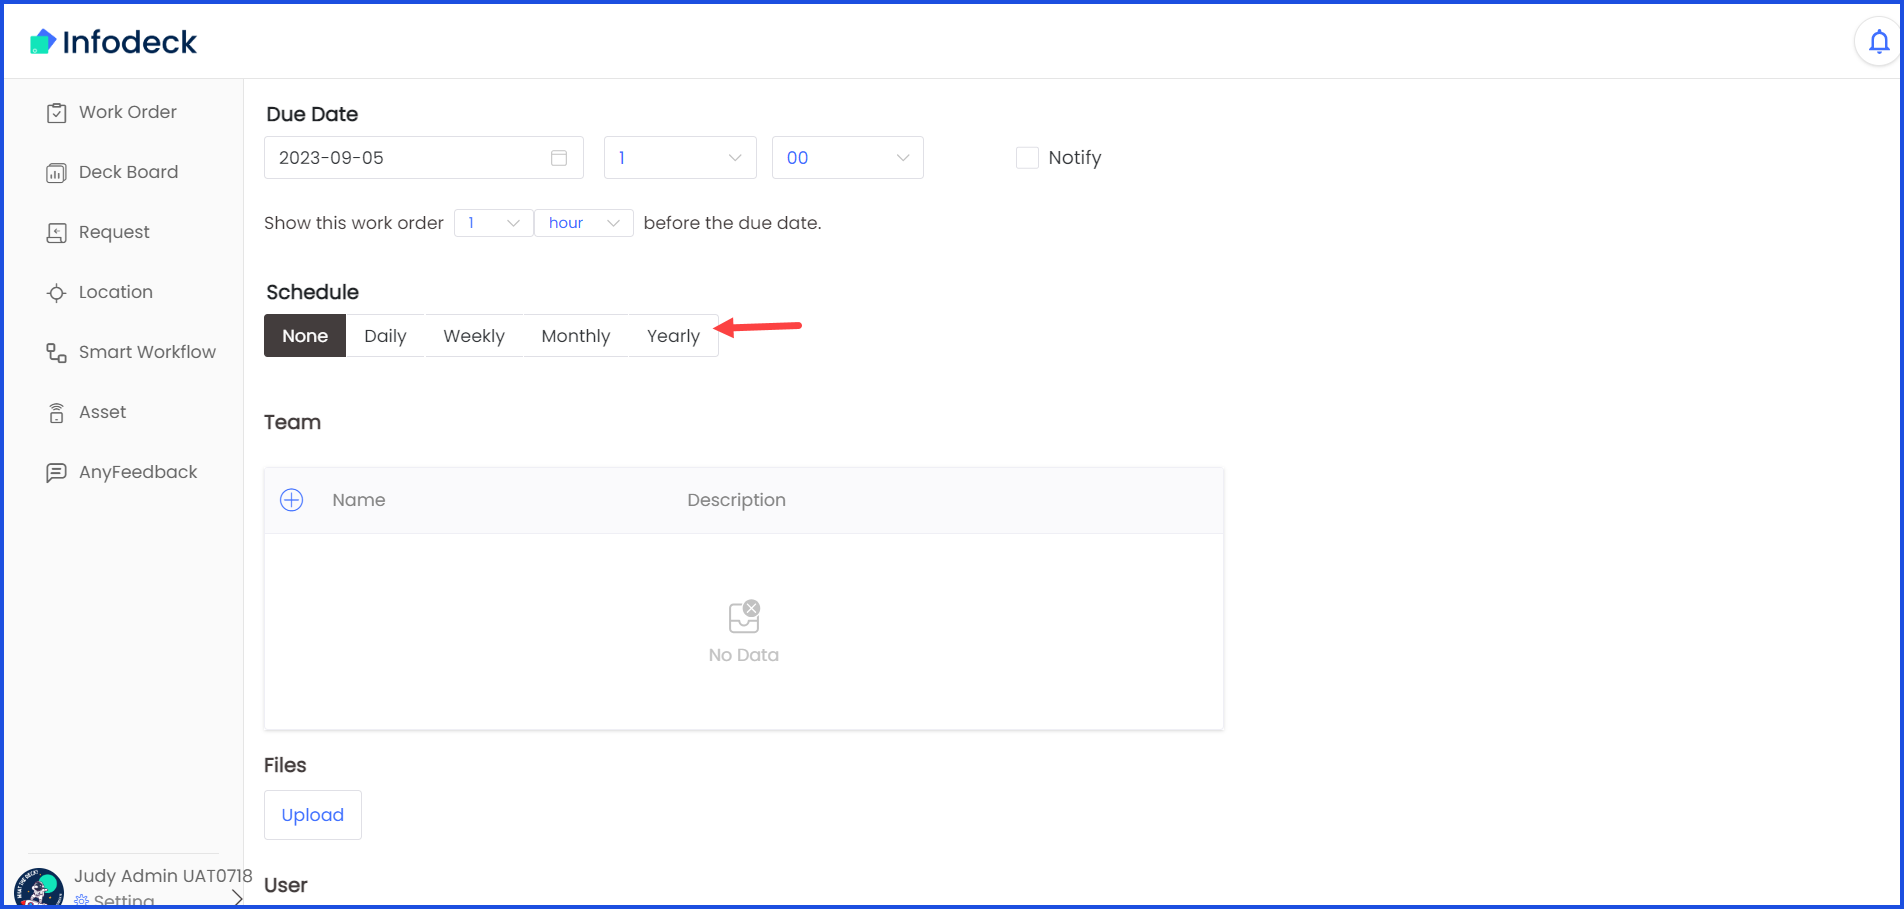
9. Set the schedule for the work order using the options available under the Schedule heading.
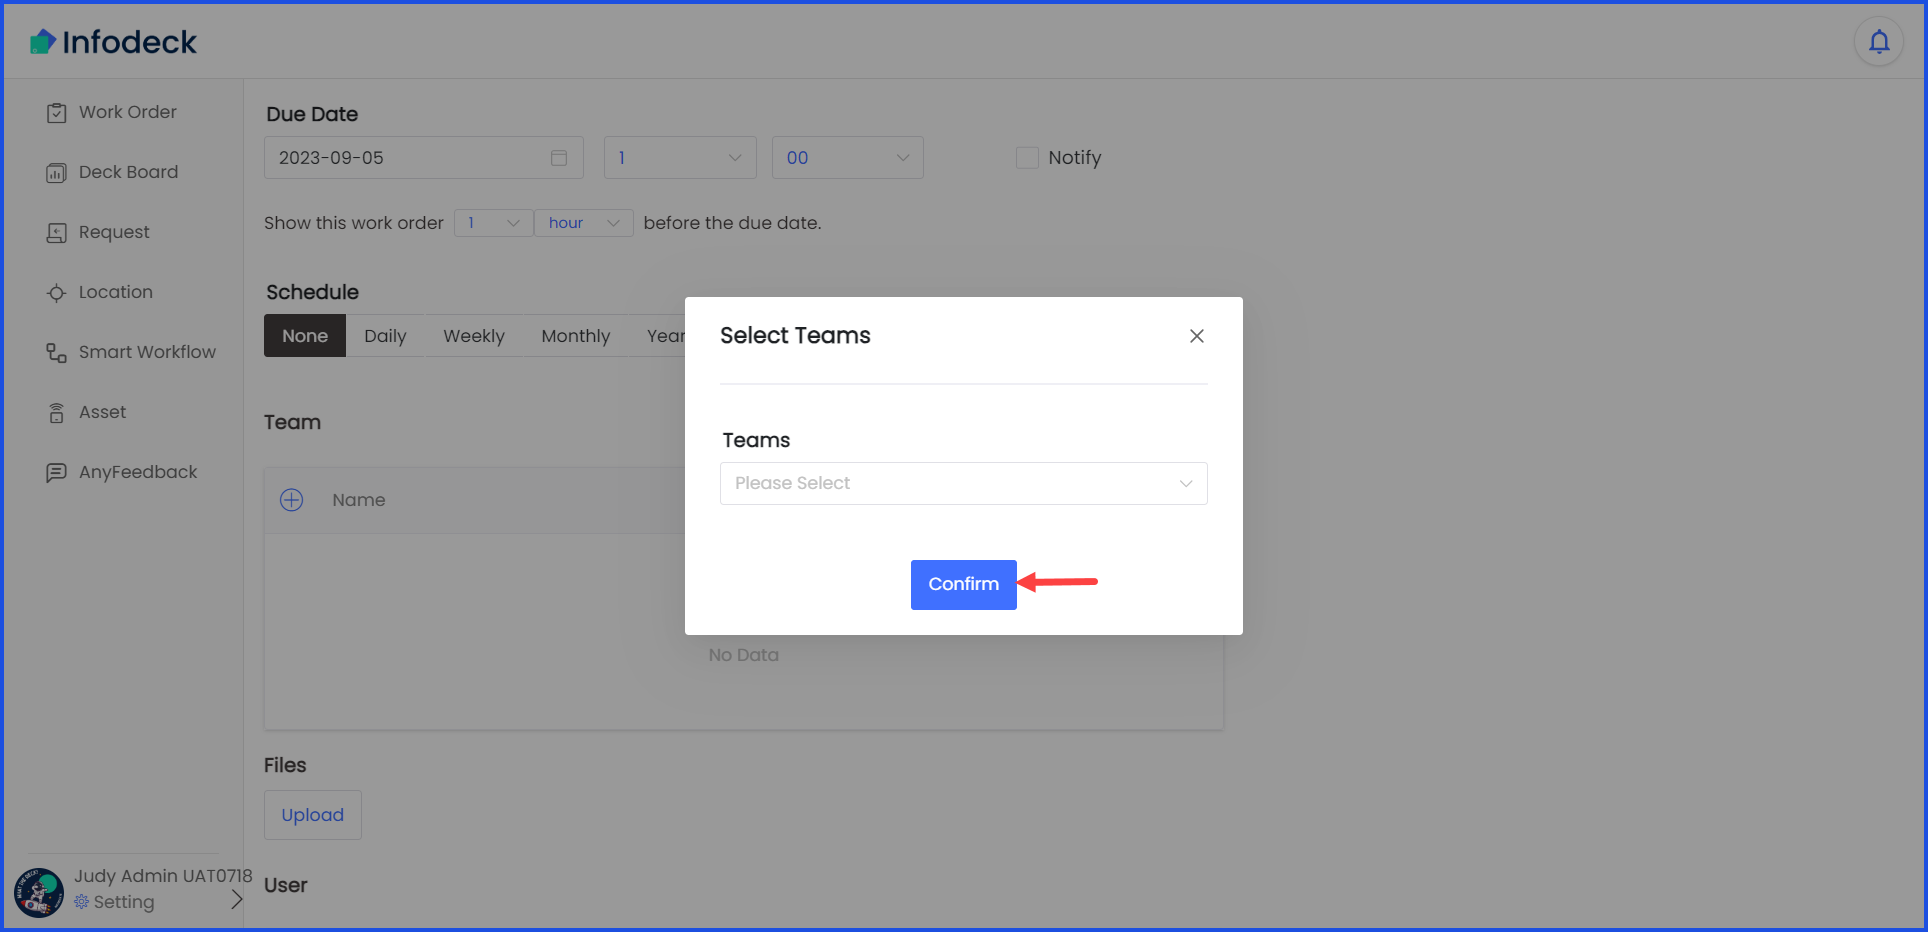
10. To assign teams to this work order, click the + icon located at the top-left corner of the Teams window. Doing so opens the Select Teams popup.
11. From the popup, use the Teams dropdown to select the team you want to assign the work order to.

12. Once selected, click the Confirm button.
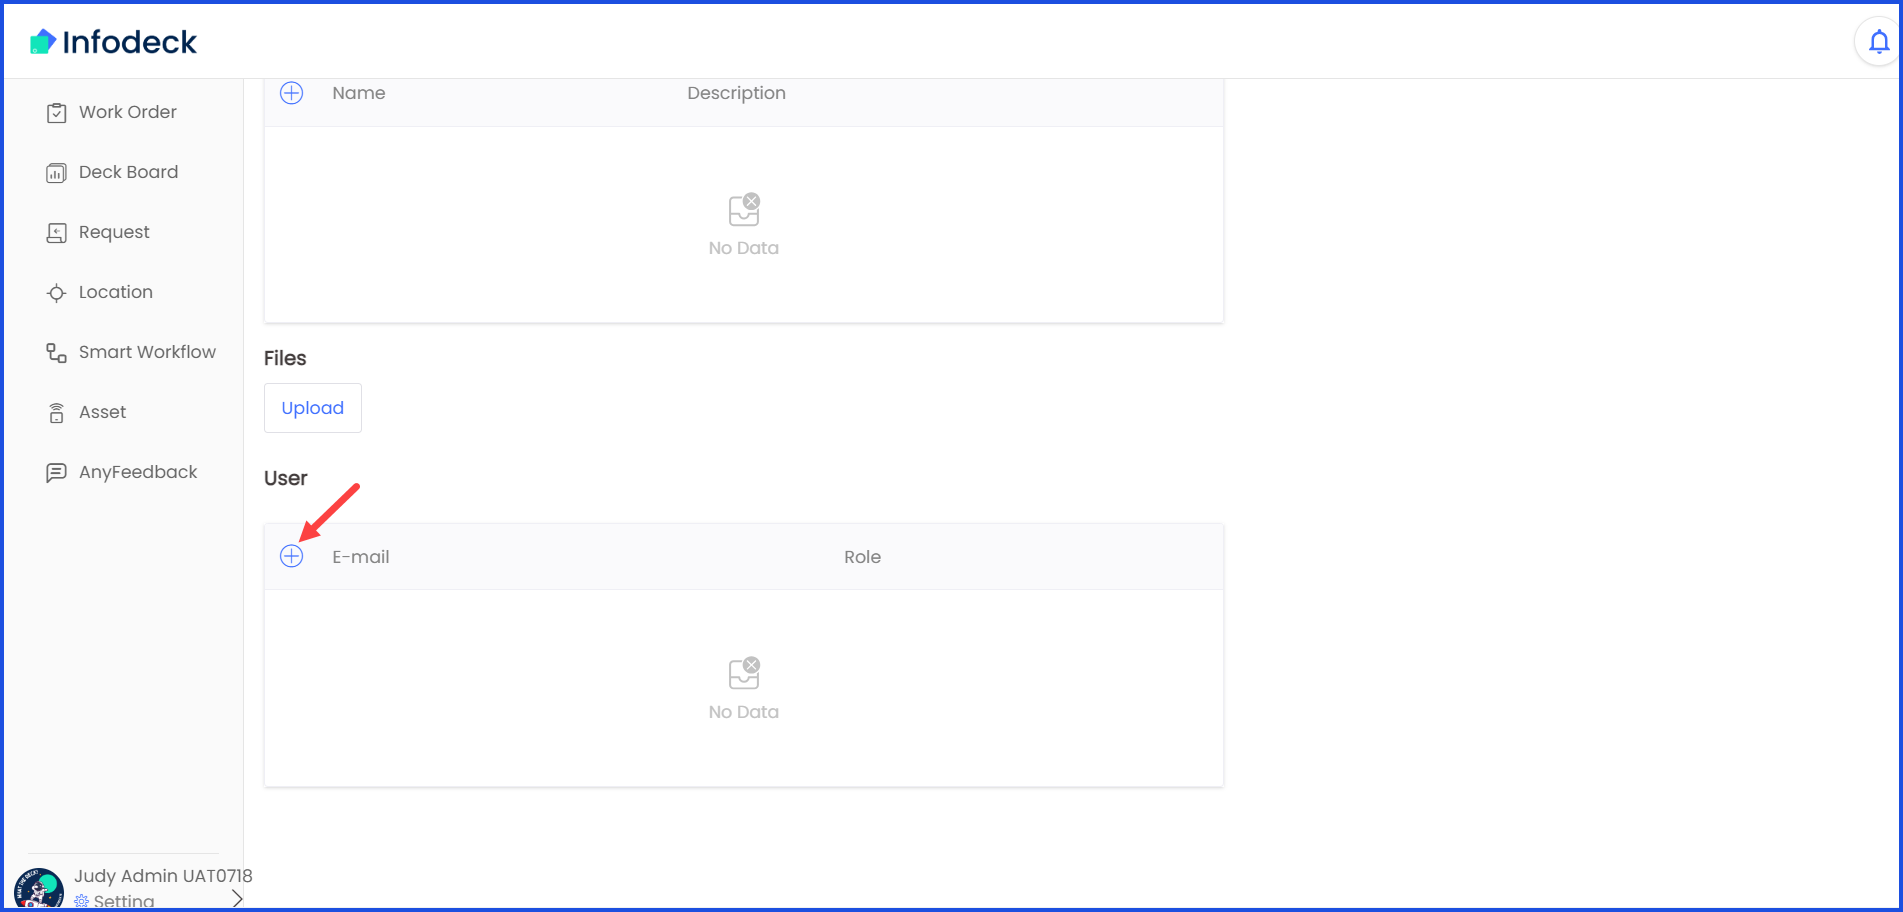
13. Click the Upload button under the Files heading to upload any attachments with the work order. Clicking this button opens your system storage for you to choose a file from.

14. Moving towards the end, the user(s) can be added in the same way as the teams. You can add user(s) for the created work order to be accessible to them.
15. Once all the required selections are made, click the Create button atop the screen.