How to Create a Condition-Based Smart Workflow?

Sohaib
Last Update a year ago
Infodeck > Left Navigation Bar > Smart Workflow
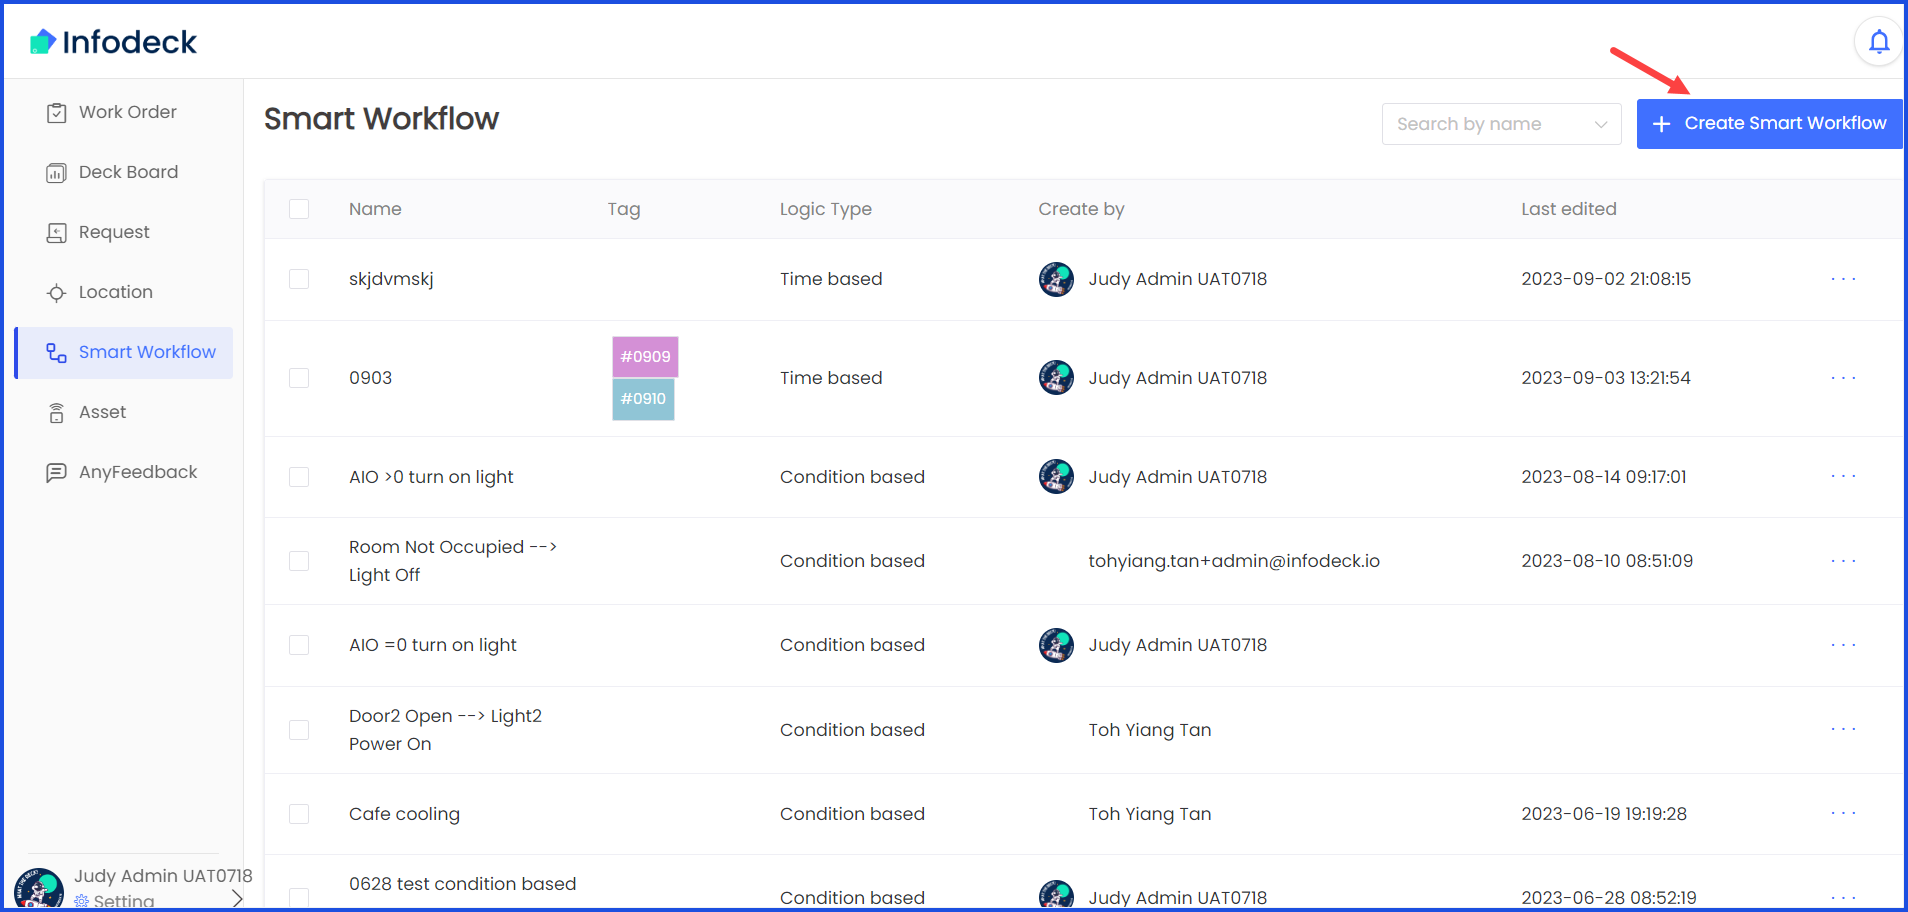
1. Follow the above-mentioned workflow to land on the Smart Workflow screen.
2. Click the + Create Smart Workflow button located at the top-right corner. Doing so opens the Create New Smart Workflow popup.
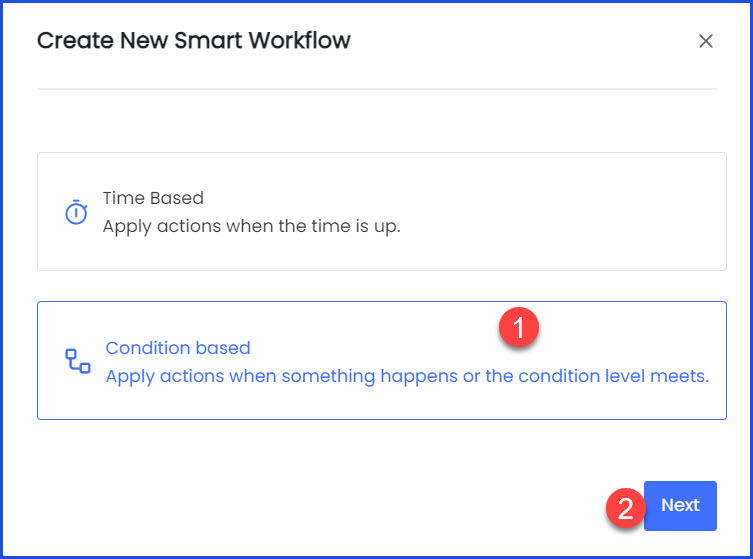
3. From the types displayed, select Condition Based and click the Next button.
4. On the Create Smart Workflow screen, use the Enter Smart Workflow Name field to record the name of the smart workflow.
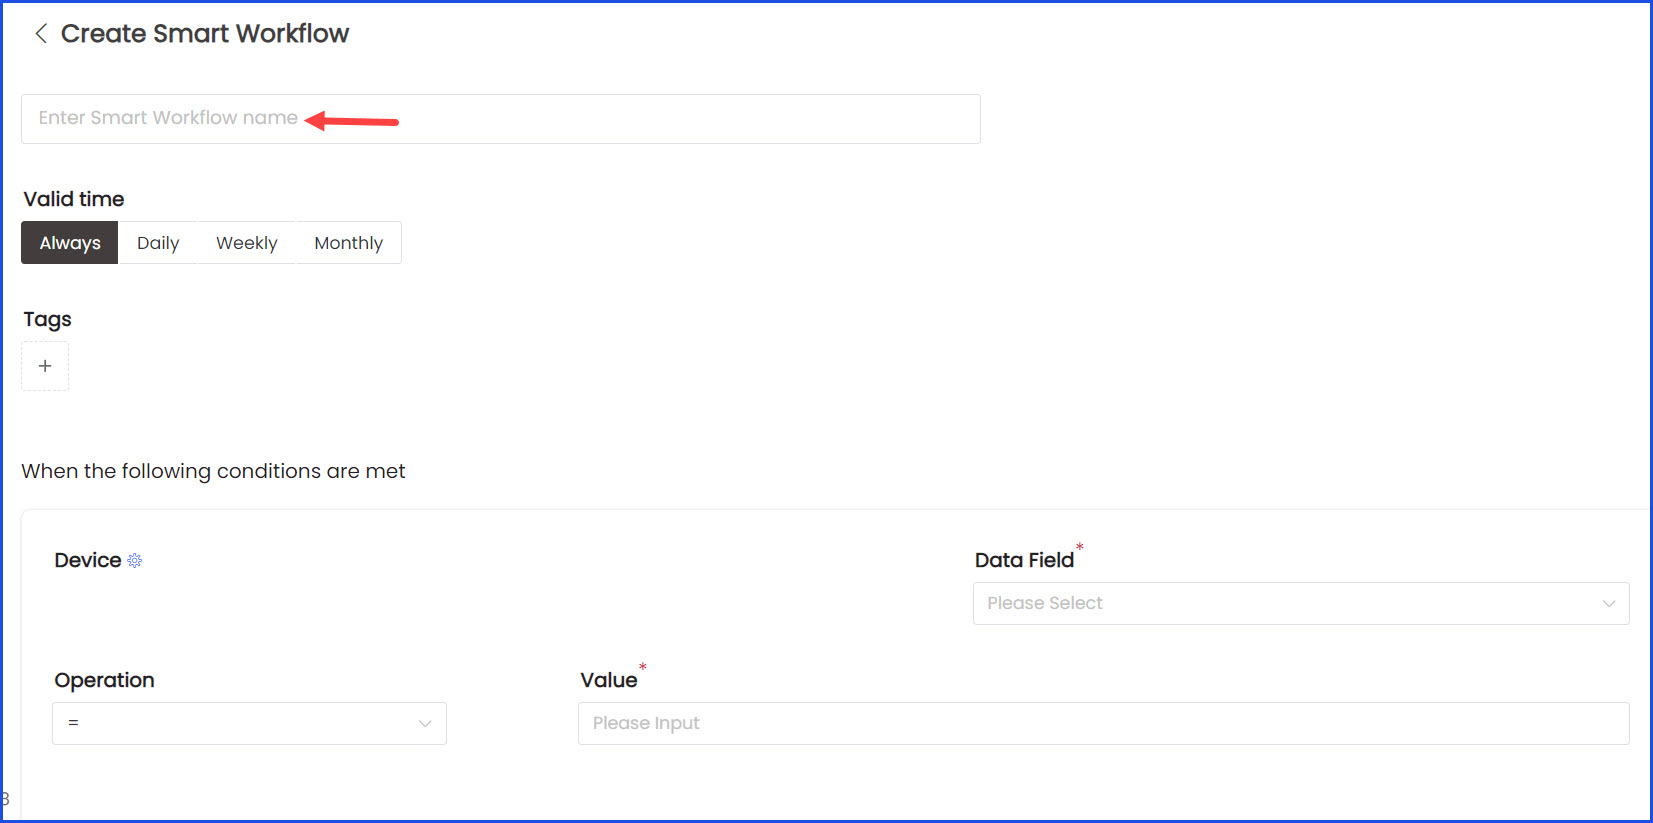
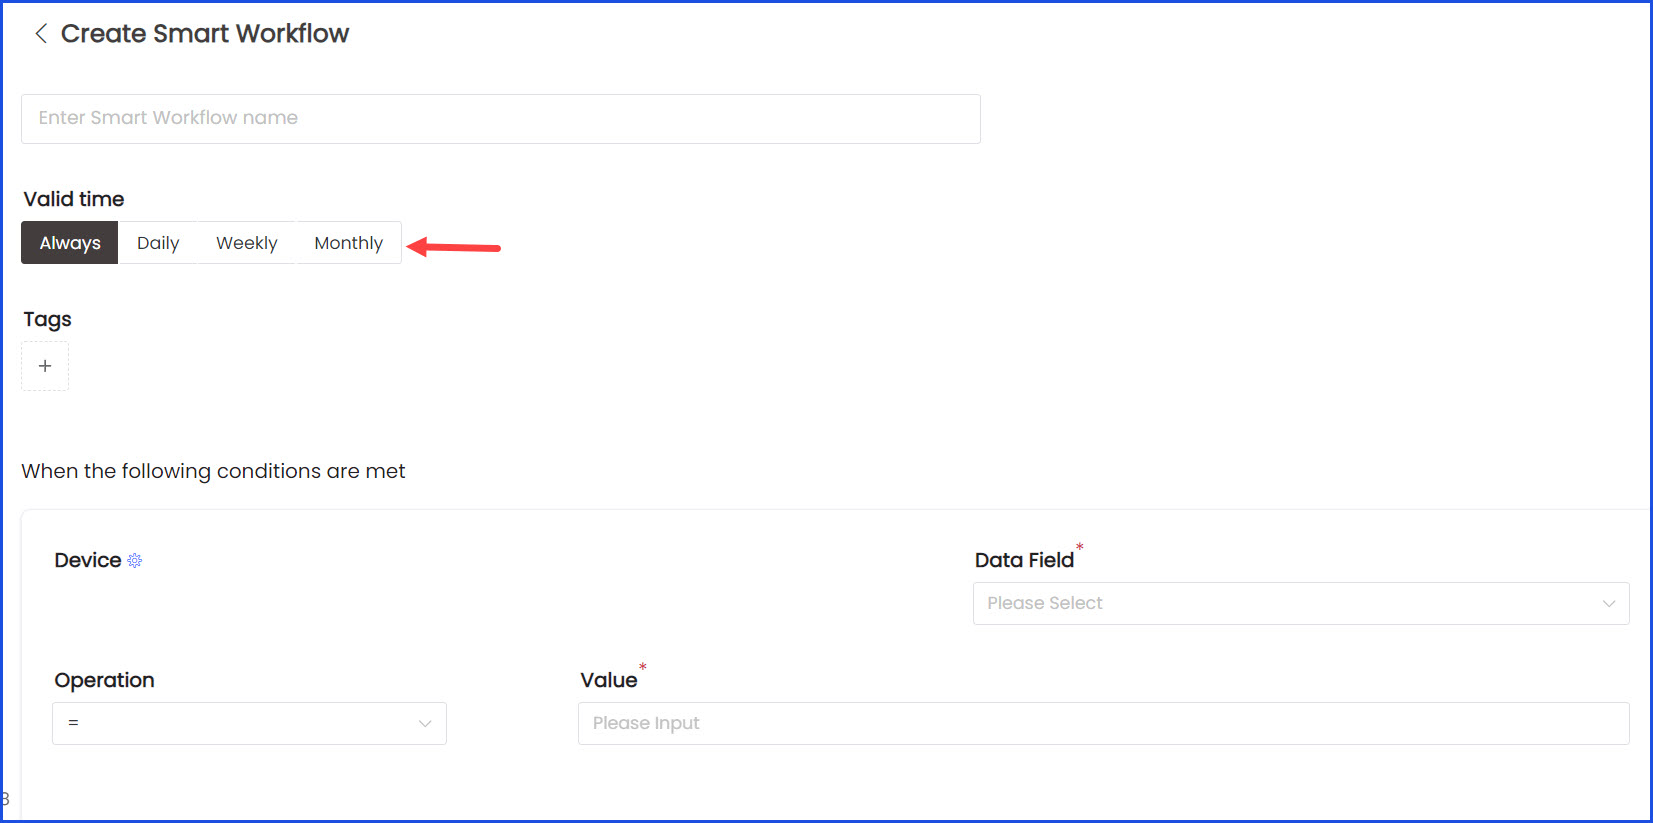
5. Set the validity of the smart workflow using the options displayed under Valid Time heading.
6. Click the + button under the Tags heading to associate any tag(s) to the smart workflow.

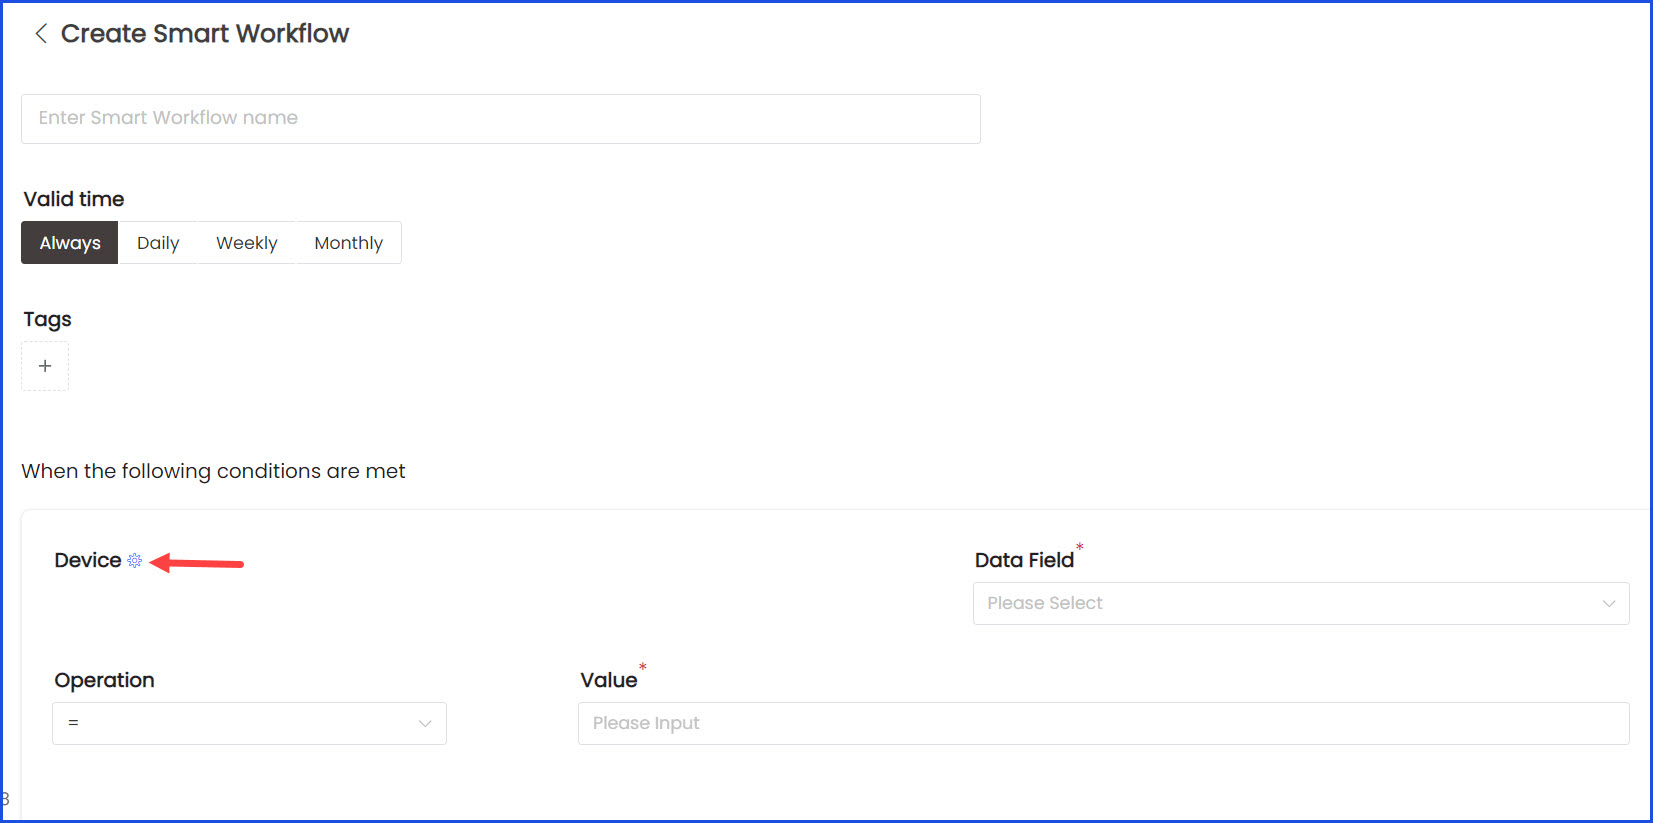
7. Choose a device the same way as explained for the Time Based Smart Workflow.
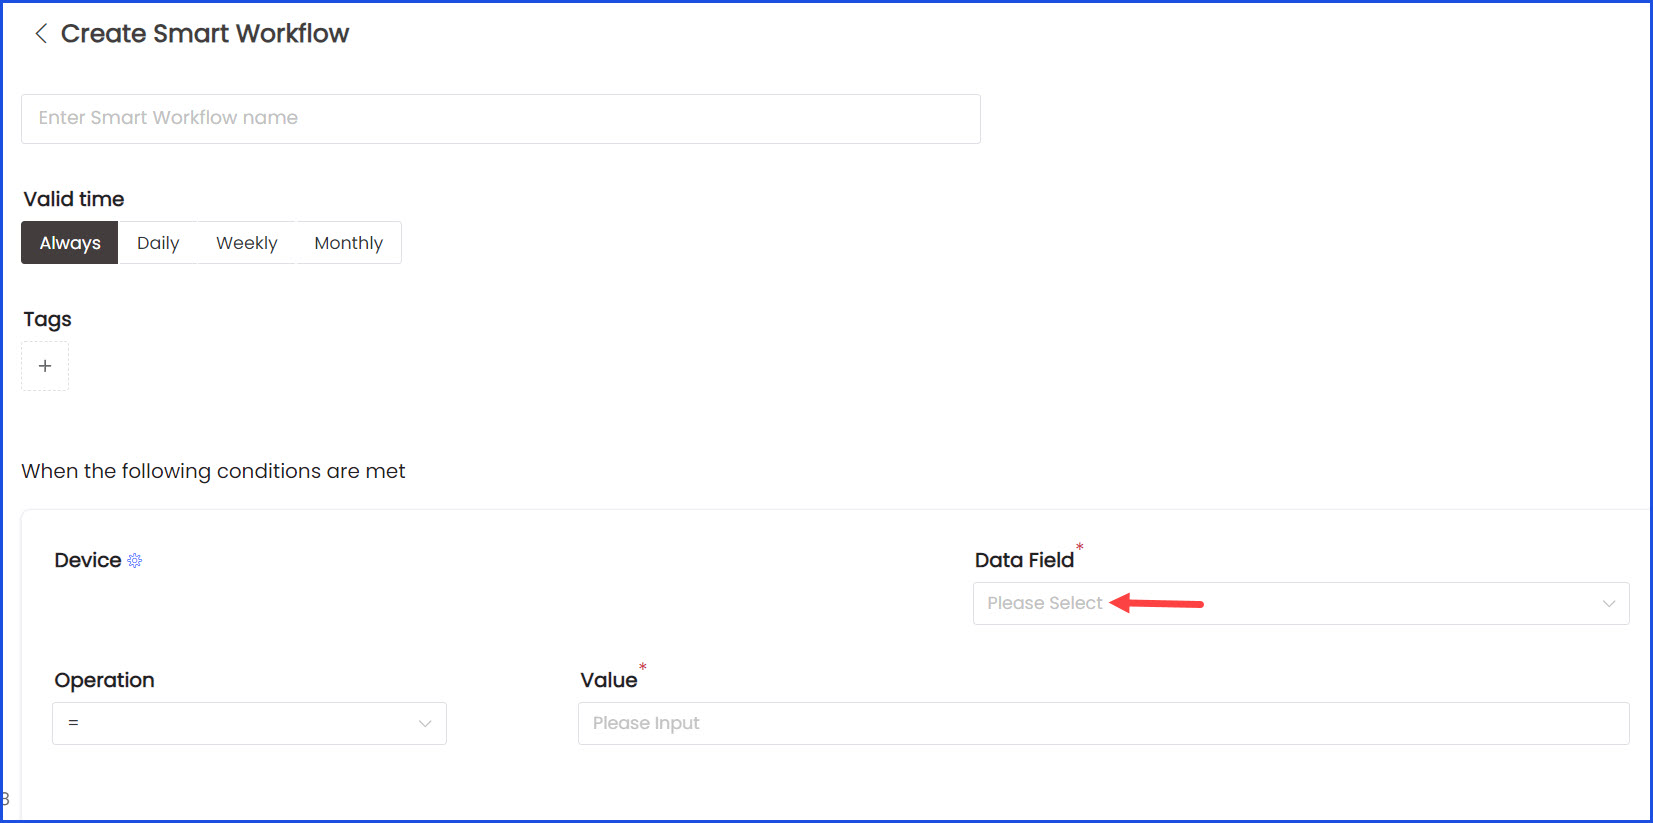
8. Once a device is selected, choose the data type for the condition using the Data Field dropdown.
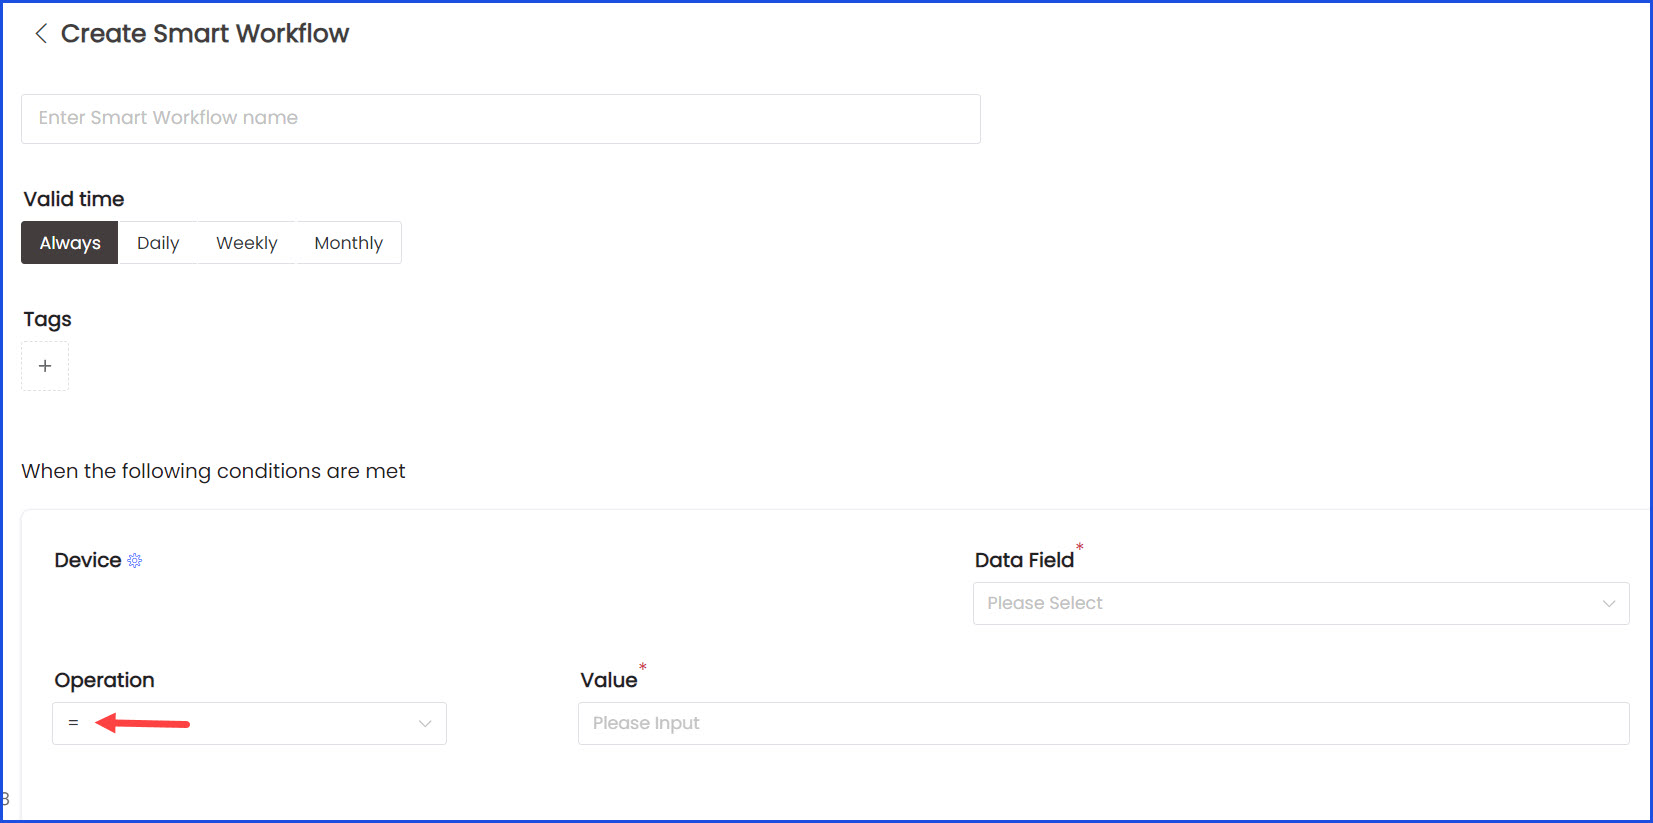
9. Use the Operation dropdown to select the operation for trigger condition.
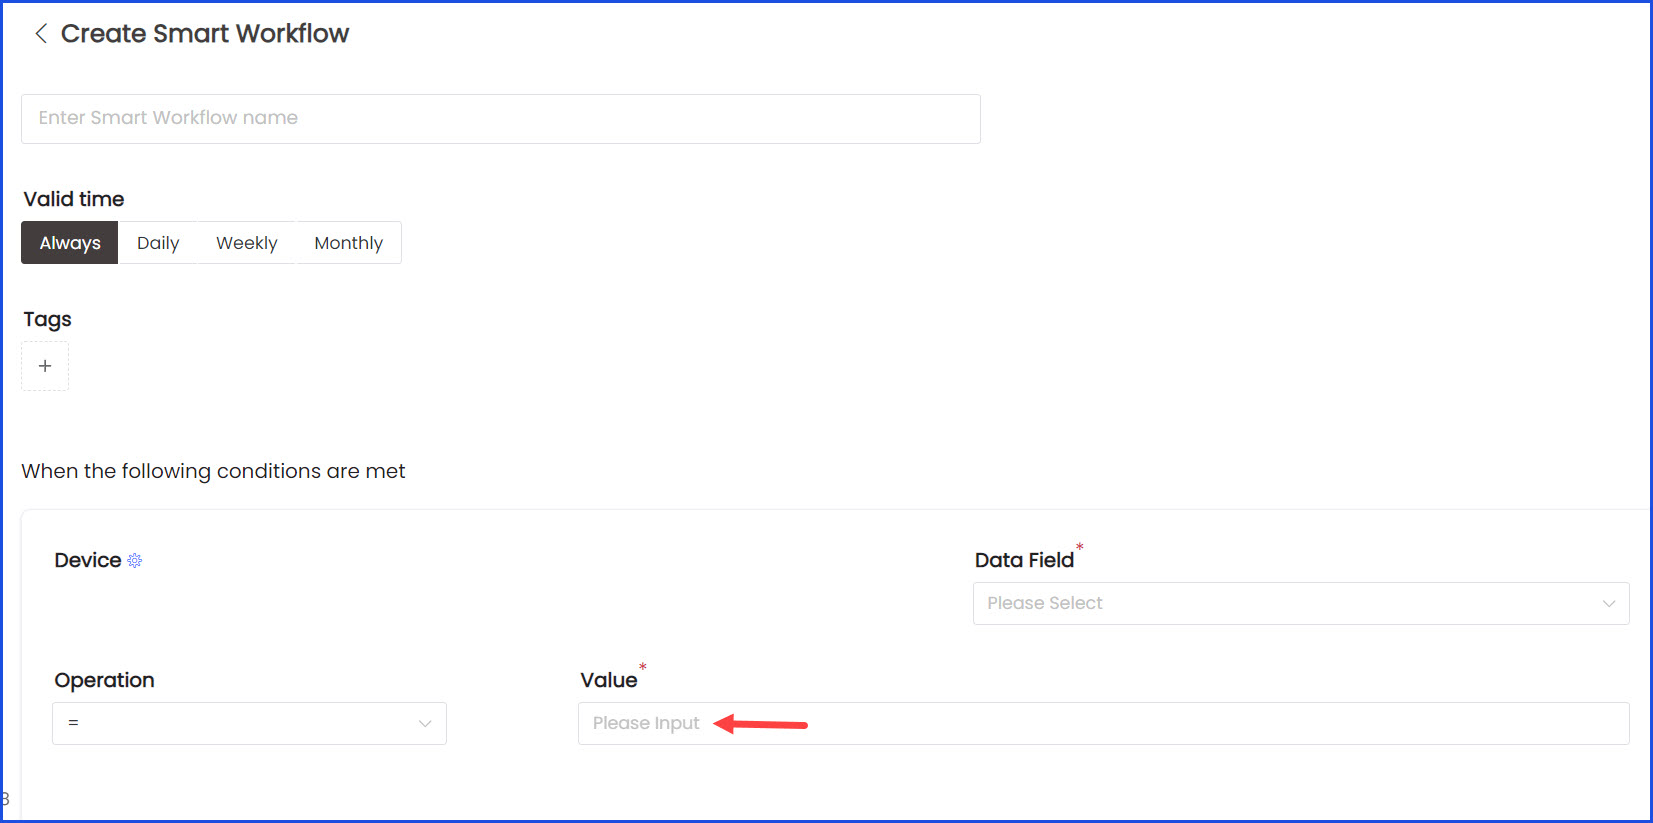
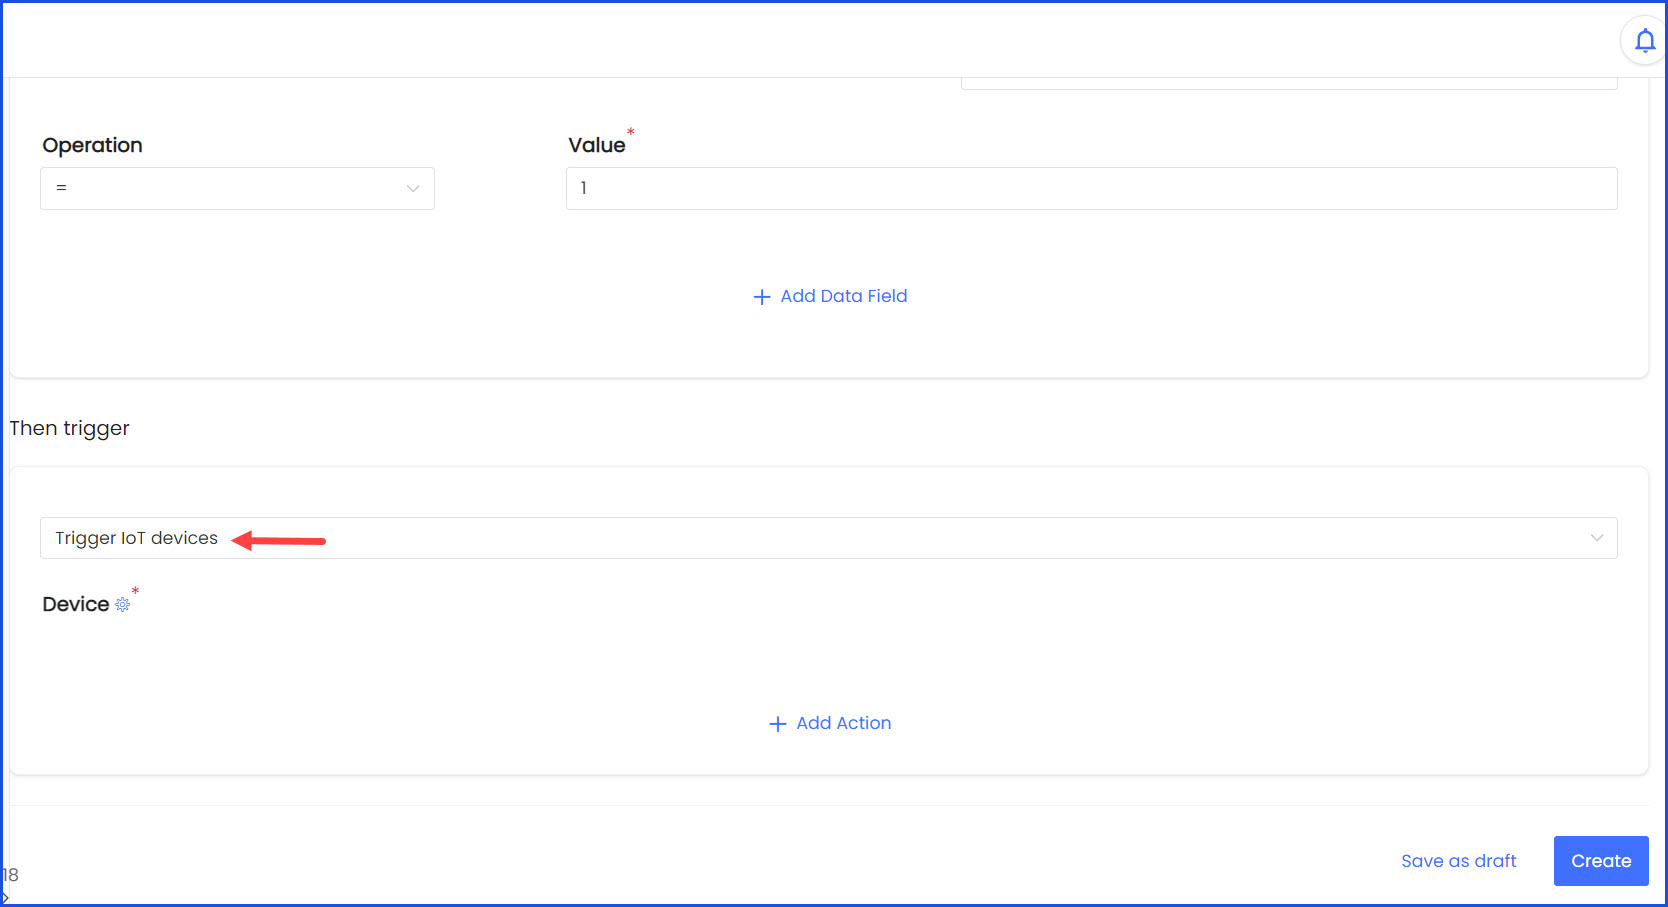
10. Enter the value in the Value field. You can also use the +/- icons at the end to increase/decrease the value by 1.
11. Choose the trigger action using Trigger IoT Devices dropdown.
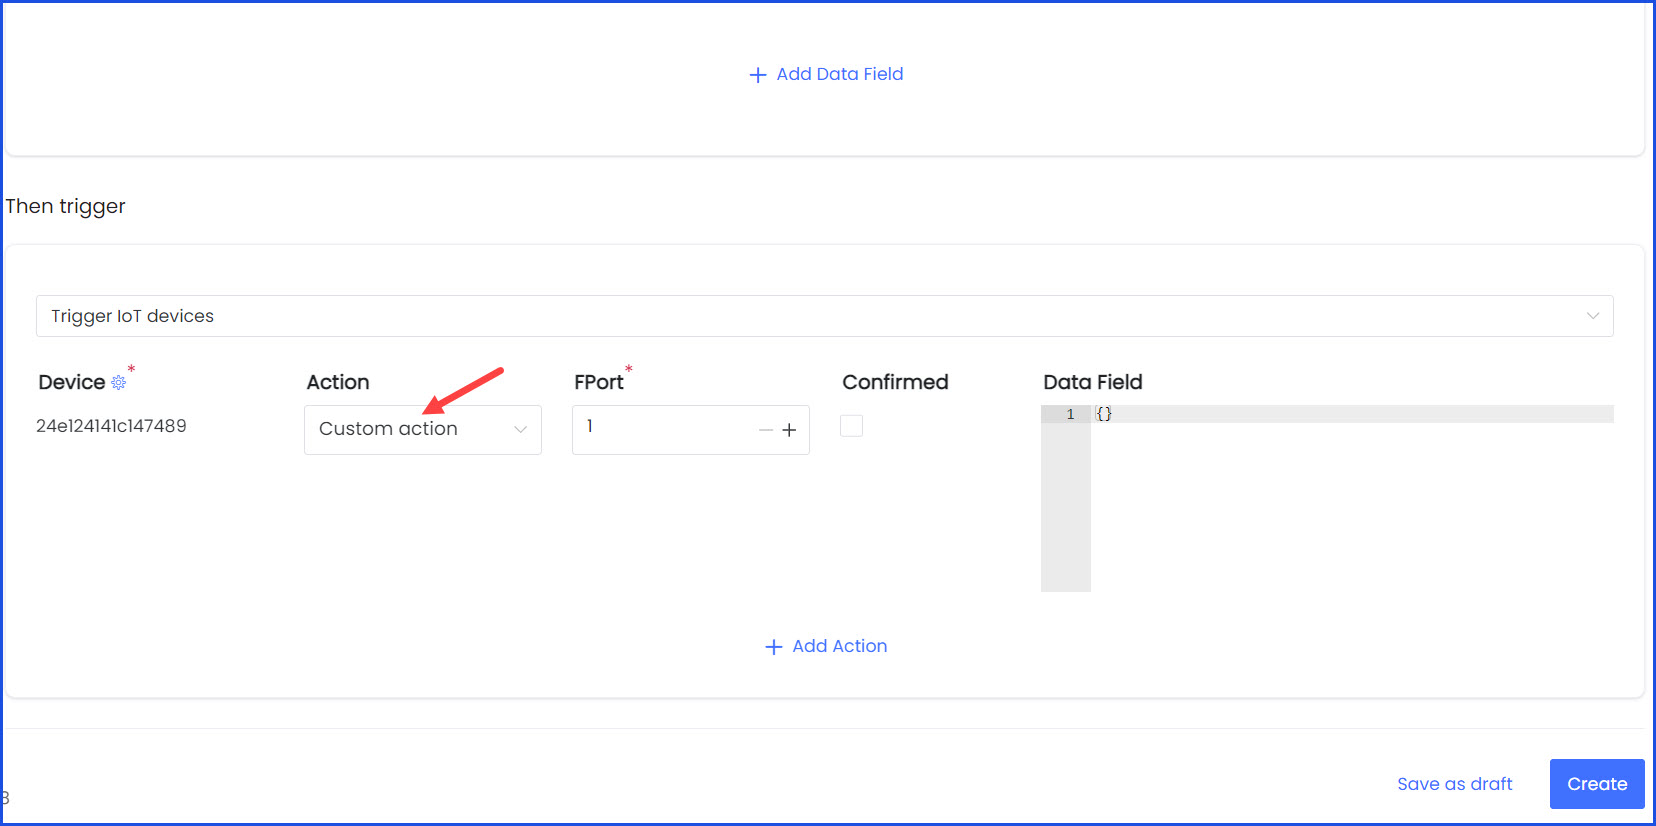
12. Once a device is selected, use the Action button to define the custom trigger action as explained in the time based smart workflow article.
13. Define additional actions such as sending notifications via email, SMS, etc., and Submit Request as needed.

14. Upon making the required selections, click the Create button.
