How to Create a New Work Request from Mobile App?

Sohaib
Last Update 3 years ago
Infodeck Mobile App > Work Order
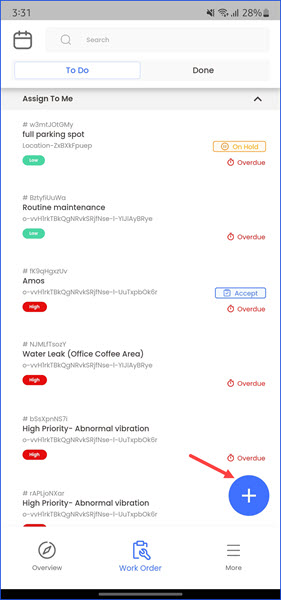
1. Follow the workflow mentioned above to land on the Work Order screen.
2. Tap the + button located at the bottom-right corner of the screen.
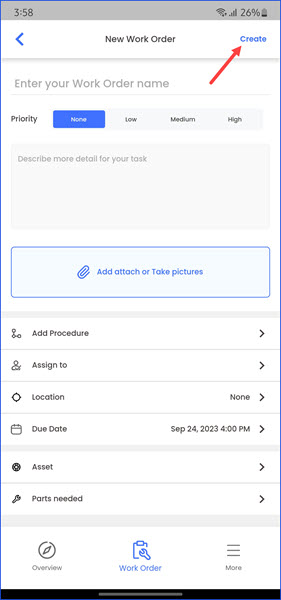
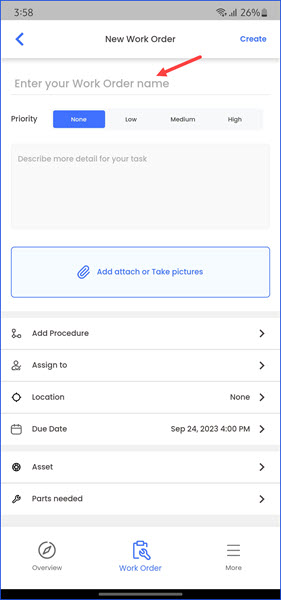
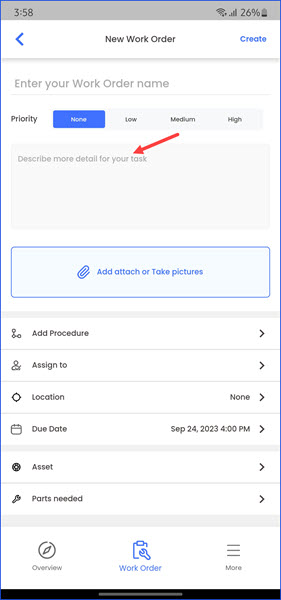
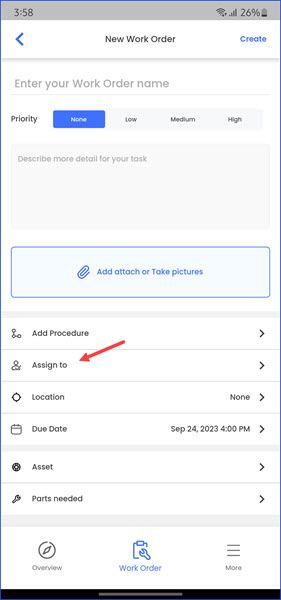
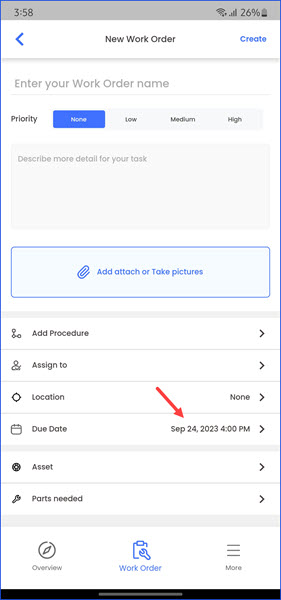
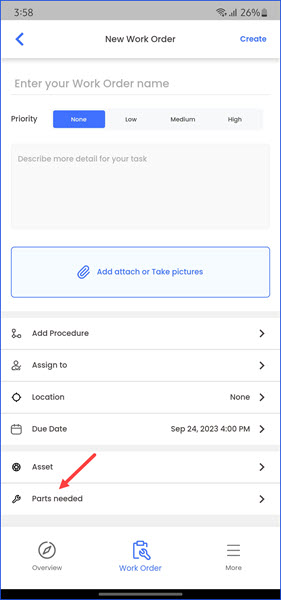
3. As a result, you land on the New Work Order screen. Here, use the Enter your Work Order Name field to record the name of the work request.
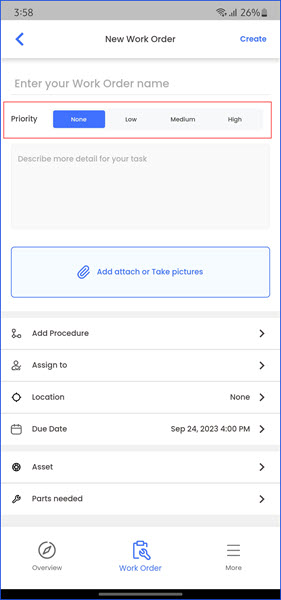
4. Set the priority of the work request using the options next to the Priority heading.
5. Enter a description of the request using the Description textbox.
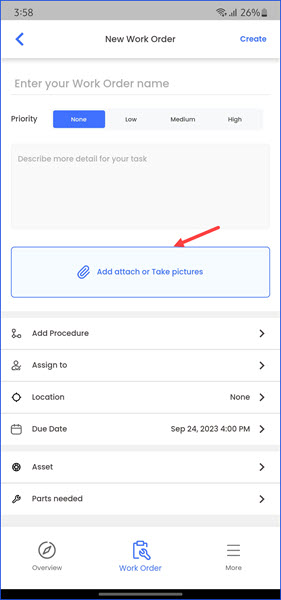
6. To attach images related to the request, tap the Add attach or take pictures button.
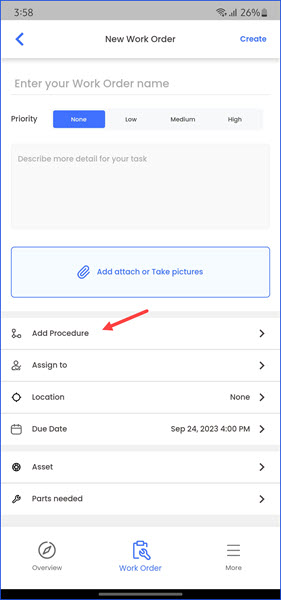
7. To add a procedure related to the request, tap the Add Procedure field. This takes you to the Add Procedure screen.
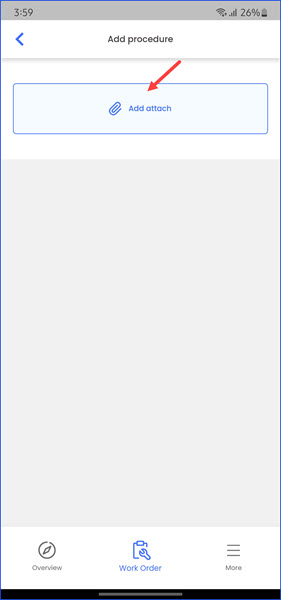
8. Here, tap the Add attach button to attach procedure files.
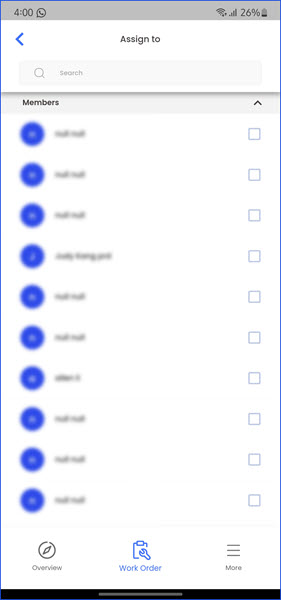
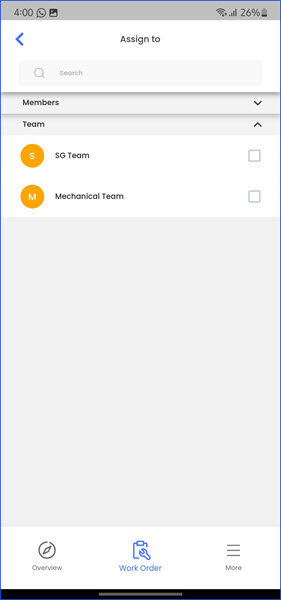
9. Tapping the Assign To field takes you to the Assign To screen.
10. Here, you can choose the users/teams you want to assign the work request to.
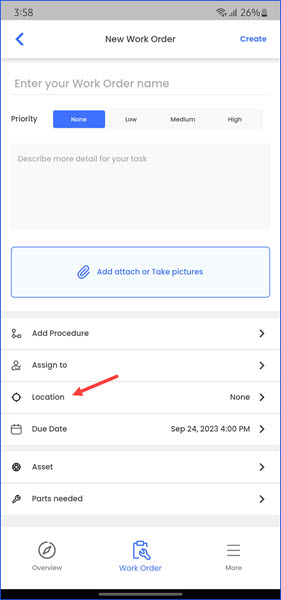
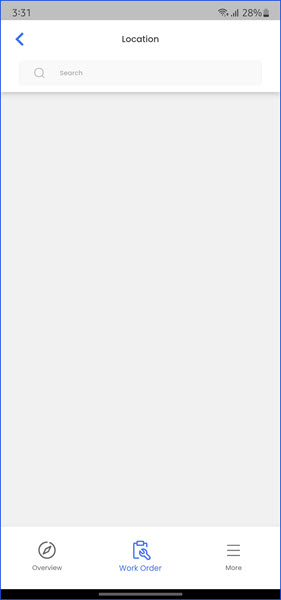
11. Tapping the location field takes you to the Location screen where you can search and select the location you are creating this work request for.
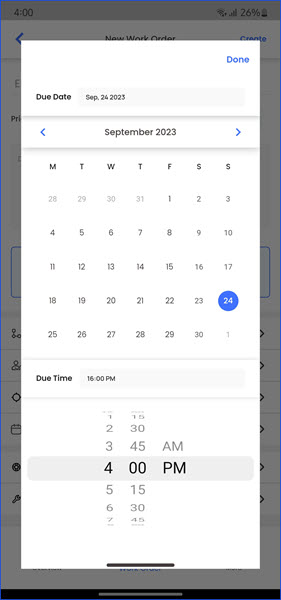
12. Tap the Due Date field to set the due date for the work request.
13. Tapping it opens a date selector you can use to select the due date for the work request.
14. Next up is the Asset field. Tapping it opens the Asset screen from where you can select the asset you want to link to this work request.
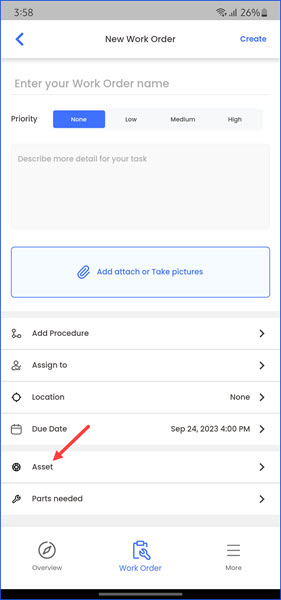

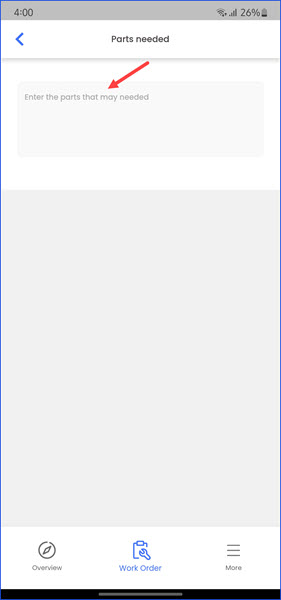
15. At the end is the Parts needed field. Tapping it opens the Parts Needed screen.
16. Here, use the textbox to record the parts needed for the work request.
17. Once the required details are recorded, tap the Create button.